
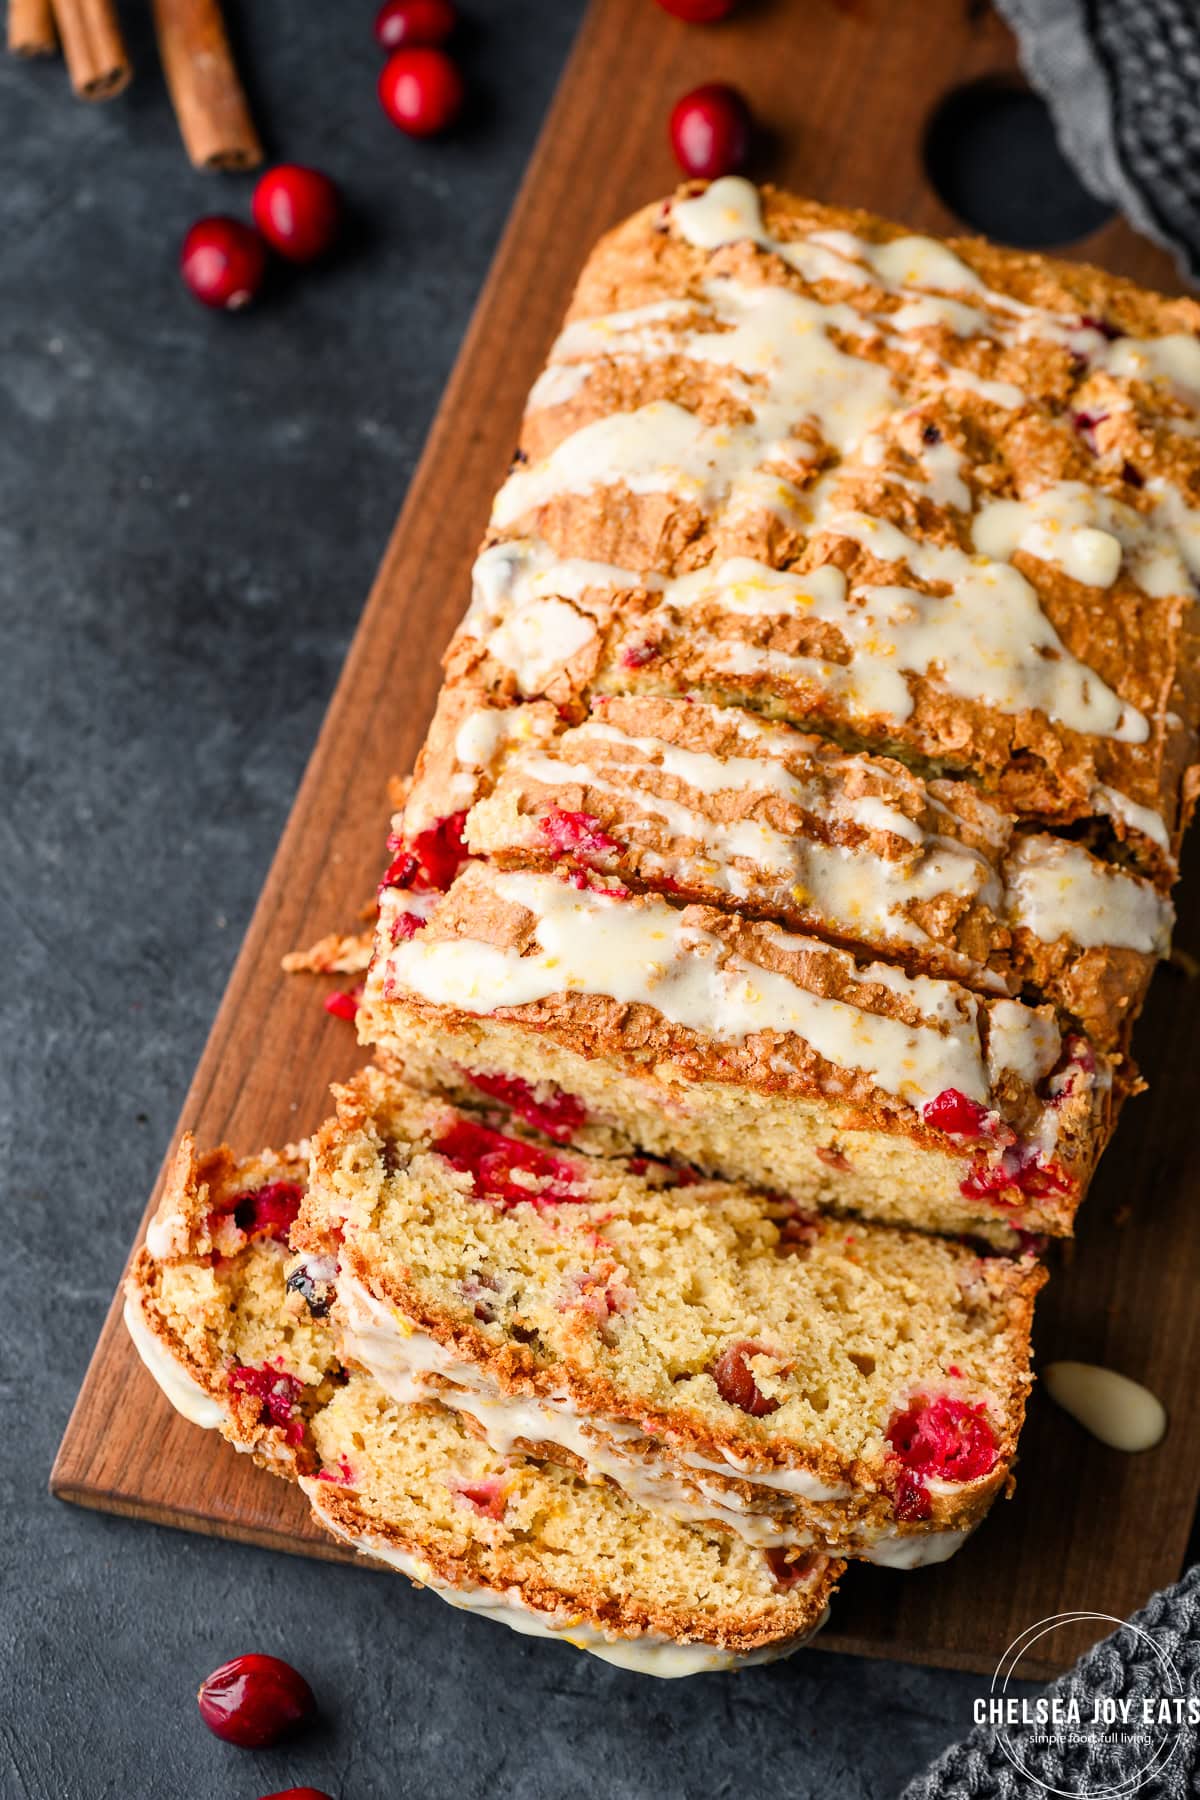
Gluten free cranberry bread is about to steal the show in your kitchen.
Dense but not mushy, tart cranberry counteracting sweet, this gluten free quick bread has a lot to rave about!
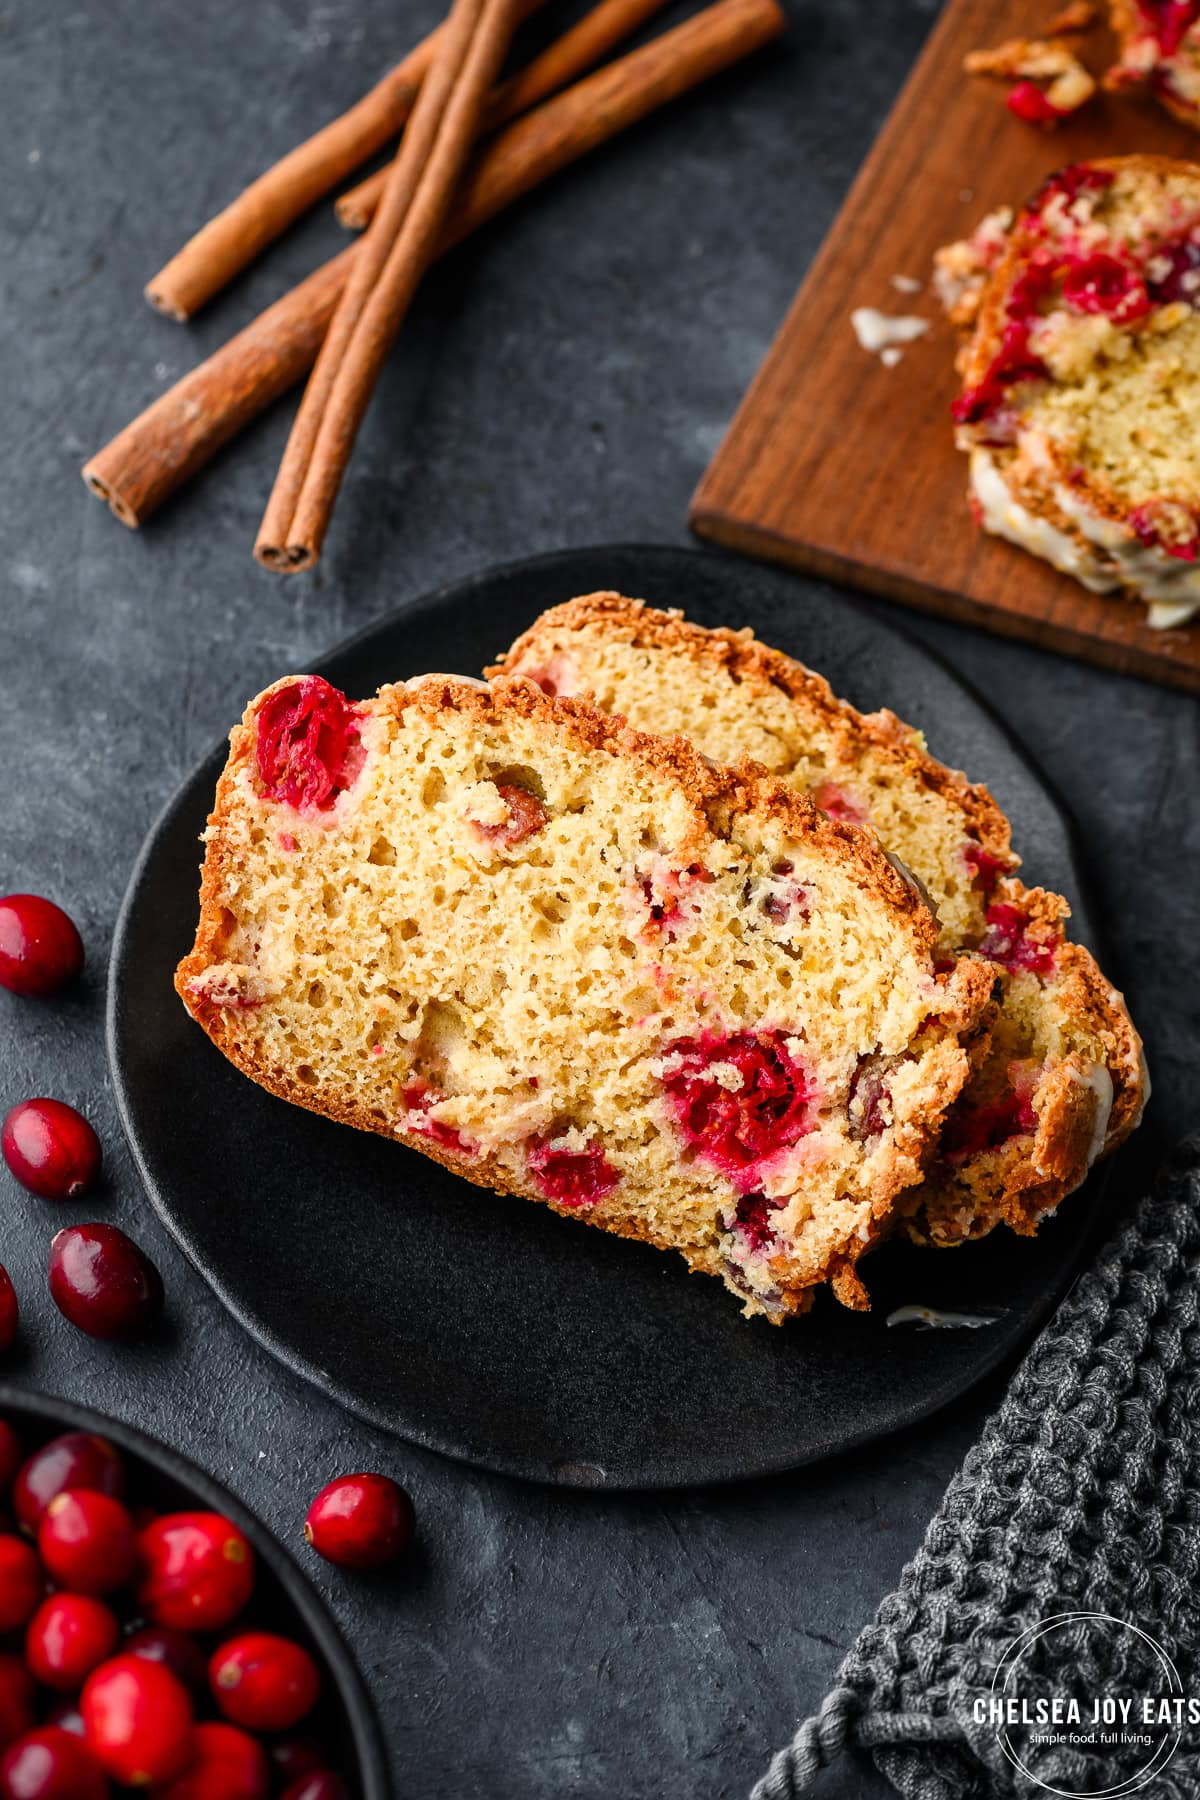
Quick Look: Gluten Free Cranberry Bread
Ready In: 55 Minutes
Servings: 10
Nutrition: 265 Calories
Main Ingredients: Gluten free flour, Oat flour, Sour cream, Sugar, Orange Juice, Almond milk
Dietary Notes: Gluten free, Nut free
Why You'll Love It: Fast, tender gluten free quick bread recipe that makes a great winter snack!
Have a Question? Want a Summary?
Ask AI to summarize or ask a question about this specific recipe!
Disclosure: these buttons are meant to be helpful but I am not responsible for how AI answers.
Just a few quick reasons that this gluten free cranberry bread should end up on your kitchen table:
- Quick breads are easy: Mix dry ingredients, then wet ingredients, then add the two together. That's as complicated as quick breads get - super straightforward and hard to mess up, like Lemon Poppyseed Zucchini Bread.
- Perfect for guests: A loaf of gluten free cranberry bread feeds a crowd and makes the perfect sweet snack to nibble on.
- Tender and satisfying: Not dry and not too dense - this quick bread has the perfect tender texture and just one slice is enough to satisfy.
- A treat that's not drowning in sugar: I love that quick breads aren't too sweet, and this one is no different than favorites like Gluten Free Zucchini Banana Bread! A drizzle of icing adds a touch more sweetness without overpowering.
Jump to:
Ingredients needed for Gluten Free Cranberry Bread
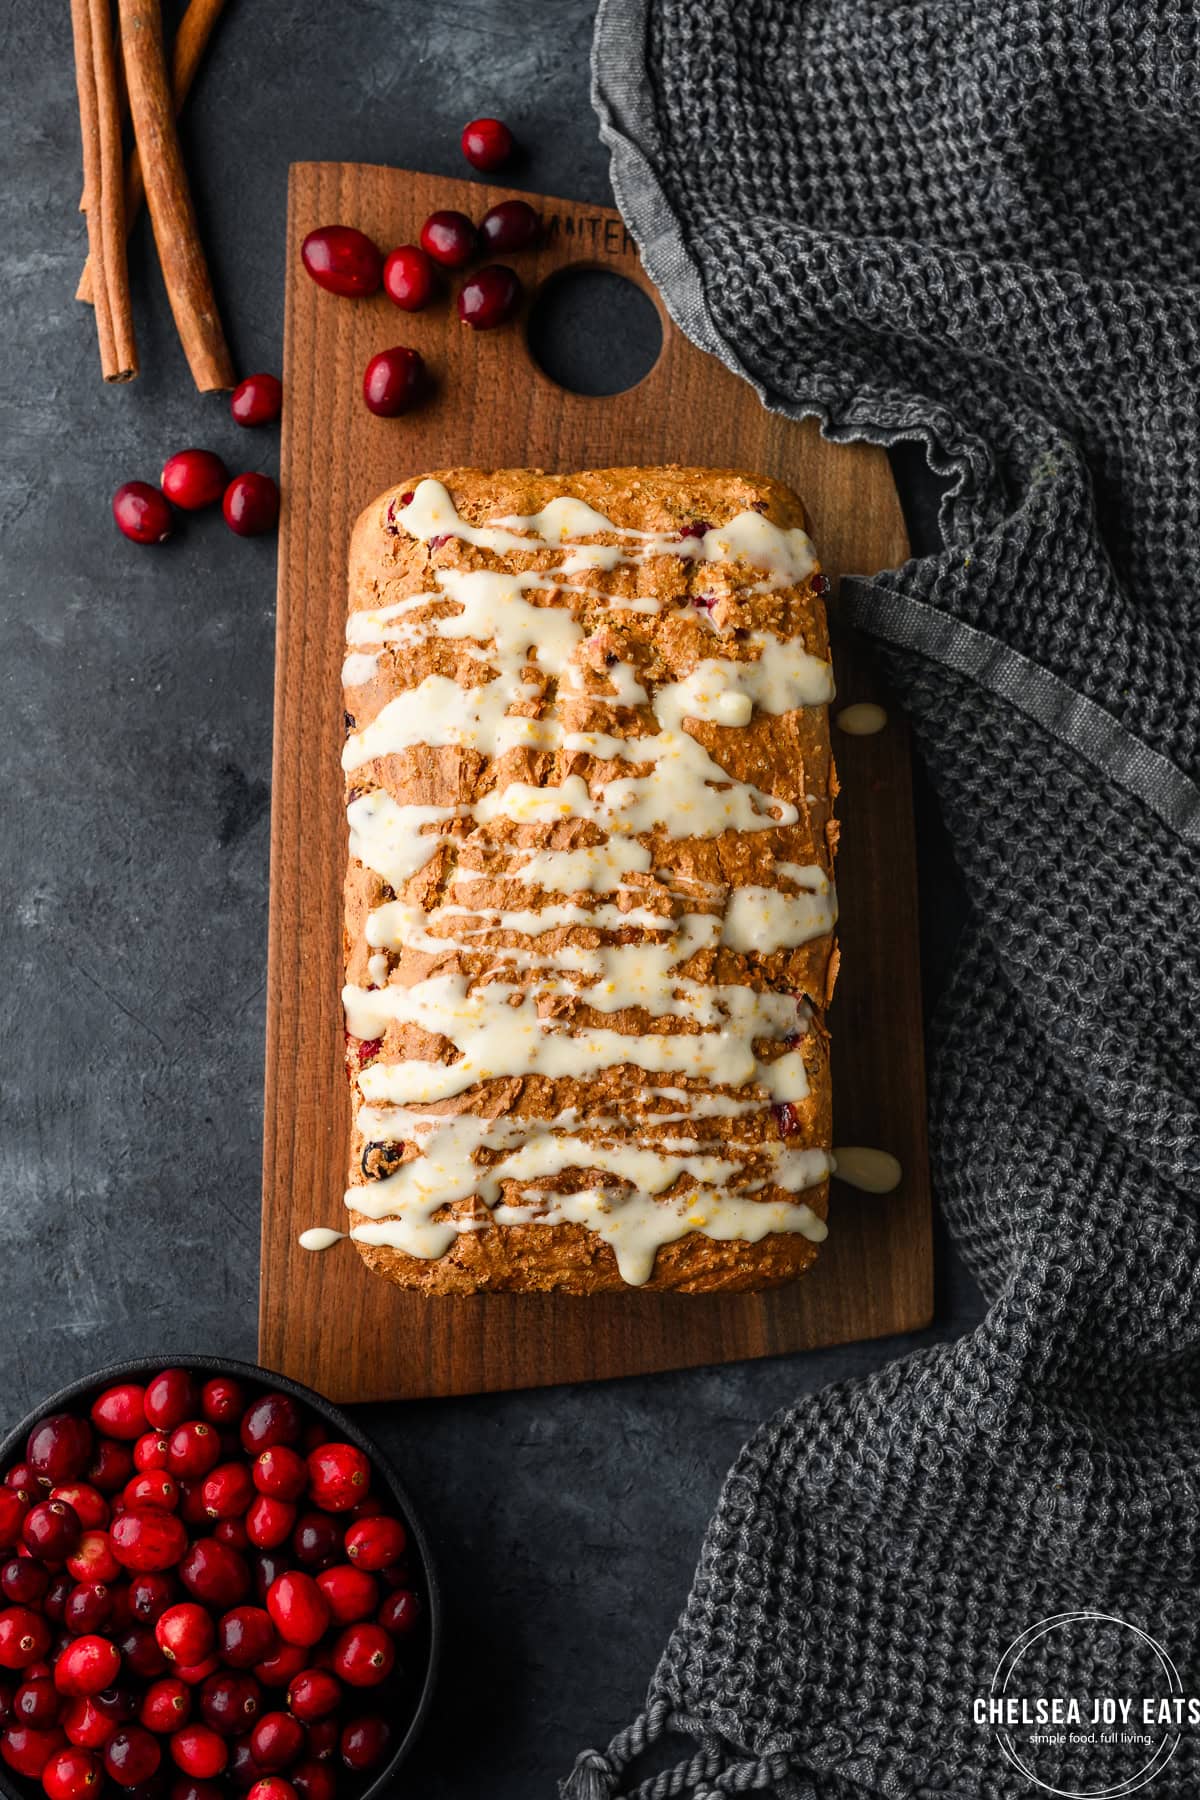
Gluten Free Baking Flour - My go-to brand is Bob's Red Mill 1:1 Gluten Free Baking Flour, which I use for many gluten free baking recipes like Gluten Free Oatmeal Raisin Cookies. I think it works well in almost every instance, and is readily available in most stores.
Not all gluten free flours are created equal, so I can't guarantee your results will be the same with another GF flour blend.
Oat Flour - I've been experimenting with adding a little oat flour in my gluten free baking, and I found it works incredibly well here!
Most gluten free flour blends (including Bob's Red Mill) feature mainly rice flours, meaning lots and lots of starch. I found adding just a little oat flour adds an almost nutty flavor and kept the scones tender. You can omit this and add more 1:1 baking flour, but I highly suggest giving oat flour a try!
Xanthan Gum - only use this if your baking flour blend doesn't already include it. My go-to, Bob's Red Mill 1:1 Gluten Free Baking Flour, does, so if you go with my recommendation, skip the xanthan gum!
Sour Cream - This has become my secret weapon for gluten free baking, keeping the finished product moist but still fluffy and not drowning in oil. Try the same hack in Gluten Free Cranberry Orange Scones!
My favorite sour cream is Nancy's, but any full fat sour cream should do!
Cranberries - fresh if possible, but frozen works well too! I wouldn't use dried cranberries for this recipe.
Orange juice and zest - Orange and cranberry make an awesome match! I kept the orange flavor pretty light in this recipe, though (unlike my gluten free cranberry orange scones).
That said, if you'd prefer to omit the orange juice and zest entirely, you can - just replace the orange juice with an equal amount of milk or almond milk.
How to make tender and flavorful gluten free quick bread
Blend dry ingredients: First thing's first, whisk the gluten free flour, oat flour, baking powder, baking soda, and salt together.
Mix wet ingredients separately: In a separate bowl, whisk the egg and sugar until smooth before adding the sour cream, vanilla extract, orange juice, and zest. Mix until smooth.
Combine wet and dry ingredients: Pour the wet ingredients into the dry, mixing just until combined and no dry flour remains.
Fold in cranberries: Using a spatula, fold the cranberries into the batter.
Now let the batter rest for 30 minutes before baking.
Bake and cool: Prepare the pan and bake for 45-60 minutes at 350 degrees.
If you'd like, you can prepare the icing recipe included while the bread cools. Drizzle the icing overtop, slice the bread, and enjoy!
Gluten free baking tips
Use the "spoon and level" method
Instead of scooping the flour out of the container with the measuring cup, spoon the flour into the measuring cup - without packing down - until full. Then, use the back of a table knife to scrape off the excess flour so it's flush with the top of the measuring cup.
Why? Gluten free flours tend to be pretty heavy overall. If you scoop the flour from the container (which can pack too much flour into the measuring cup) or leave flour mounded on top, you'll end up with more flour overall in the recipe. Too much flour = dry baked goods.
When testing recipes, I always spoon and level. You do you, but if your scones don't turn out quite right, you may know why!
Let the dough rest in the fridge before baking
It's good practice in gluten free baking to ALWAYS let the dough rest for at least 30 minutes before baking. I use this method for cookies like White Chocolate Macadamia Nut Cookies too!
Gluten free flours just need a little more time to meld with liquid ingredients since there's no gluten readily binding to it.
Top with Turbinado sugar
I recommend using Turbinado sugar instead of cane sugar if you can, but either will work in a pinch!
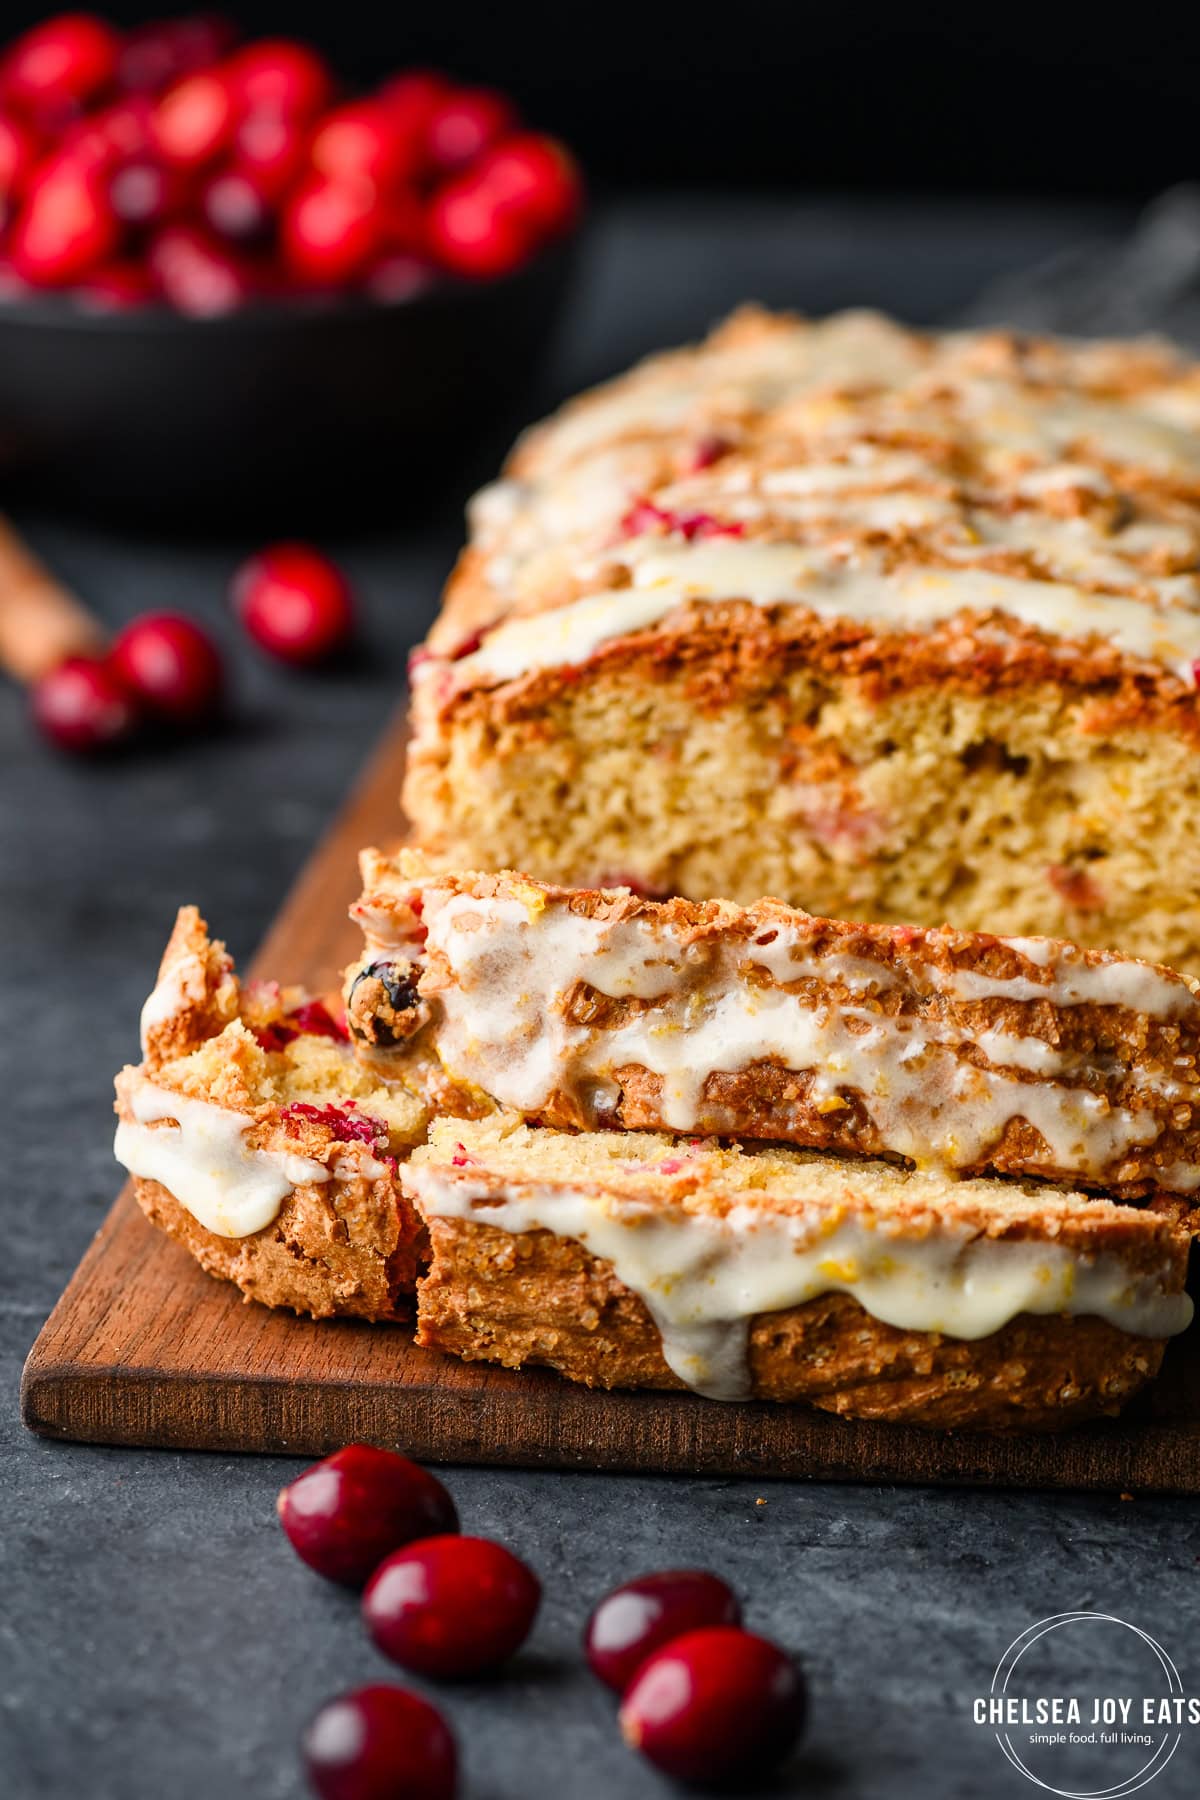
Variations and alterations
Want to put a spin on it? Here's some suggestions on changing up this recipe:
- Use frozen cranberries: If fresh aren't available, grab frozen cranberries. They'll work just as well. However, I don't recommend using dried cranberries!
- Use lemon juice/zest: Not feeling the orange/cranberry combo? Swap it out for lemon instead!
- Swap out the sour cream: You're welcome to try Greek yogurt (2% or full fat recommended) or applesauce in place of the sour cream.
- Add chocolate chips: Cranberry + chocolate + orange makes an epic combo. Add ½ to ¾ cup chocolate chips to make it happen.
- Fold in nuts: Chopped toasted pecans or walnuts also make a wonderful addition. Add ½ cup.
- Omit the milk/almond milk: If you find that you're out of milk/almond milk, you are welcome to use all sour cream. Just increase the sour cream to ¾ cup. The result will be slightly more dense, but overall still incredible!
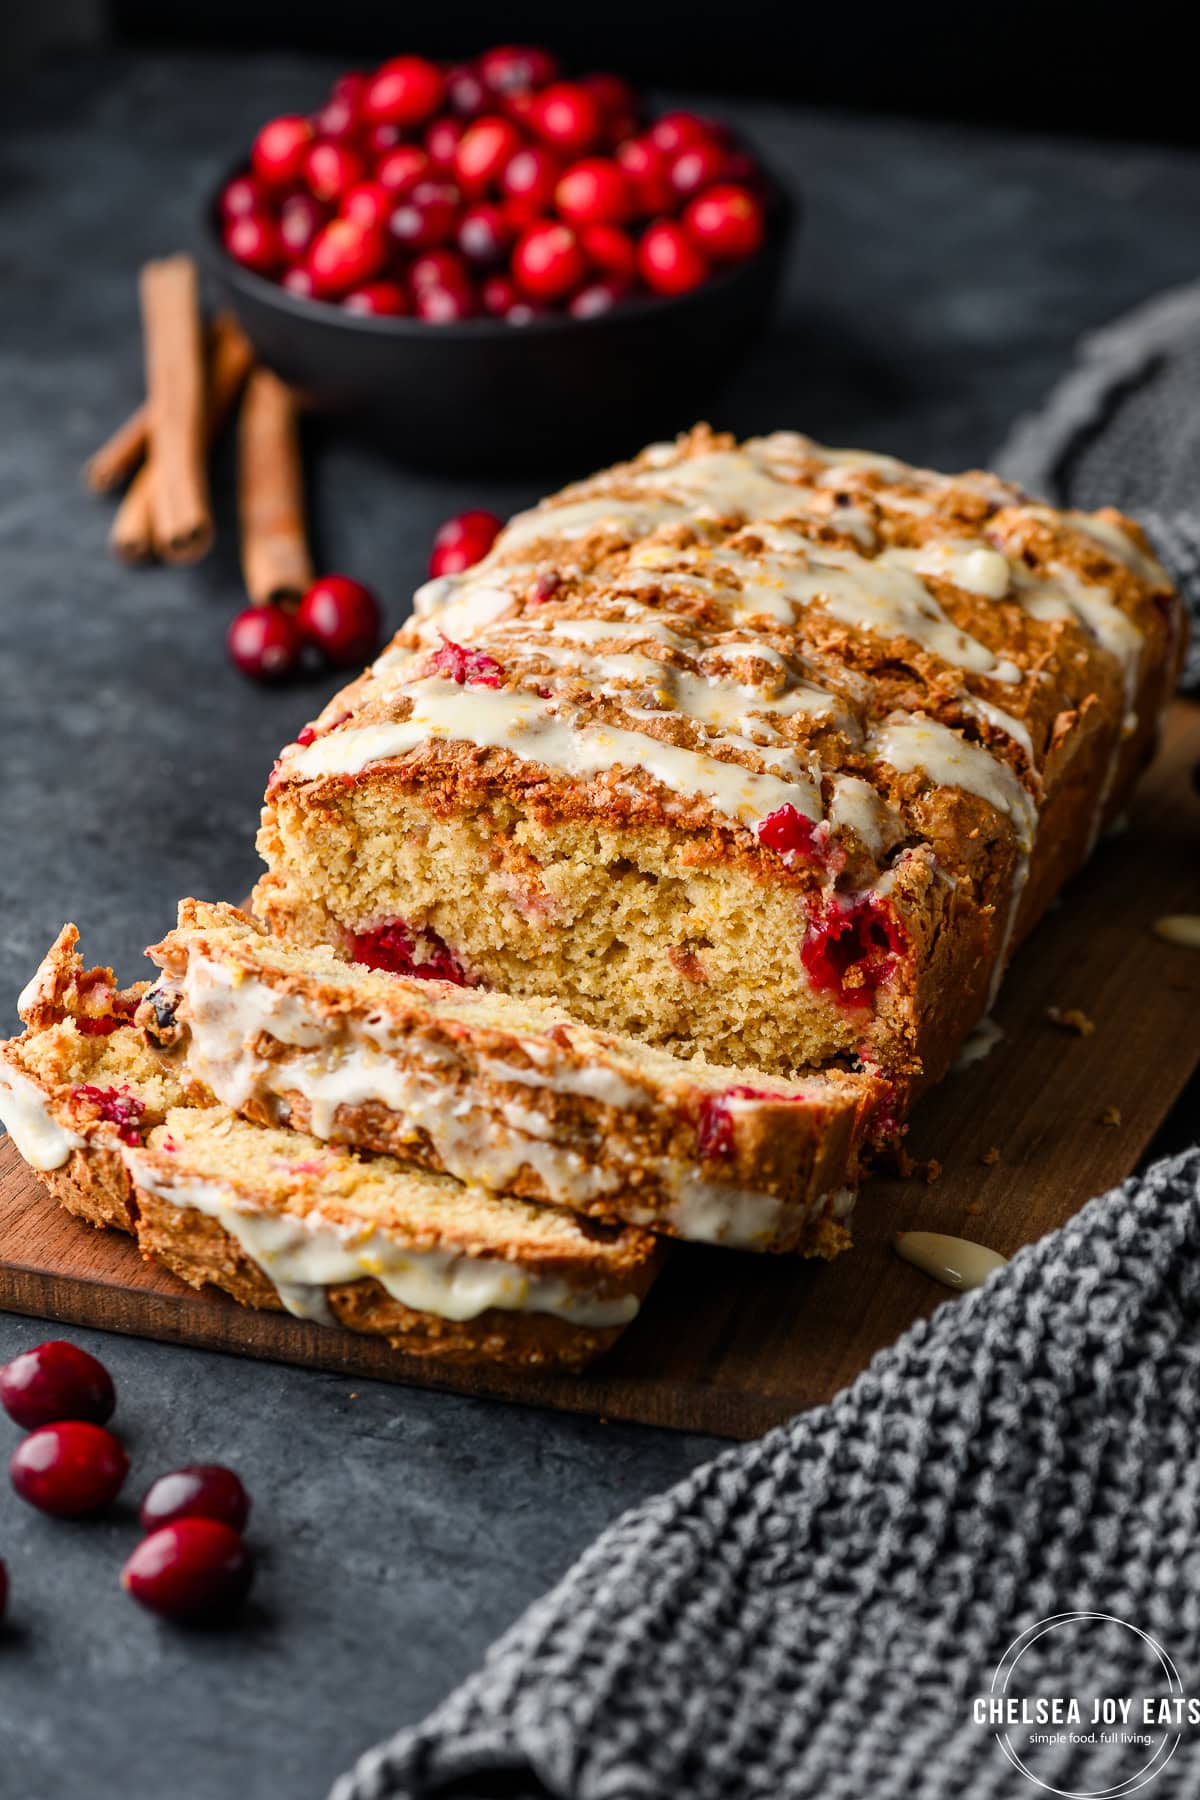
FAQs for cranberry bread
Check to make sure your baking powder is still active. Baking powder should react when baking to make your baked goods rise; if it's no longer active, it won't do its job.
An easy check for fresh baking powder: add a small amount of baking powder to a pinch bowl or dish. Pour a couple tablespoons of hot or boiling water over the baking powder. The baking powder should immediately bubble. If not, it's no longer good.
Like most baked goods, this gluten free cranberry bread is best enjoyed the day it's made.
However, I think this quick bread actually keeps pretty well, and can be stored in an airtight container for up to 5 days!
No. This recipe was made for fresh or frozen cranberries; I can't vouch for how dried cranberries would turn out.
Yes, go for it! One tip: don't let the cranberries fully thaw before adding to the batter. Fully defrosted cranberries will get mushy and bleed into the dough.
Yes. But replace the juice with an equal amount of milk or almond milk to make up for the lost moisture.
Only if the cranberries are large (over ½" in diameter). Personally, I didn't find it necessary to halve the cranberries - the pockets of moist cranberries just added to the overall enjoyment!
Baking is an art and a science, and multiple factors can affect the finished result. If the results weren't what you hoped - don't give up! Practice goes a long way towards making your perfect gluten free quick bread!
More gluten free quick bread recipes


Did you try this recipe? I'd love to hear what you think! Please leave a comment and rating or tag me on Instagram - I love your feedback.
📖 Recipe
Gluten Free Cranberry Bread
- Prep Time: 10 minutes
- Cook Time: 45 minutes
- Total Time: 55 minutes
- Yield: 10 servings 1x
- Category: Baked Goods
- Method: Baked
- Diet: Gluten Free
Description
Dense but not mushy, tart cranberry counteracting sweet, this gluten free quick bread has a lot to rave about!
Ingredients
For the Cranberry Bread:
- 1 ½ cups gluten free 1:1 baking flour, spooned and leveled (I like Bob's Red Mill 1:1 Gluten Free Baking Flour)
- ½ cup oat flour
- 1 ½ teaspoons baking powder
- ½ teaspoon baking soda
- ½ teaspoon kosher salt
- 1 cup cane sugar
- 1 large egg, beaten
- ½ cup sour cream
- ¼ cup milk or almond milk
- 1 teaspoon pure vanilla extract
- 2 teaspoons orange zest
- 2 teaspoons fresh squeezed orange juice
- 1 ½ cups fresh cranberries
- 1 tablespoon turbinado sugar, for topping
For the Orange Icing:
- 1 cup powdered sugar
- 1 tablespoon milk or cream
- 2 tablespoons fresh-squeezed orange juice
- ½ teaspoon orange zest
Instructions
- Preheat the oven to 350 degrees F and grease a 9x5-inch loaf pan.
- In a large mixing bowl, whisk the flour, baking powder, baking soda, and salt together. In a separate bowl, whisk the egg, sour cream, and sugar together until combined. Add the milk, vanilla extract, and orange zest, stirring until fully combined. Pour the wet ingredients into the dry ingredients, stirring with a spatula until no dry flour remains. Avoid over-mixing. Fold in the cranberries and orange zest. Set the batter aside to rest for at least 30 minutes.
- Pour the batter into the prepared loaf pan. Sprinkle the top of the loaf with turbinado sugar, if using. Bake for 45 minutes to 1 hour. Check halfway through; if it seems like the top is browning too much, tent loosely with foil. To check for doneness, poke the center of the bread with a toothpick or table knife. If it comes out clean, the bread is done. Cool completely in the pan set on a wire rack.
- While the bread is cooling, prepare the icing, if using. Whisk the powdered sugar, milk, orange juice, and orange zest together until smooth. Pour over the cooled loaf and let sit for 5 minutes for the icing to harden.
- Slice and serve. Cover and store leftover bread at room temperature for 5 days or in the refrigerator for up to 1 week.
Notes
You can use all sour cream instead of sour cream/milk if you'd like. Just increase the sour cream to ¾ cup. The result will be slightly more dense, but overall still great!
Leave a Reply