
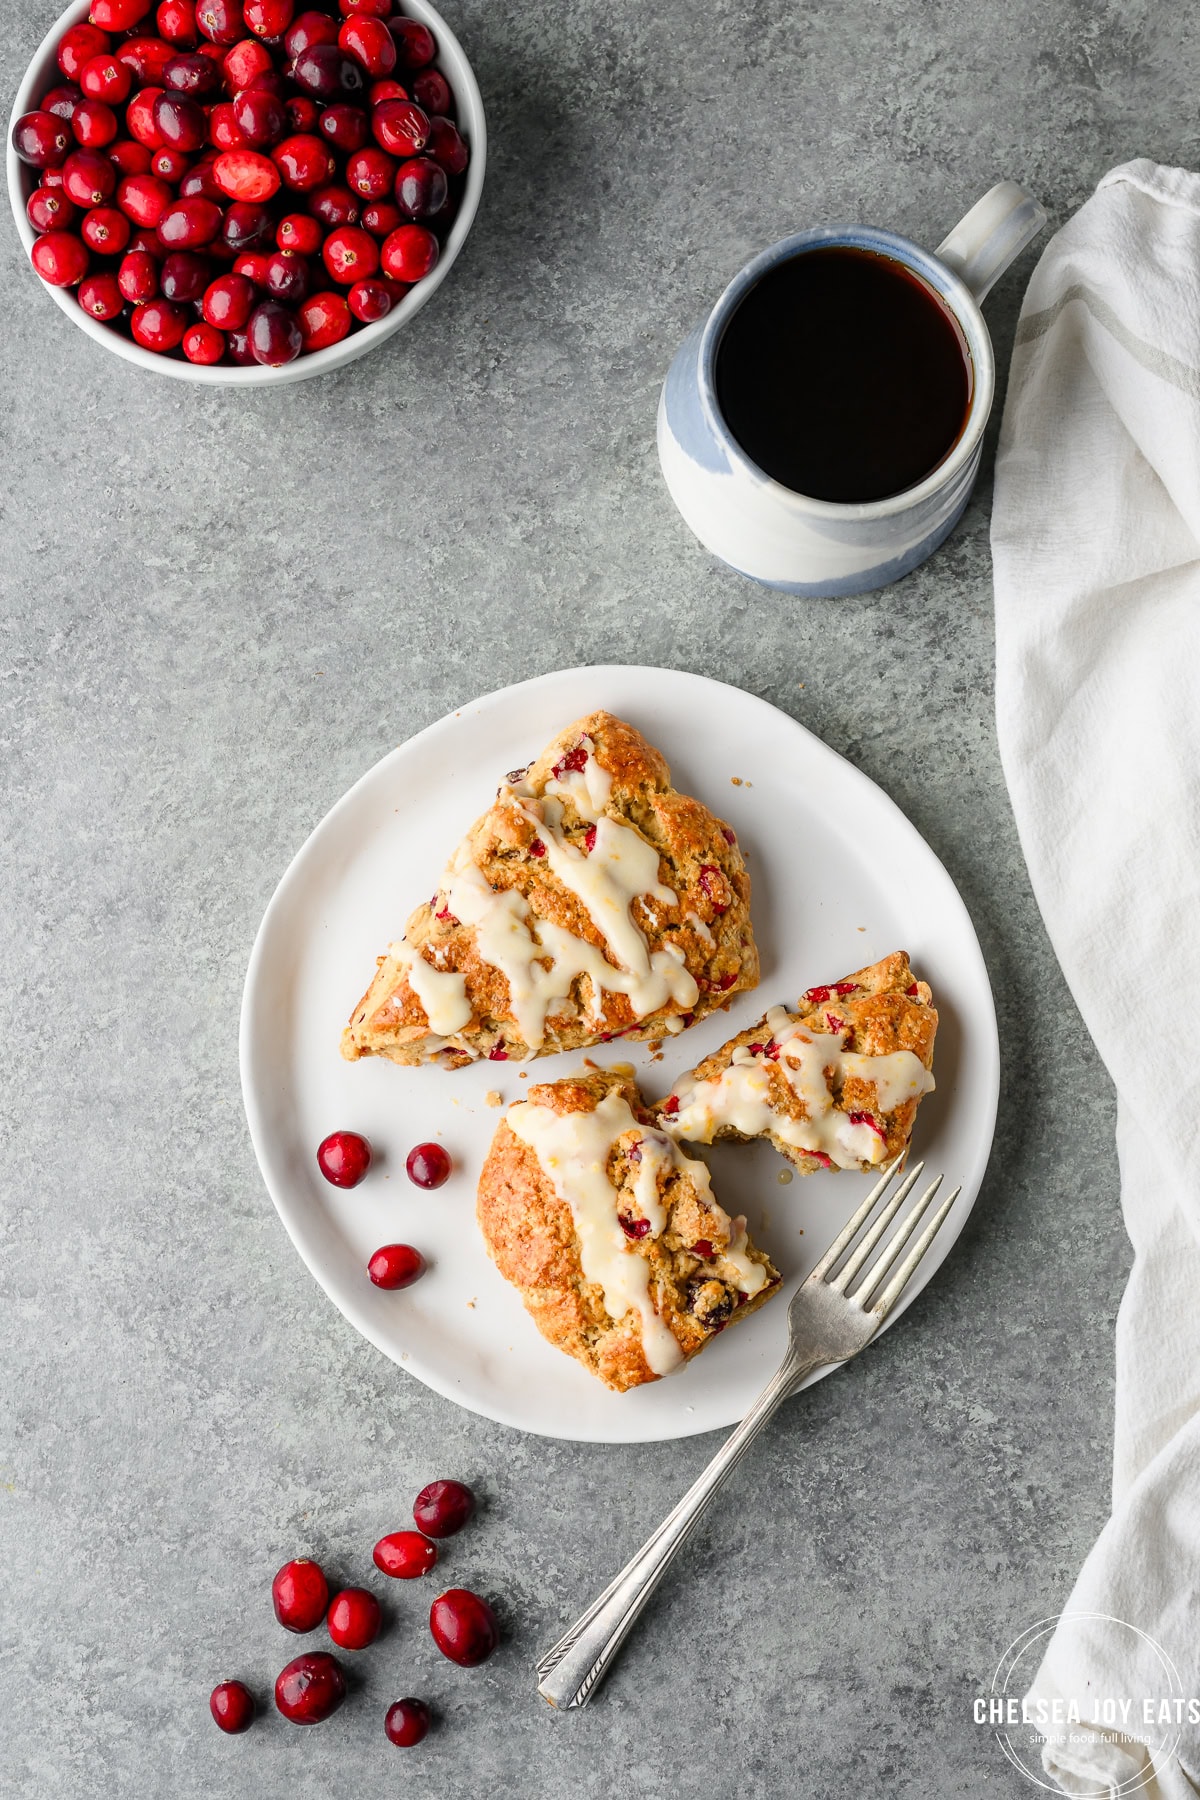
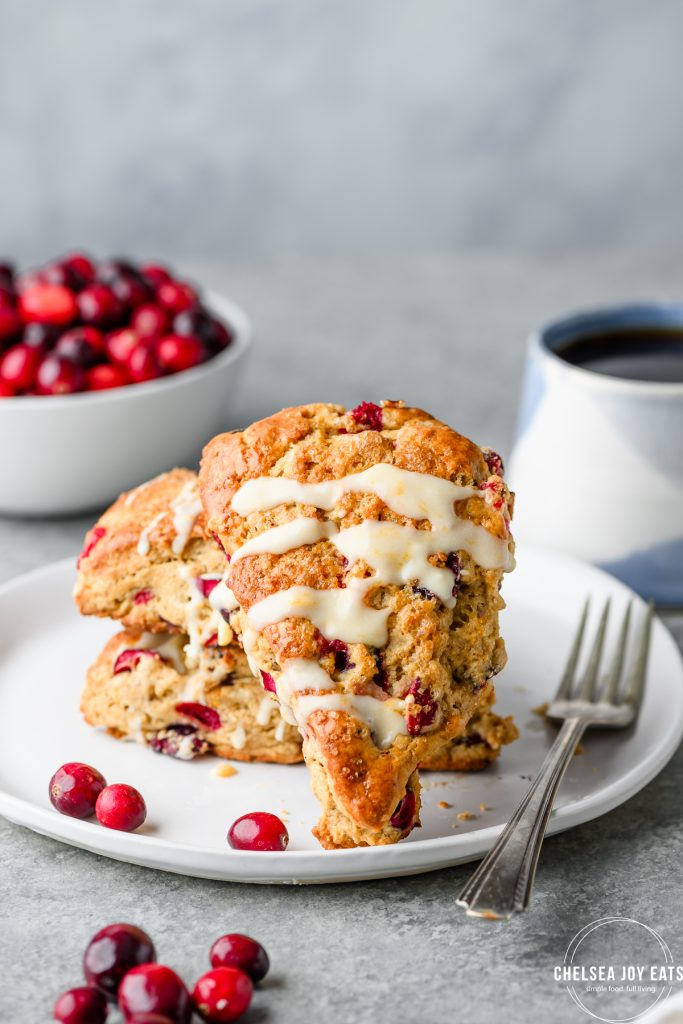
Buttery and tender, no one would ever guess these cranberry orange scones are gluten free!
Tart cranberries and orange make the perfect flavor pairing, and a simple orange icing ties it all together without drowning the scones in sugar.
Pair with coffee. You won't regret it!
What makes these gluten free scones awesome
The quick hits of what makes gluten free cranberry orange scones worth your time:
- Quick and simple: There's only 10 minutes of active time in this recipe; the other 50 minutes is either the dough resting or the baking time.
- Can make ahead: The dough can be prepped ahead of time and left to hang out in the fridge up to a day in advance. Then just cut and pop 'em in the oven on the day you need them!
- Perfect balance of flavors: Cranberry and orange are a wonderful pair, and the flavors here are present without being overpowering.
- Scones + coffee = magic: Scones might be my favorite thing to have with a cup of hot black coffee!
Jump to:
Ingredients notes for cranberry orange scones
Most of the ingredients for gluten free scones are pretty self-explanatory, but a few deserve a little more explanation.
Gluten Free Baking Flour - My go-to brand is Bob's Red Mill 1:1 Gluten Free Baking Flour. I think it works well in almost every instance, and is readily available in most stores.
Not all gluten free flours are created equal, so I can't guarantee your results will be the same with another GF flour blend.
Oat Flour - I've been experimenting with adding a little oat flour in my gluten free baking, and I found it works incredibly well here!
Most gluten free flour blends (including Bob's Red Mill) feature mainly rice flours, meaning lots and lots of starch. I found adding just a little oat flour adds an almost nutty flavor and kept the scones tender. You can omit this and add more 1:1 baking flour, but I highly suggest giving oat flour a try!
Xanthan Gum - only use this if your baking flour blend doesn't already include it. My go-to, Bob's Red Mill 1:1 Gluten Free Baking Flour, does, so if you go with my recommendation, skip the xanthan gum!
Butter
Sour Cream - This has become my secret weapon for gluten free baking, keeping the finished product moist but still fluffy and not drowning in oil.
My favorite sour cream is Nancy's, but any full fat sour cream should do!
Egg
Orange Juice/Zest - Fresh squeezed is best! You should only need 1 fresh orange for this recipe, but grab 2 if you want to be safe.
Brown sugar - Light or dark brown sugar work here. Dark brown sugar will impart a somewhat warmer flavor to the scones that works very will in winter baking.
Vanilla extract
Cranberries - fresh if possible, but frozen works well too! I didn't test this recipe with dried cranberries, but if you give it a try, I'd reduce to ½ cup.
Tips and tricks for scones everyone raves about
Gluten free baking can be challenging. Here are tips to make successful scones every time:
Use the "spoon and level" method
Instead of scooping the flour out of the container with the measuring cup, spoon the flour into the measuring cup - without packing down - until full. Then, use the back of a table knife to scrape off the excess flour so it's flush with the top of the measuring cup.
Why? Gluten free flours tend to be pretty heavy overall. If you scoop the flour from the container (which can pack too much flour into the measuring cup) or leave flour mounded on top, you'll end up with more flour overall in the recipe. Too much flour = dry baked goods.
When testing recipes, I always spoon and level. You do you, but if your scones don't turn out quite right, you may know why!
Always use cold butter
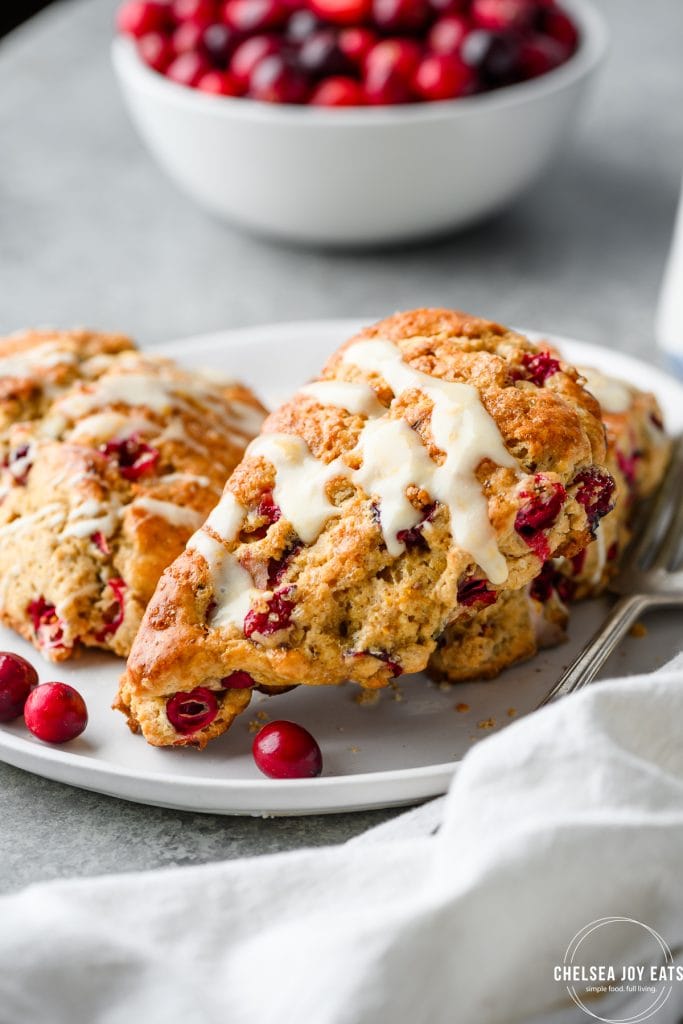
If you've made scones, pie crusts, or any flaky pastry before, you know this! Cold butter in the dough prevents the butter from melting too quickly while baking and helps create those flaky layers we all love.
Take the butter out of the fridge right before using.
Use a food processor to easily incorporate the butter
Just add the dry ingredients and cubed butter to a food processor and pulse 8 to 10 times, until the flour resembles coarse sand.
You can also use a pastry cutter or your hands (I am a fan of smashing each butter cube with flour between my thumb and forefinger), but a food processor is undoubtedly the fastest way.
Don't overmix the dough
Related to above - overmixing the dough usually leads to breaking down the butter more before baking, and that's NOT what you want for scones.
So when adding the liquid, stir just enough to bring everything together into a dough.
This is also why I don't recommend blending everything in the food processor, even if you use it to cut in the butter.
Let the dough rest in the fridge before baking
It's good practice in gluten free baking to ALWAYS let the dough rest for at least 30 minutes before baking. Gluten free flours just need a little more time to meld with liquid ingredients since there's no gluten nabbing it up.
For this gluten free cranberry orange scone recipe, though, it's doubly important! Resting the dough in the fridge for 30 minutes keeps the butter nice and firm, so it won't melt into the dry ingredients.
Double up your baking sheets
Instead of using 1 baking sheet, use 2, stacked on top of one another. This creates a slightly insulated layer that prevents the scones from browning too quickly on the bottom!
This tip also works for pies, and is one of my favorite little baking tips.
Don't skip the wash (and use plenty of sugar)
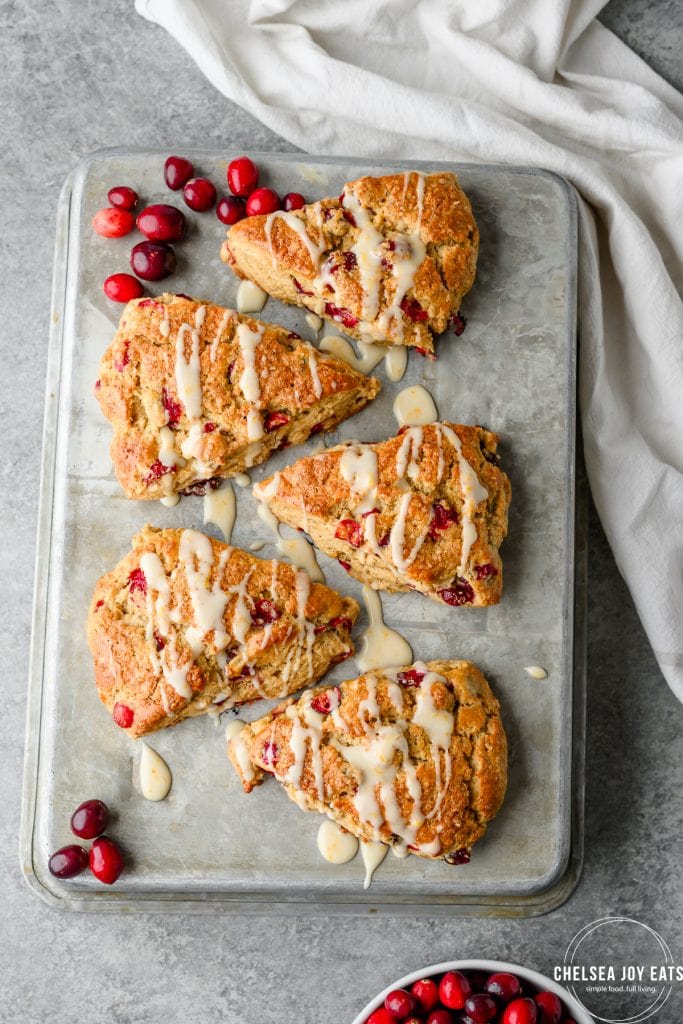
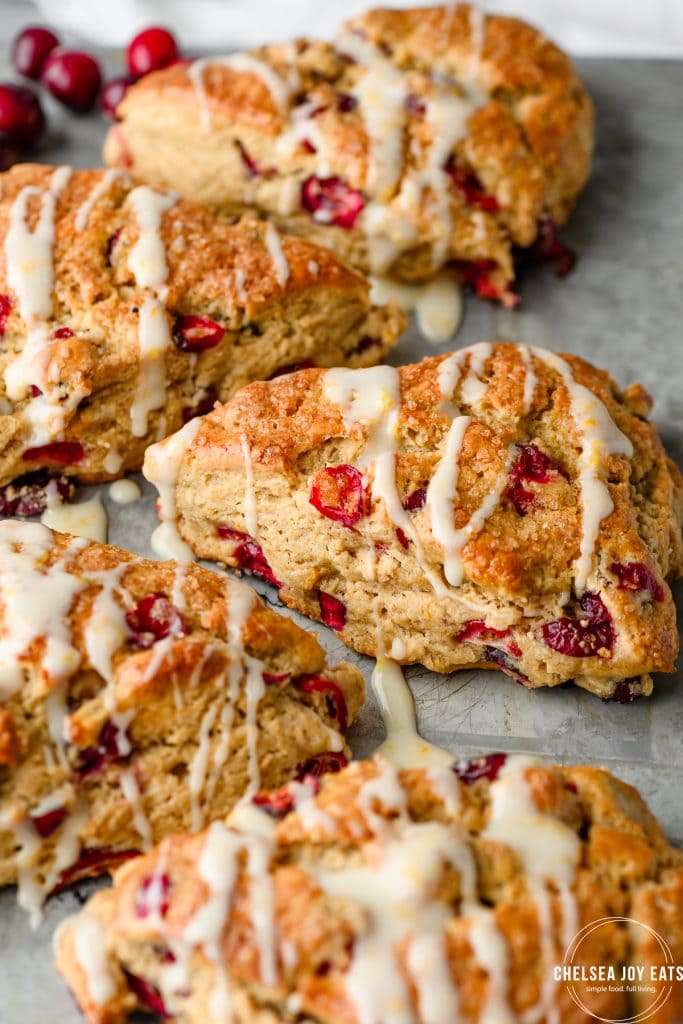
Scones that sport a browned, almost crackly top are divine! Even though you'll be drizzling these scones with icing, definitely don't skip the wash of milk egg and sprinkling of sugar before baking.
I recommend using Turbinado sugar instead of cane sugar if you can, but either will work in a pinch!
FAQs and other questions
Check to make sure your baking powder is still active. Baking powder should react when baking to make your baked goods rise; if it's no longer active, it won't do its job.
An easy check for fresh baking powder: add a small amount of baking powder to a pinch bowl or dish. Pour a couple tablespoons of hot or boiling water over the baking powder. The baking powder should immediately bubble. If not, it's no longer good.
No. Ideally, handle the dough as little as possible. Overkneading creates tougher scones that lose their flakiness.
Scones are best enjoyed the day they're baked, but you can store leftovers in an airtight container for up to 3 days or freeze in an airtight container for up to 2 months.
You can also freeze the unbaked dough, which I'd recommend over baking a whole batch just to store most of them. Make the dough, slice into wedges, wrap each wedge in plastic wrap, and freeze in an airtight container. Then you can pull out however many wedges you'd like to bake on demand!
Alterations and variations for gluten free cranberry orange scones
- Half and half (or milk) instead of sour cream. While I prefer the overall texture of these scones with sour cream, I did test them with half and half and they turned out fine!
- Use Greek yogurt instead of sour cream. If you make this swap, I'd advise using full-fat yogurt!
- Omit the oat flour and use more of the gluten free flour blend. I get it; you don't want to buy another flour to make the recipe. I think the oat flour really adds something here, but you can stick with one flour if you prefer.
- Use a different GF flour blend. Personally, I like Bob's Red Mill 1:1 Gluten Free Baking Flour, and I test most of my recipes with that blend specifically to try and keep things consistent!
However, you are free to try a different flour blend. Let me know how it goes in the comments, and I will update the post with what works!
Just remember to add ¼ teaspoon xanthan gum if your blend does not already contain it.
- Skip the orange icing. It's not 100% necessary - these cranberry orange scones are great without it! Otherwise, you can omit the orange juice and zest and make a simple icing for a touch of sweetness, adding a little more milk if needed to thin it out for drizzling.
Baking is an art and a science, and multiple factors can affect the finished result. If the results weren't what you hoped - don't give up! Practice makes a huge impact.
More gluten free baked goods to try
Did you try these gluten free cranberry orange scones? I'd love to hear what you think! Comment below or tag me on Instagram.
Print📖 Recipe

Gluten Free Cranberry Orange Scones
- Prep Time: 40 minutes
- Cook Time: 20 minutes
- Total Time: 70 minutes
- Yield: 8-10 scones 1x
- Category: Baked Goods
- Method: Baked
- Cuisine: American
- Diet: Gluten Free
Description
Buttery and tender, no one would ever guess these cranberry orange scones are gluten free! The perfect not-too-sweet treat with coffee.
Ingredients
For the Scones:
- 1 ¾ cup gluten free all-purpose flour, spooned and leveled (I like Bob's Red Mill 1:1 Gluten Free Baking Flour)
- ½ cup oat flour
- 1 ¾ teaspoon baking powder
- ½ teaspoon salt
- ½ cup (8 tablespoons) cold butter, cut into cubes
- ½ cup sour cream
- 1 large egg
- 2 tablespoons fresh-squeezed orange juice
- 1 tablespoon orange zest
- ½ cup dark brown sugar
- 1 teaspoon pure vanilla extract
- 1 ½ cups fresh cranberries, halved if large
- 2 tablespoons milk or almond milk, if needed
- 1 tablespoon turbinado sugar
For the Icing:
- 1 cup powdered sugar
- 1 tablespoon milk or almond milk
- 2 tablespoons fresh-squeezed orange juice
- ½ teaspoon orange zest
Instructions
- Whisk the gluten free flour, oat flour, baking powder, and salt together in a large bowl. Add the cold butter cubes to the flour mixture and incorporate using a pastry cutter, fork, or your fingers until the mixture comes together with pea-sized crumbs. Alternatively, add the flour mixture to a food processor with the butter cubes and pulse 8 to 10 times, until the flour mixture resembles coarse sand. Transfer to a large bowl.
- Whisk sour cream, egg, orange juice, orange zest, brown sugar, and vanilla together in a small bowl. Slowly pour it into the flour mixture. Stir until just combined, being careful not to overmix. Fold in the cranberries. Turn the dough out onto a lightly floured countertop or cutting board.
- Dust your hands with a little gluten free flour to prevent sticking and work the dough into a ball. If it's too dry, add more milk/almond milk 1 tablespoon at a time until it's a workable consistency without becoming too sticky. Press down to form a disc shape, roughly 6 inches in diameter and 2 inches thick. At this point, you can wrap the dough in plastic wrap and refrigerate for at least 30 minutes or overnight.
- Meanwhile, preheat oven to 425 degrees F. Adjust one of the oven racks to the middle-low position. Line 1 large baking sheet with parchment paper or a silicon baking mat.
- When ready to bake, cut the disc into 8 triangle wedges. Transfer the wedges to the prepared baking sheet, spacing at least 2 inches apart. Using a pastry brush, brush the scones with the remaining heavy cream and sprinkle with turbinado sugar.
- Bake the scones for 20-25 minutes or until lightly browned. Remove from the oven and allow to cool while you prepare the icing.
- For the icing, combine the powdered sugar, milk, orange juice, and orange zest. Whisk until smooth and no dry powdered sugar remains. Drizzle over the cooled scones. The icing should harden as it cools.
- Store in a sealed container at room temperature for up to 3 days.


Leave a Reply