
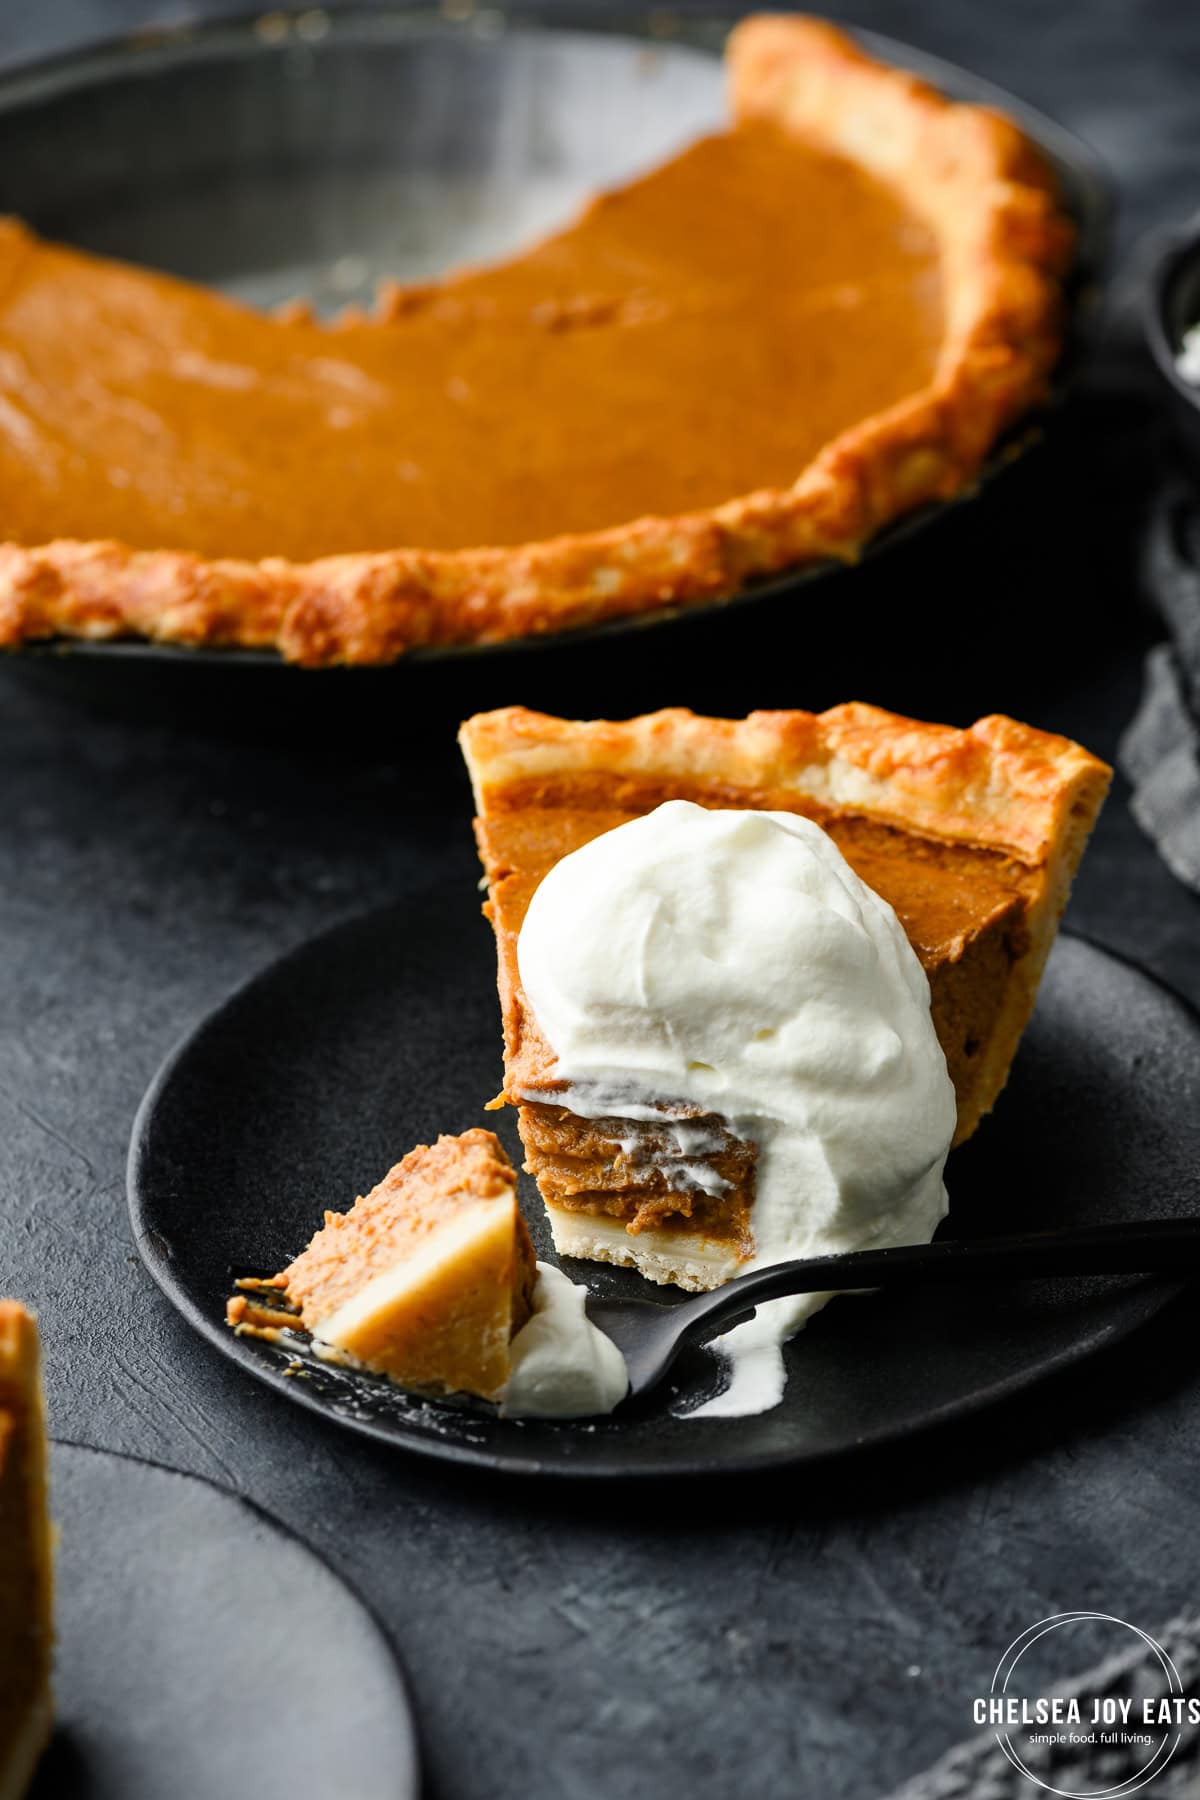
Can't have Thanksgiving without pumpkin pie - and this gluten free pumpkin pie ensures everyone at the table can have a slice.
Silky custard filling bursting with warm flavors (and without being overpoweringly-sweet) makes this pie recipe a keeper.
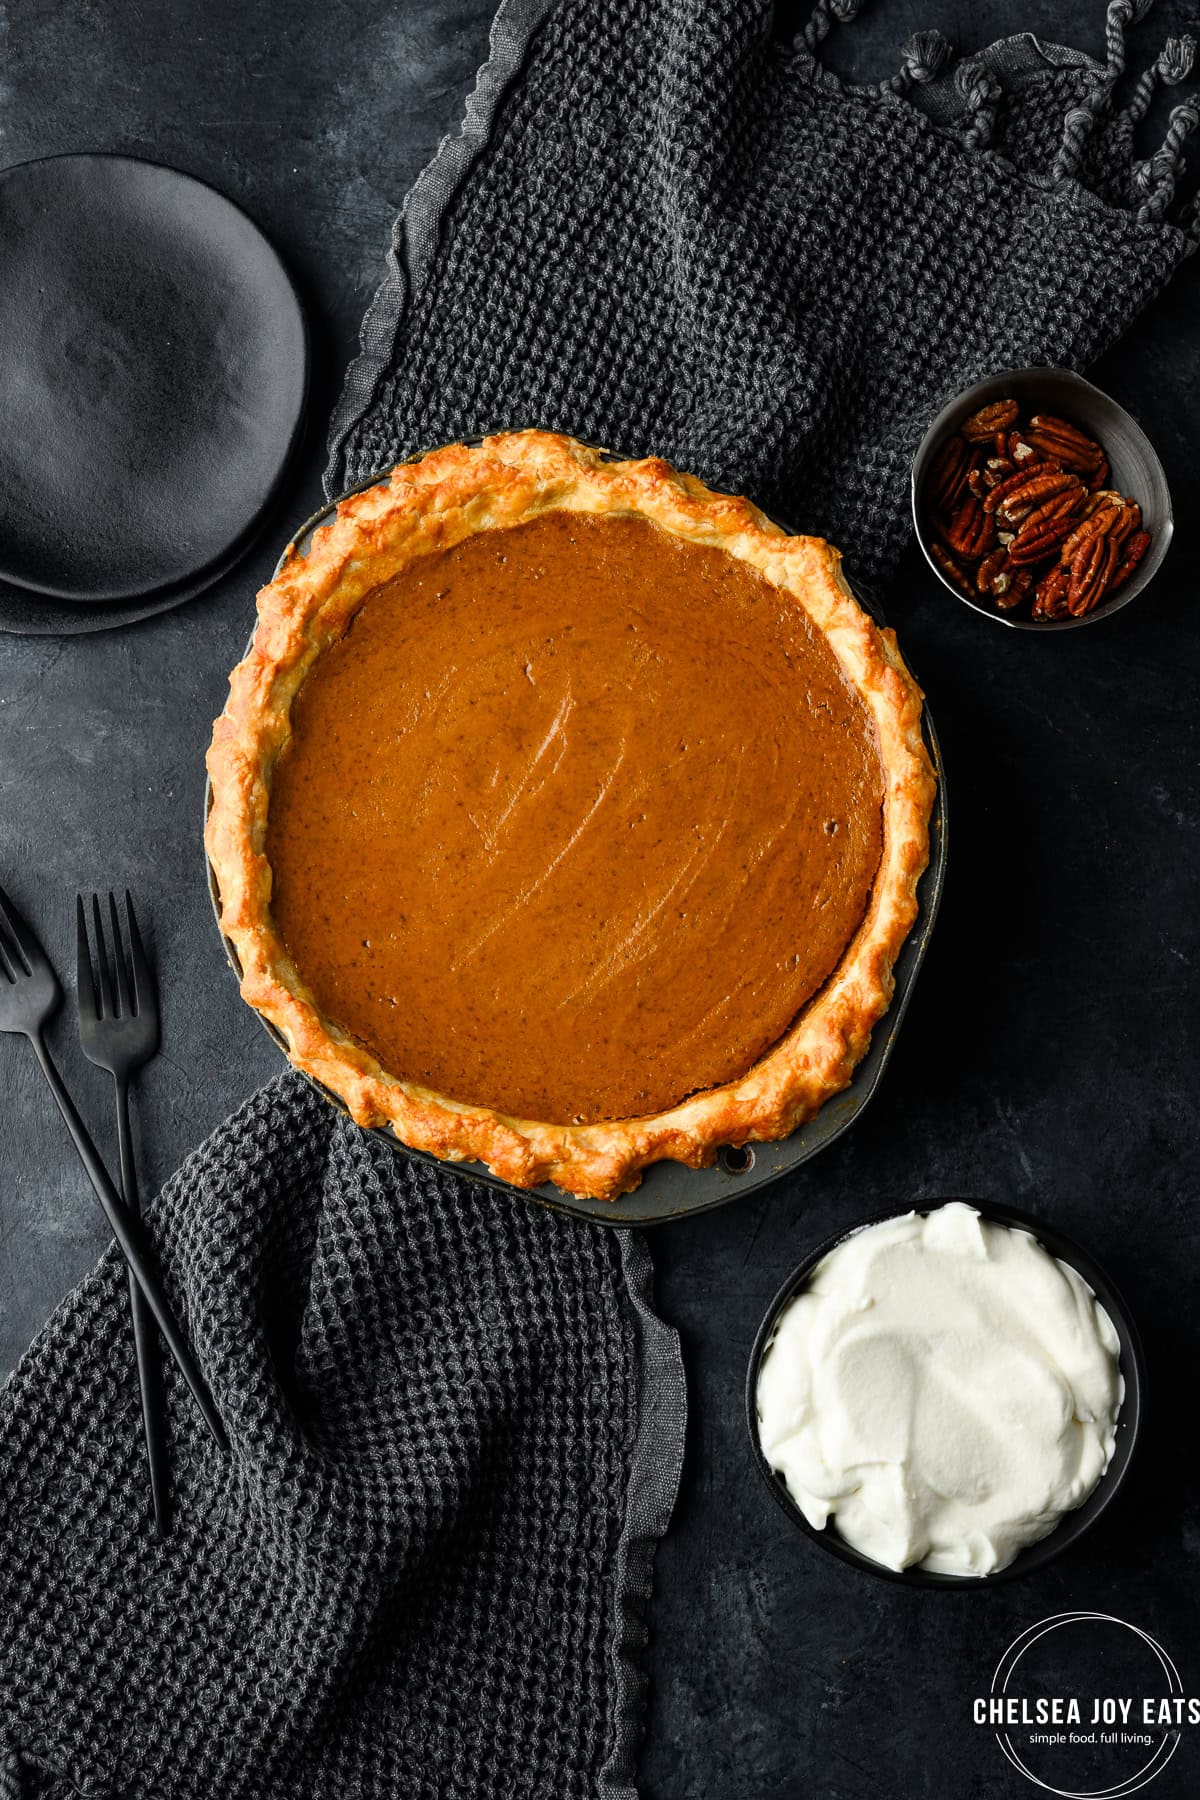
What makes this gluten free pumpkin pie recipe stellar
Focus on flavor, not sweetness
I definitely see this as a plus, since I think most desserts like to just throw more sugar at a recipe to make it "good."
For myself, I prefer my desserts rich and lightly sweetened, but not sickeningly sweet.
I want to taste the pumpkin and warm spices, and I definitely think this recipe achieves that!
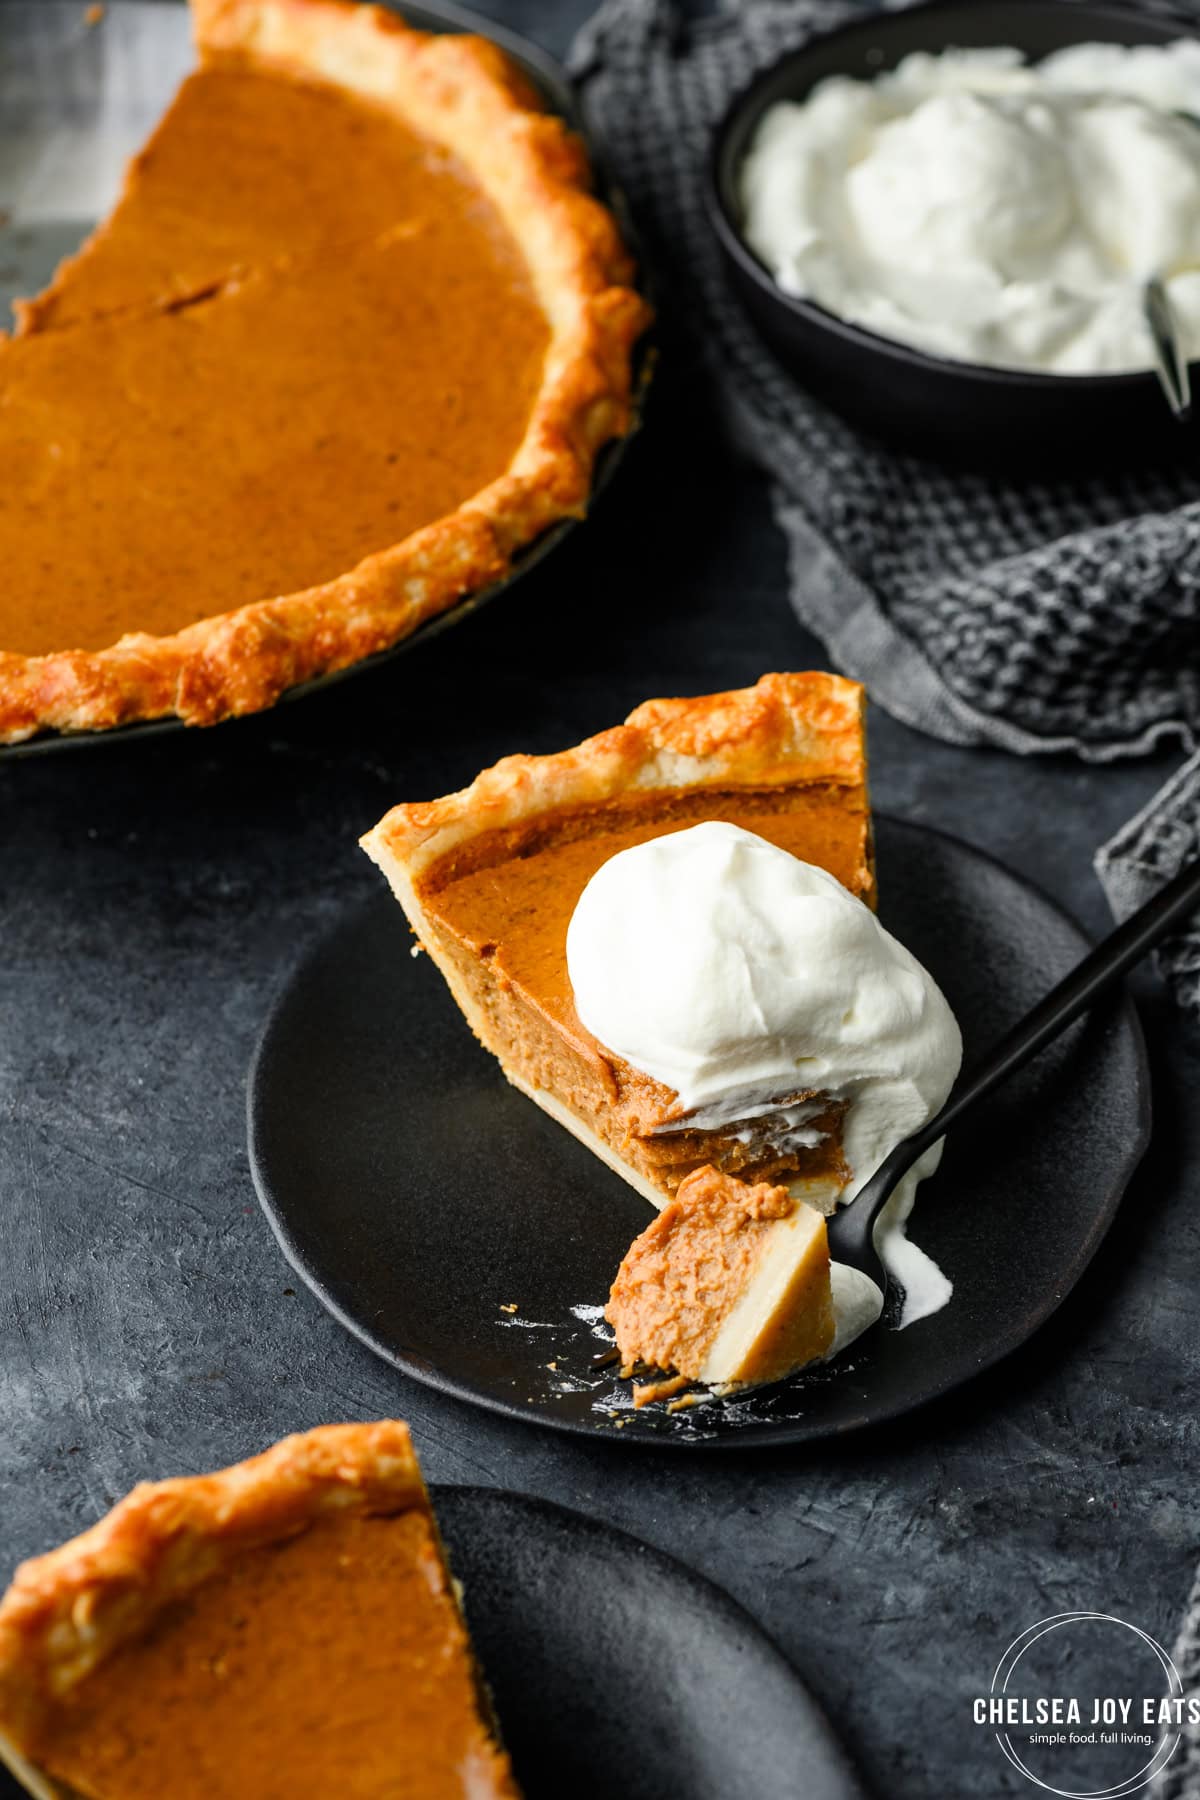
Slices perfectly
The last thing we need is a soupy pumpkin pie that doesn't slice well!
This gluten free pumpkin pie slices perfectly, assuming you give it enough time to set and cool.
Want a summary?
Ask AI to summarize or ask a question about this specific recipe!
Disclosure: these buttons are meant to be helpful but I am not responsible for how AI answers.
Ingredients needed for pumpkin pie
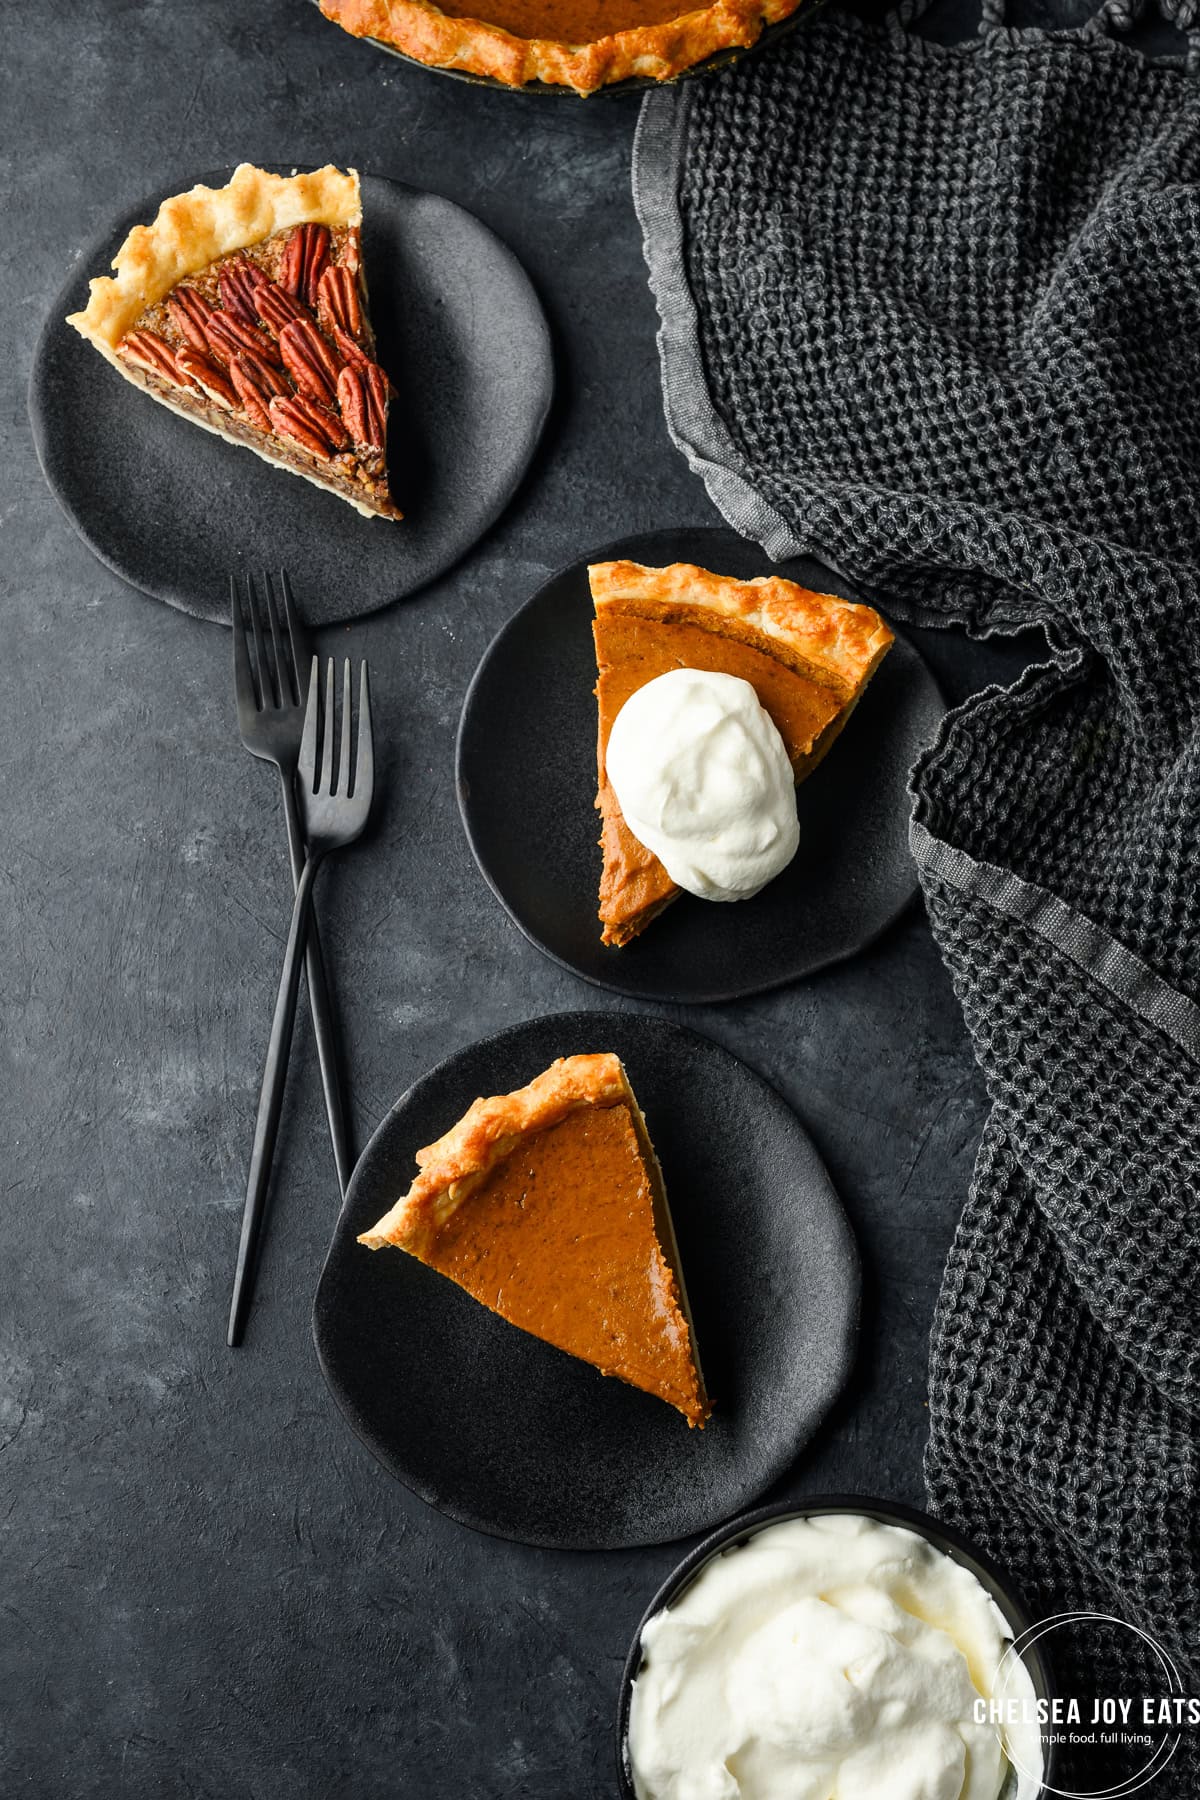
Just like gluten free pecan pie, pumpkin pie doesn't require many ingredients for a flavorful, classic filling.
PUMPKIN: Always choose pumpkin puree, not pumpkin pie mix if you are opting for storebought!
Otherwise, if you are using homemade pumpkin puree, make sure the puree is thick enough for a pie. Oftentimes homemade puree can be thinner than the canned version.
If the puree drips off a spoon when scooped, it's probably not thick enough. You can add it to a saucepan and simmer, stirring frequently, until reduced.
HEAVY CREAM: Heavy cream makes the richest, most luxurious pumpkin pie! However, if you prefer to swap for half and half, feel free.
For a dairy free version, use full-fat coconut milk. Personally, I think any other non-dairy option will not give the appropriate richness, but let me know if you give something a try and it works out!
PUMPKIN PIE SPICES: Cinnamon, nutmeg, clove, and ginger make up our pumpkin pie spice.
I am a big fan of clove, so I always include a little more than most blends would call for. Feel free to bump it down if you prefer.
EGGS: Eggs are necessary to help create a custard and keep the filling held together in the finished pie.
DARK BROWN SUGAR: My preferred sweetener for pumpkin pie. If you are hoping to make a paleo version, use coconut sugar instead.
1:1 GLUTEN FREE FLOUR: I always reach for Bob's Red Mill 1:1 Gluten Free Baking Flour for my recipes. This helps thicken the filling.
You can swap for cassava flour for a grain free version, if you'd like!
Gluten Free Pie Crust
The recipe below includes a recipe for gluten free pie crust, but feel free to use whatever recipe/product that works for you.
A few options:
- All-butter gluten free pie crust
- Use a pie crust mix to cut down on some of the prep time
- Use a pre-made gluten free pie crust
- Opt for a graham cracker crust instead!
Top tips for gluten free pie crusts
If you are making your own crust for this pumpkin pie, a few tips can help along the way.
Gluten free pie crusts are notoriously challenging to work with. I'll be honest; I don't have them mastered yet, either!
That said, take these instructions and tips to heart and we'll both be on our way to a flaky, buttery crust for all our gluten free pies!
Always use cold butter/shortening
Whether you use the recipe included below or your own, always make sure that the fat source you're using is super cold. That could include butter, shortening, or sour cream.
Basically, keeping the fat cold prevents it from fully incorporating with the dough. These little pockets of fat quickly melt while baking, creating pockets of steam that puff up to create the flaky layers a good crust has!
A food processor works wonders
You can use a pastry cutter or your fingers to work the cold butter/shortening into the flour, but a food processor is queen.
It's fast and hands-off!
Just make sure that you're only using it to incorporate the fat - if you also use a food processor to mix in the water, you'll end up undoing the work of cutting in the butter. So transfer the dough to another bowl to add in the water!
Only add enough water to hold the crust together
I'll be the first to admit this is where I often go awry in my gluten free crust-making!
After cutting in the butter/fat, add only enough cold water to keep the crust together. If it's too dry/crumbly to work with, add water 1 tablespoon at a time.
Too much, and the crust will just get too sticky to roll out.
How do I prevent the crust from getting soggy?
A few tips you can try to prevent the crust from soaking up the liquid of the filling:
- Brush with egg - You're washing the outer crust with a beaten egg for this recipe anyway, so beat that egg a little early and brush the bottom of the pie crust before adding the filling.
This essentially creates a seal for the crust so the filling won't soak into the crust before the fat in the crust melts. - Bake on a baking sheet or pizza stone - Set a baking sheet or pizza stone in the oven while it preheats, then put the pie plate directly on the heated sheet/stone.
This gives a heat boost to the very bottom of the pan (and therefore, the bottom of the crust), which allows those pockets of fat melt quickly to form those flaky layers before the filling soaks in. - Create a moisture barrier with crust dust - mix a teaspoon of gluten free all-purpose flour and a teaspoon of sugar together, then sprinkle on the bottom of the pie crust.

Tips for the best pumpkin pie
To make the best gluten free pumpkin pie, take a little care when baking to ensure everything goes off without a hitch!
How to prevent the top of the pie from cracking
No one loves the look of cracks in the top of pumpkin pie. Here's how you can help prevent the dreaded crack!
Bake on a lower rack in the oven - this helps keep the the top of the pie from over-baking.
Don't overbake! - The top of pumpkin pie tends to crack if it's baked too long. Remove the pie when the center jiggles slightly when jostled (it shouldn't slosh around.) The pie will continue to cook for a few minutes when you take it out of the oven, helping to firm up the center.
However, if you wait too long and the center of the pie doesn't move at all, it'll still continue to cook when you take it out of the oven and could crack.
Let the pie cool completely before refrigerating - If the pie cools too abruptly, the shock of the temperature change can lead to cracks.
On a related note, you can try shutting the oven off 5 minutes early and let the pie cool in the oven with the door cracked.
What to do if the top cracks anyway
You tried everything, but the top cracked anyway?
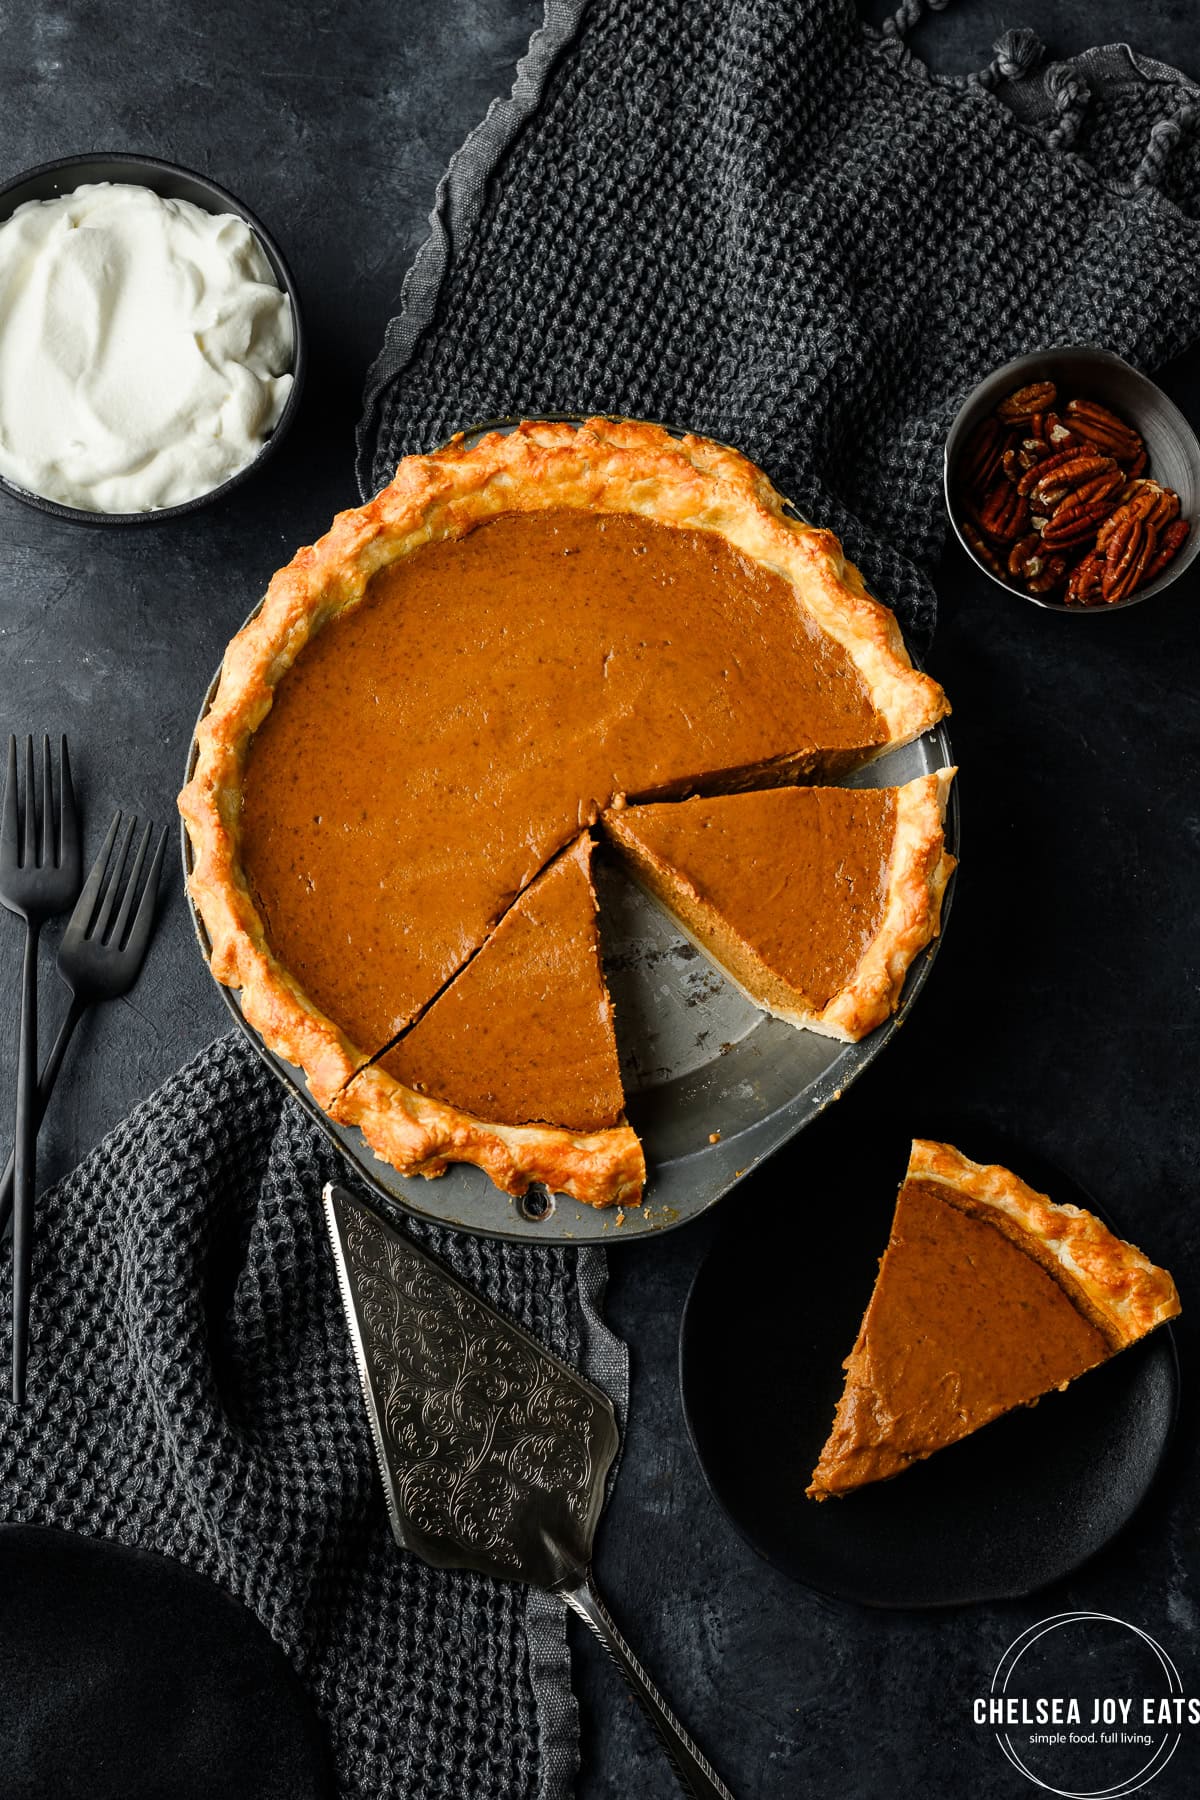
The simplest solution, if you care about the presentation, is to top the cooled pie with a layer of whipped cream!
You'll serve the pie with whipped cream anyway, right? So gently spread whipped cream over the chilled pie with an offset spatula just before serving.
You can also dust the top of the whipped cream with cinnamon if you'd like.
Crisis averted!
Make a dairy free pumpkin pie
How can I make a dairy free version?
Swap out the heavy cream for full fat coconut milk or coconut cream. Use shortening for the crust.
How can I make a paleo verison?
Swap out the heavy cream for full fat coconut milk or cream.
Use vegetable shortening and cassava flour for the crust OR make a press-in crust with crushed toasted nuts, coconut oil, and cassava flour.
Use coconut sugar instead of brown sugar.
Substitute cassava flour in the filling instead of all-purpose gluten free flour.
FAQs
Yes! This pie is already gluten free; to make dairy free, swap out the heavy cream for full fat coconut milk or coconut cream. Use shortening for the crust.
My top 3 tips for preventing the crust from soaking up the liquid of the filling:
Brush with egg - You're washing the outer crust with a beaten egg for this recipe anyway, so beat that egg a little early and brush the bottom of the pie crust before adding the filling.
This essentially creates a seal for the crust so the filling won't soak into the crust before the fat in the crust melts.
Bake on a baking sheet or pizza stone - Set a baking sheet or pizza stone in the oven while it preheats, then put the pie plate directly on the heated sheet/stone.
This gives a heat boost to the very bottom of the pan (and therefore, the bottom of the crust), which allows those pockets of fat melt quickly to form those flaky layers before the filling soaks in.
Create a moisture barrier with crust dust - mix a teaspoon of gluten free all-purpose flour and a teaspoon of sugar together, then sprinkle on the bottom of the pie crust.
The biggest tip: don't overbake. Keep an eye on that pie and pull it when the top jiggles slightly but doesn't slosh around.
Once the pie has cooled, use an offset spatula to spread a layer of whipped cream over the top. Crisis averted!
More gluten free holiday recipes
Did you make my gluten-free pumpkin pie for Thanksgiving this year? I'd love to hear what you think! Comment below or tag me on Instagram.
Print📖 Recipe

Gluten Free Pumpkin Pie (with crust)
- Prep Time: 20 minutes
- Cook Time: 50 minutes
- Total Time: 1 hour 10 minutes
- Yield: 8 servings 1x
- Category: Dessert
- Method: Baked
- Diet: Gluten Free
Description
Can't have Thanksgiving without pumpkin pie - and this gluten free pumpkin pie recipe is silky smooth with lots of warm flavor.
Ingredients
Crust:
Yield: 2 crusts
- 2 ½ cups all purpose gluten free flour blend (I like Bob's Red Mill Gluten Free 1:1 Baking Flour)
- 1 ¼ teaspoon xanthan gum (omit if already in flour blend)
- 1 tablespoon cane sugar
- ¾ teaspoon kosher salt
- 16 tablespoons (2 sticks) cold unsalted butter, cut into cubes
- 1 teaspoon white vinegar
- 4-6 tablespoons ice water, plus more as necessary
Filling:
- 1 15-oz can pumpkin puree or 1 ¾ cup fresh pumpkin puree
- 2 eggs
- ¾ cup heavy cream
- ⅔ cup dark brown sugar, tightly packed
- 2 tablespoons gluten free 1:1 flour (I like Bob's Red Mill Gluten Free 1:1 Baking Flour)
- 1 teaspoon cinnamon
- ½ teaspoon ginger
- ½ teaspoon nutmeg
- ½ teaspoon clove
- ¼ teaspoon sea salt
1 egg, beaten, or additional cream, for brushing the crust
Instructions
For the crust:
- Add gluten free flour blend, xanthan gum (if needed), sugar, and salt to the bowl of a food processor.
- Add the chilled butter cubes, being sure they aren't all lumped together. Pulse the food processor 10 times, for about 1 second each. At this point, the dough should resemble coarse sand. Transfer to a large mixing bowl.
- Add the vinegar and ice water, mixing with your hands as you add each tablespoon of water. The mixture should come together to a pliable, workable dough. If it's just too crumbly, add more water 1 tablespoon at a time, being sure to mix between each tablespoon, until the dough is relatively smooth and not too sticky. If it's too sticky, add gluten free flour 1 tablespoon at a time until the dough is workable.
- Fold the dough in on itself a couple times, then shape it into a thick disc. Wrap with plastic wrap and refrigerate for at least 30 minutes before using. You can store the wrapped dough in the fridge for up to a week, or seal in a zip-top freezer bag and store in the freezer for up to 6 months.
- When ready to bake, remove the dough from the fridge and remove plastic wrap. Place the disc between two sheets of parchment paper. Roll out using a rolling pin into a circular shape, about ⅛-inch thick and 2-3 inches wider than your pie plate. Transfer the pie crust to the pie plate. Don't stretch or pull; the crust should rest in the plate. Use a kitchen shears to remove excess dough around the edges. Finish the edges with crimping or other decorative edge.
For the filling:
- Preheat oven to 350 degrees F.
- In a large mixing bowl, add the pumpkin puree, brown sugar, gluten free flour, heavy cream, cinnamon, ginger, nutmeg, clove, and sea salt. Blend on medium speed until well-combined. Add the eggs and blend again on medium-high speed for 1-2 minutes.
- Roll out the pie crust to approximately ¼" thickness between two sheets of parchment paper and remove the top sheet of parchment. Since gluten free pie crusts can be difficult to transfer, my favorite method is to place the pie dish upside-down on the rolled-out crust (still on a piece of parchment) and flip the whole thing over, then peel off the remaining sheet of parchment paper. Should the pie crust tear, you can relatively easily patch it up with your fingers. Remove any excess pie dough on the edges. Brush the bottom of the pie crust with egg wash.
- Pour the filling into the pie crust. Using two knuckles from one hand and one from the other, pinch the edge of the pie crust all the way around the edge to create a simple pinched pattern. Otherwise, you can use a fork to press a pattern into the edges or create any other decorative edges you might desire. Brush the edges of the pie crust with egg wash.
- Bake the pie for 45-55 minutes, until the filling no longer jiggles when you jostle the dish gently. Remove from the oven and let cool for at least 2 hours at room temperature. I also recommend cooling for an additional 2 hours in the fridge before slicing to help the pie firm up. Serve with fresh whipping cream.
Leave a Reply