
Made from scratch with amazing vanilla flavor, Protein Rice Krispie Treats are a higher protein dessert that's gluten free and dairy free!
This is a homemade version of the classic, kicked up a notch with a couple scoops of protein powder.
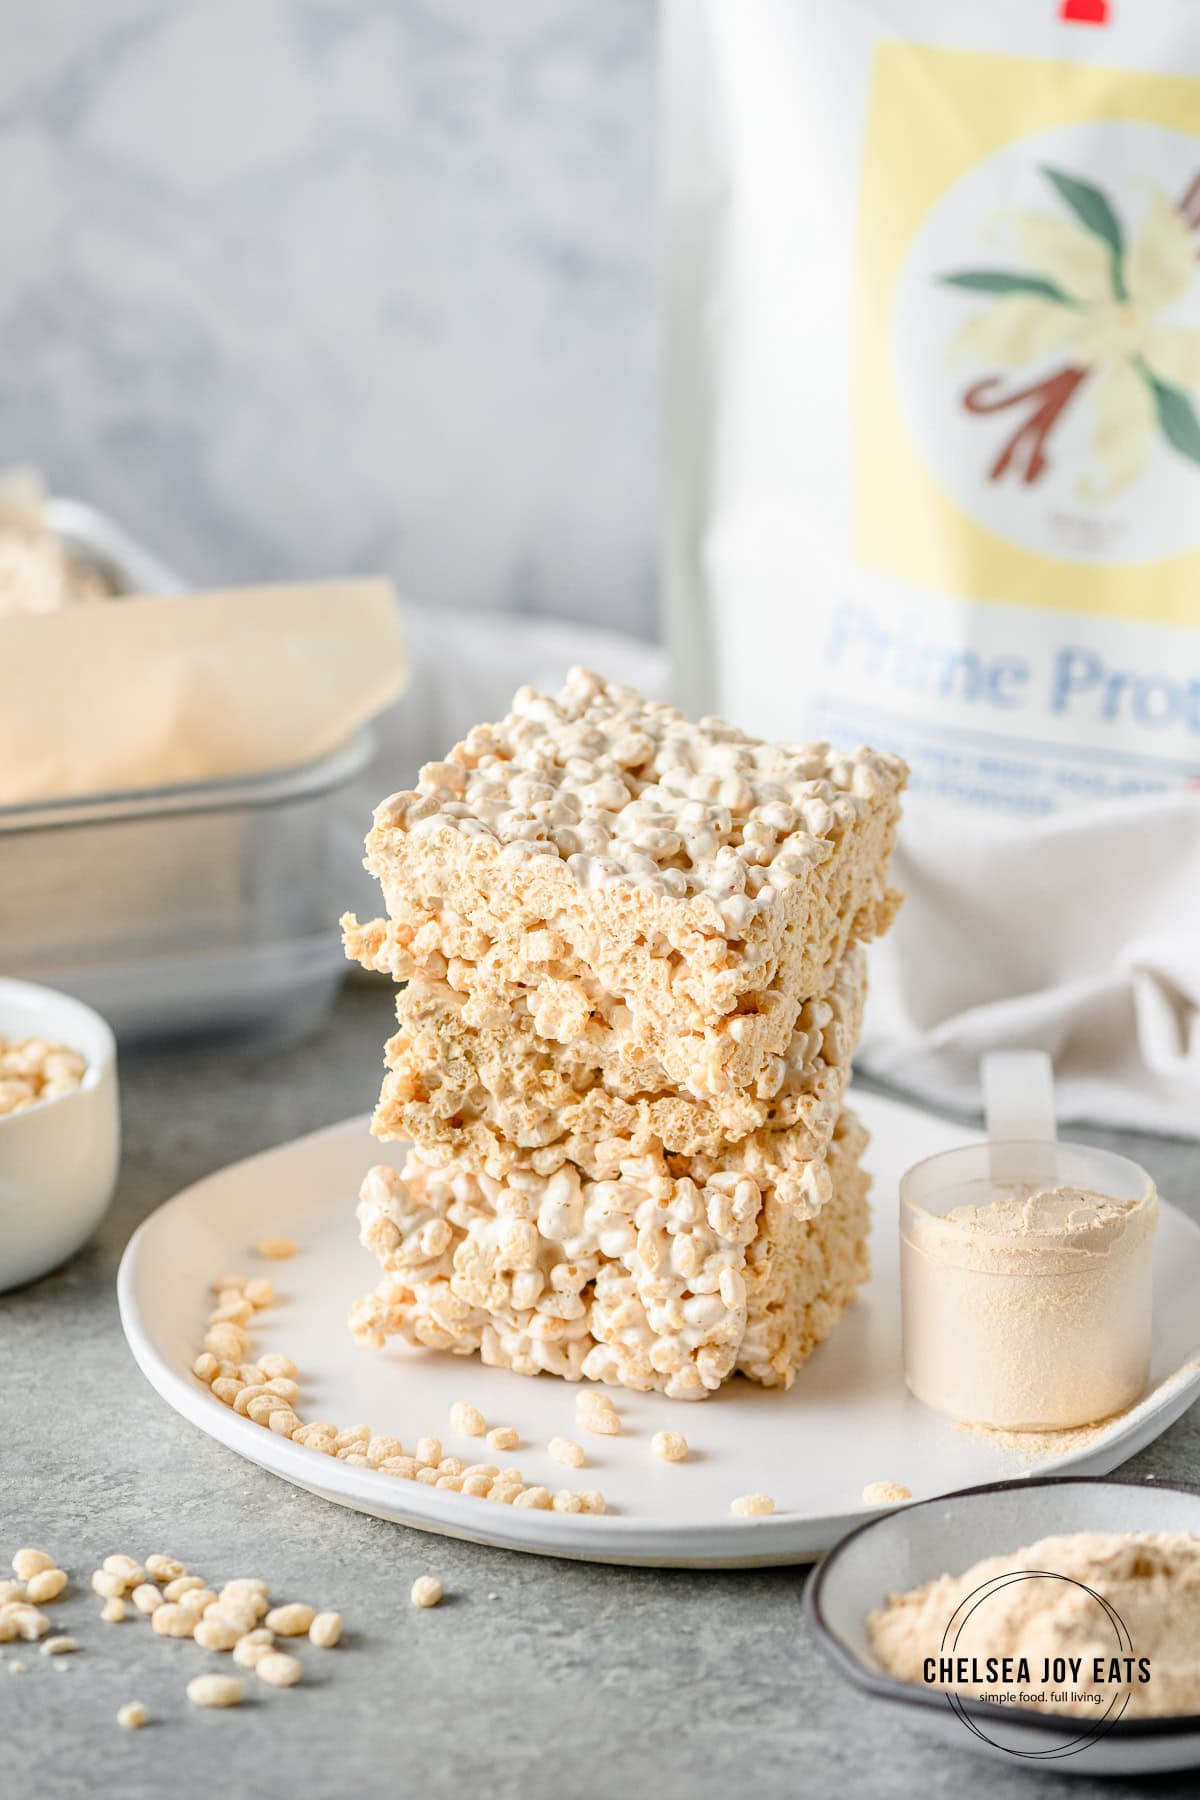
Quick Look: Protein Rice Krispie Treats
⏲️Ready In: 3 Hours 20 Minutes (3 hours cooling, 20 minutes active)
🍽Servings: 6
🥗Nutrition: 185 Calories / 7g Protein
🥘Main Ingredients: Crispy rice cereal, Honey, Maple Syrup, Gelatin, Protein Powder
📋Dietary Notes: Gluten free, Nut free, Dairy free
⭐Why You'll Love It: This from-scratch, protein-boosted version of rice krispies treats makes delicious bars that make a fantastic post-workout treat!
Have a Question? Want a Summary?
Ask AI to summarize or ask a question about this specific recipe!
Disclosure: these buttons are meant to be helpful but I am not responsible for how AI answers.
Generally, I'm not the biggest fan of "healthified" desserts. I'll happily make treats like Gluten Free Tahini Chocolate Chip Cookies and enjoy in moderation.
That said, a friend suggested Protein Rice Krispie Treats because I already enjoy making Homemade Marshmallows without Corn Syrup. Turns out adding my favorite protein and adjusting for these classic treats was very doable. I immediately got excited to share this protein version of rice krispies bars!
Jump to:
Key Ingredients
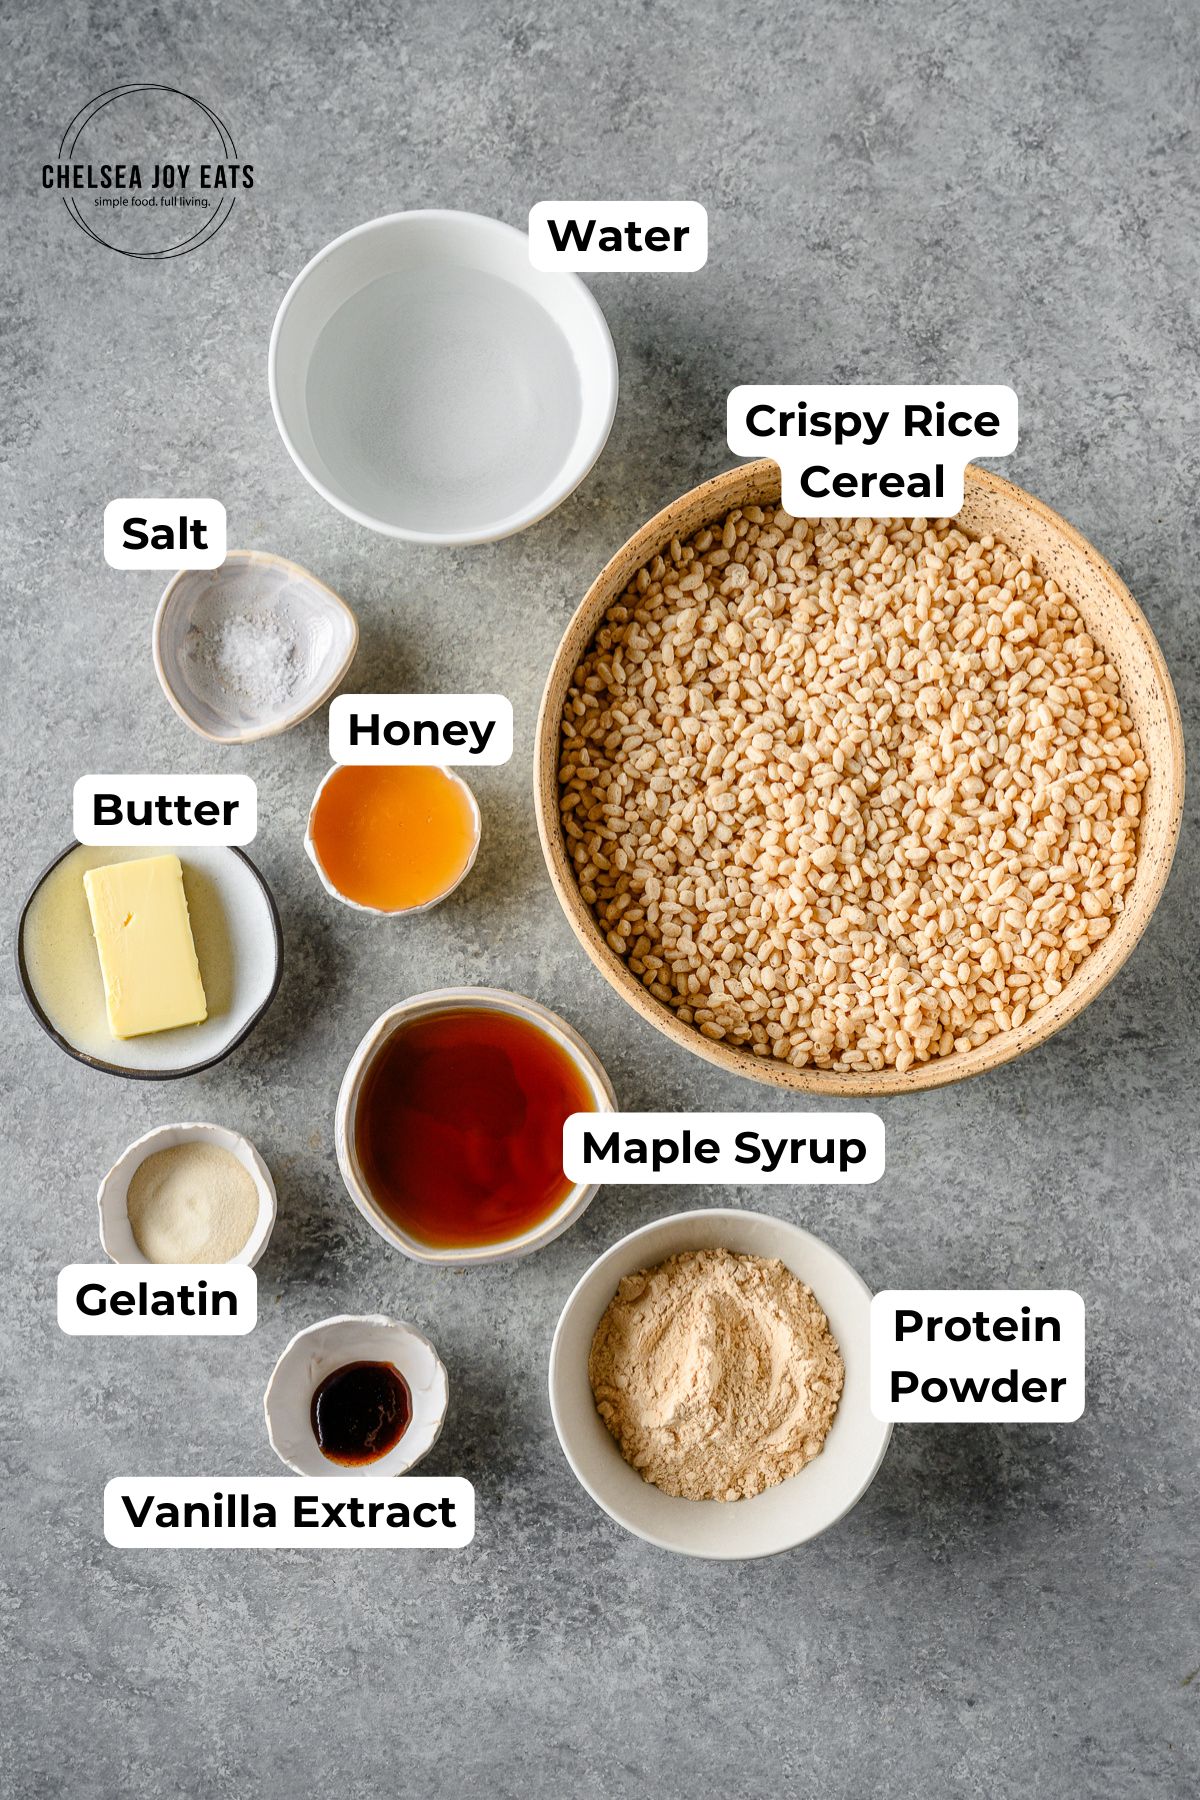
Gelatin: For homemade marshmallow, you'll need powdered gelatin like Vital Proteins beef gelatin powder.
Honey/Maple Syrup: I like using a blend of honey and maple syrup for homemade marshmallows. That said, you can easily use all of one or the other if it's what you've got! Just be sure to use pure maple syrup, not maple flavored syrup, for this recipe.
Protein Powder: My preferred protein powder is Equip Prime Protein - it's beef-based, not whey-based, so it's a perfect match with the gelatin in this workout for smooth results! That said, I have tried this rice krispies treats with why protein and it works okay, but the method will be a bit different.
Crispy Rice Cereal: Any crispy rice cereal will do for this recipe; I used Nature's Path to ensure gluten free treats but you can use the original Rice Krispies cereal too!
See the recipe card for full information on ingredients and quantities.
How to Make Protein Rice Krispie Treats
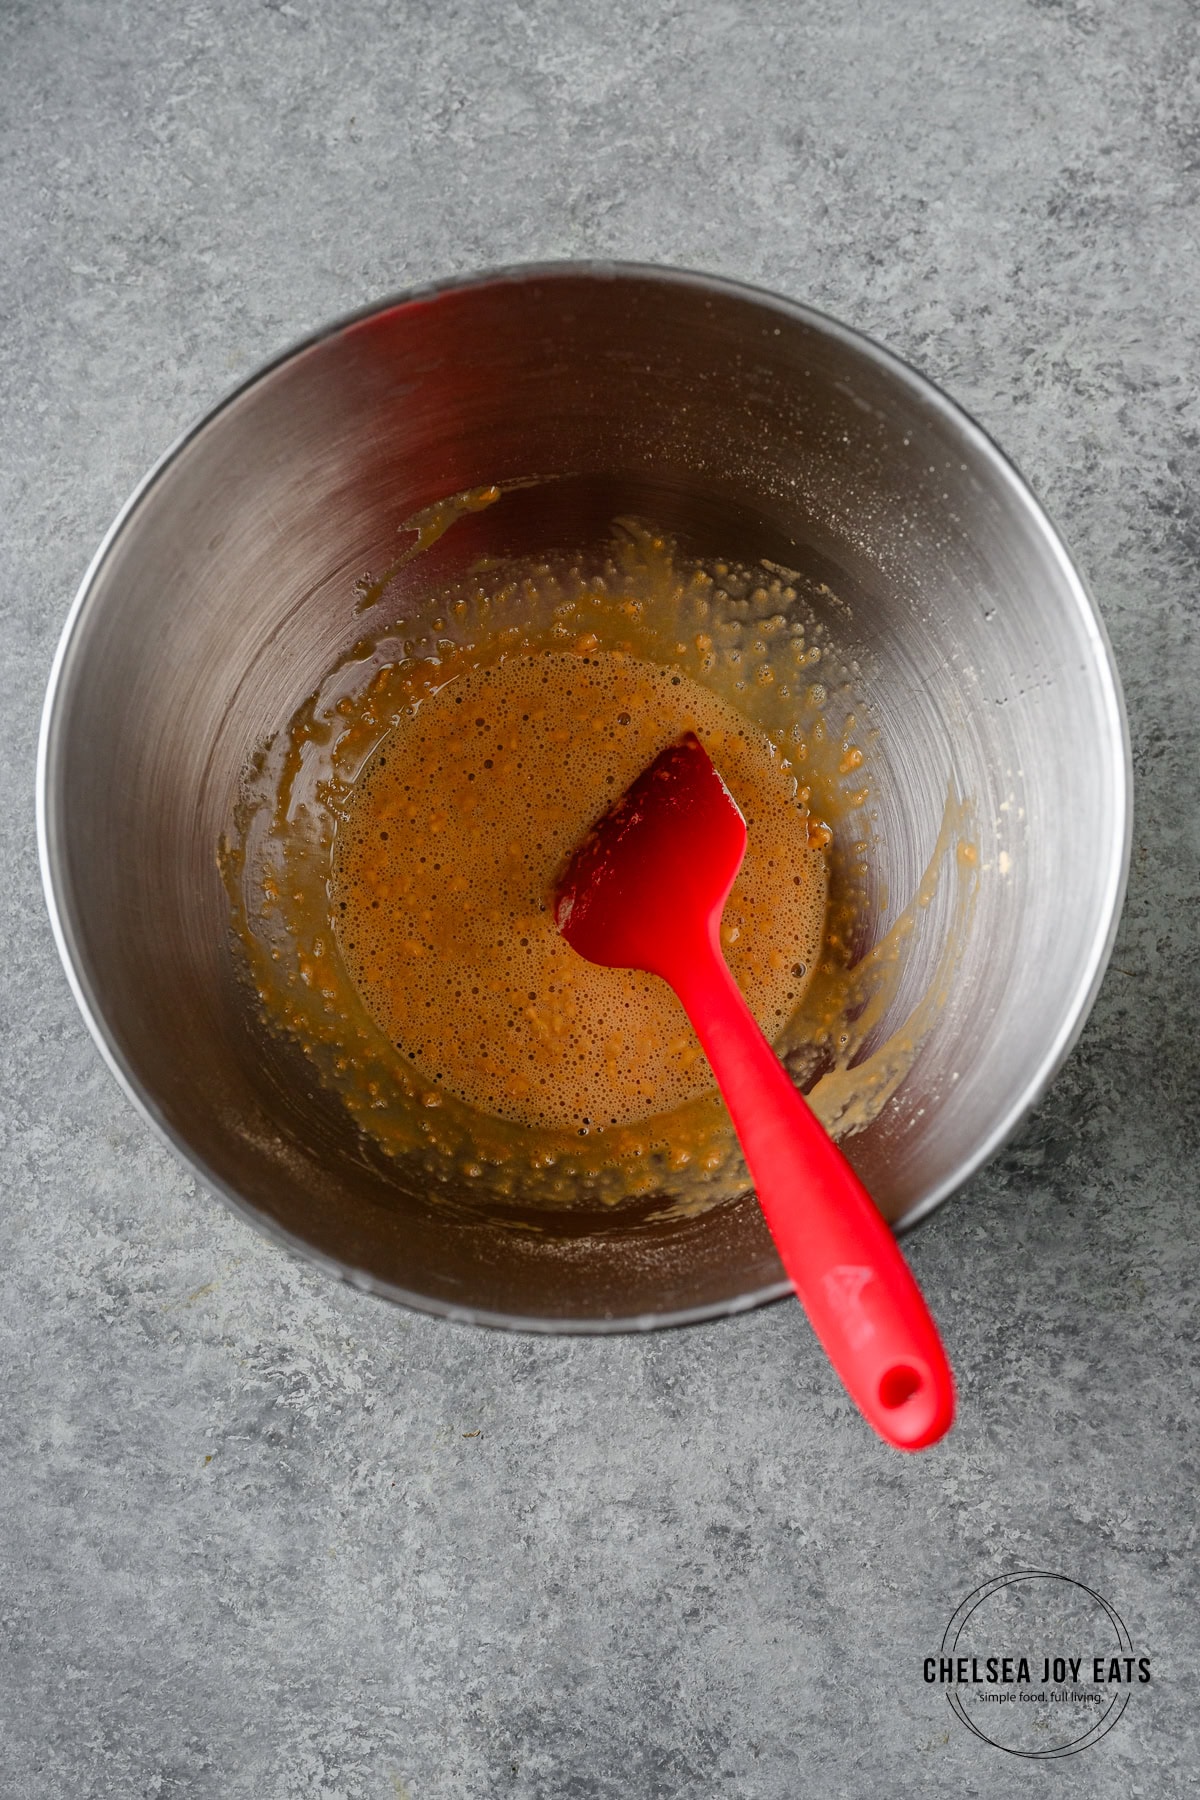
Step 1: Whisk ¼ cup water and protein powder in the bowl of a stand mixer until relatively smooth.
NOTE: If you're using whey protein, it may not dissolve and still leave liquid in the bowl. We need a little liquid for the gelatin to bloom in the next step. Add up to 2 tablespoons more water, enough to make a paste with the protein.
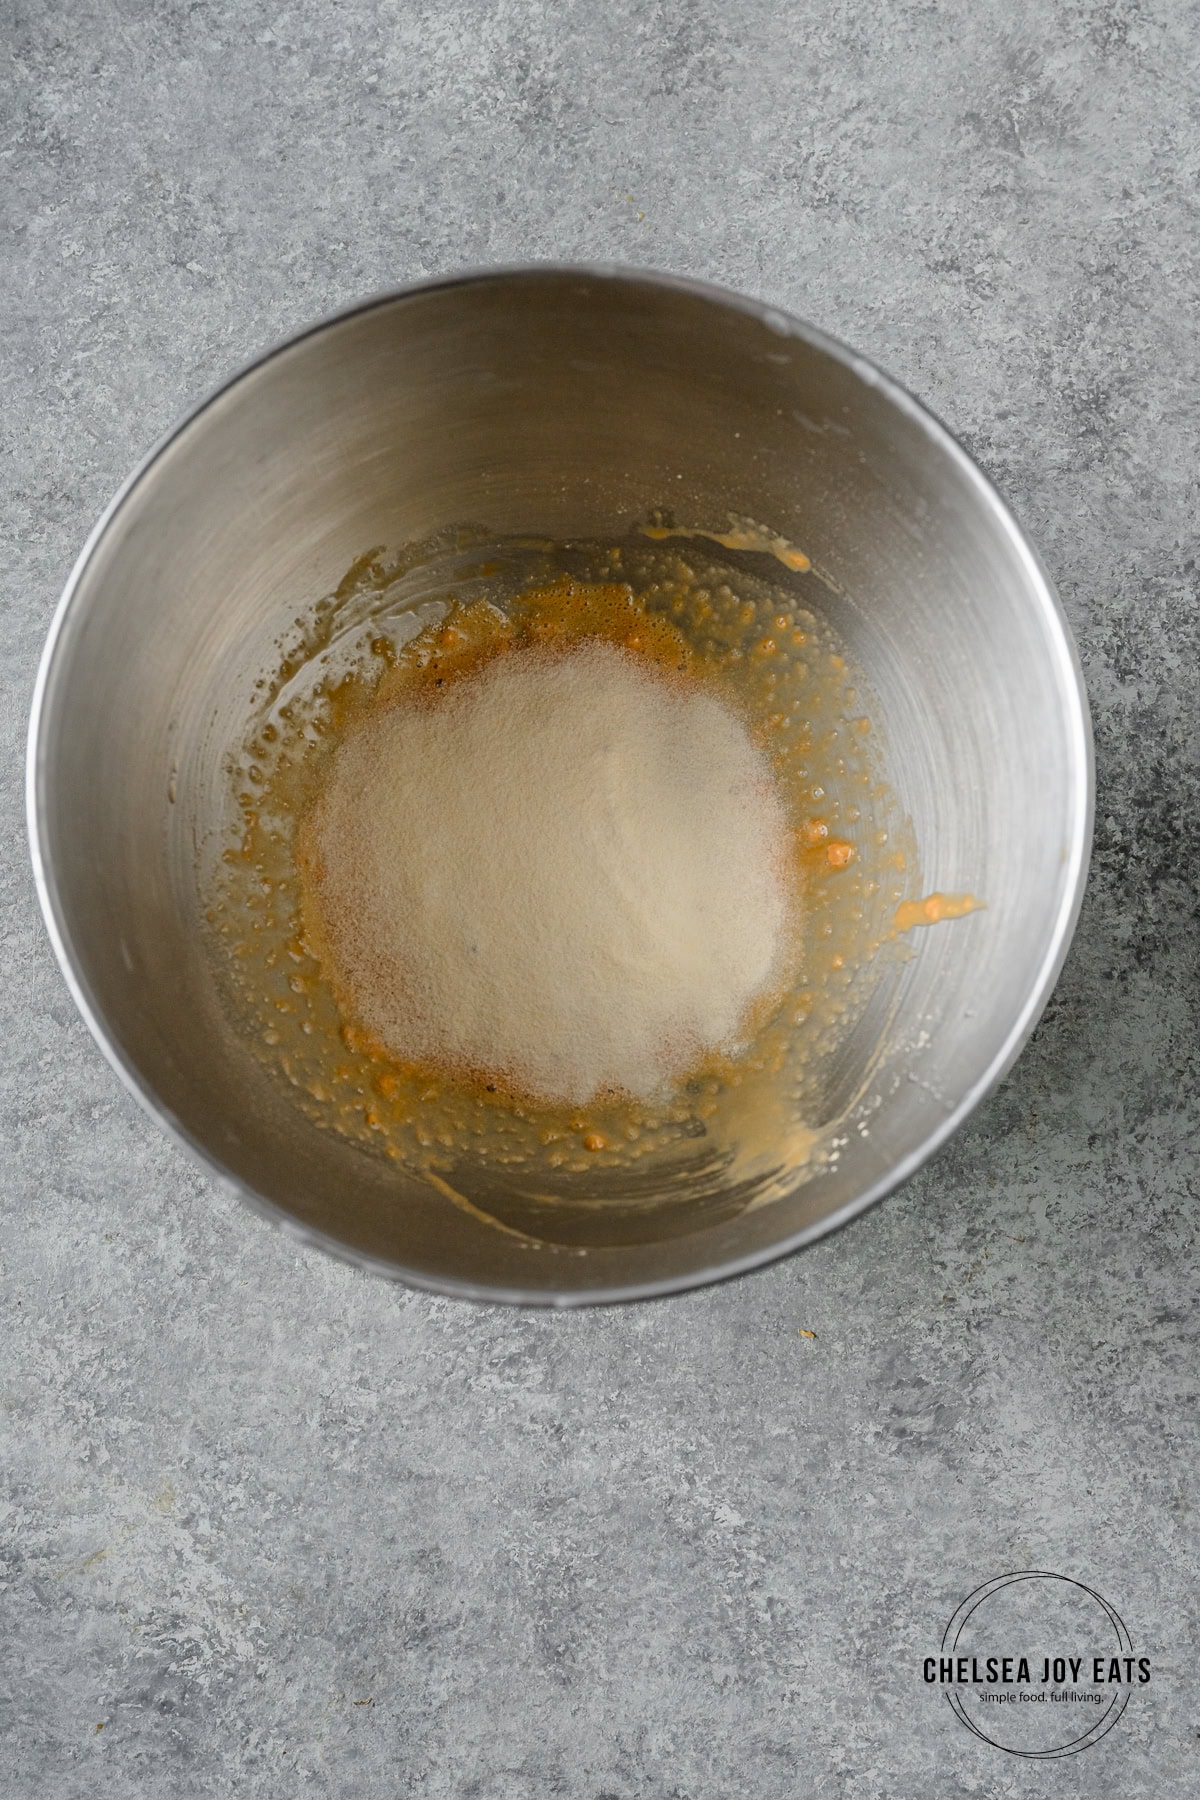
Step 2: Sprinkle gelatin over the protein powder/water mixture and set aside to let bloom while you prepare the syrup.
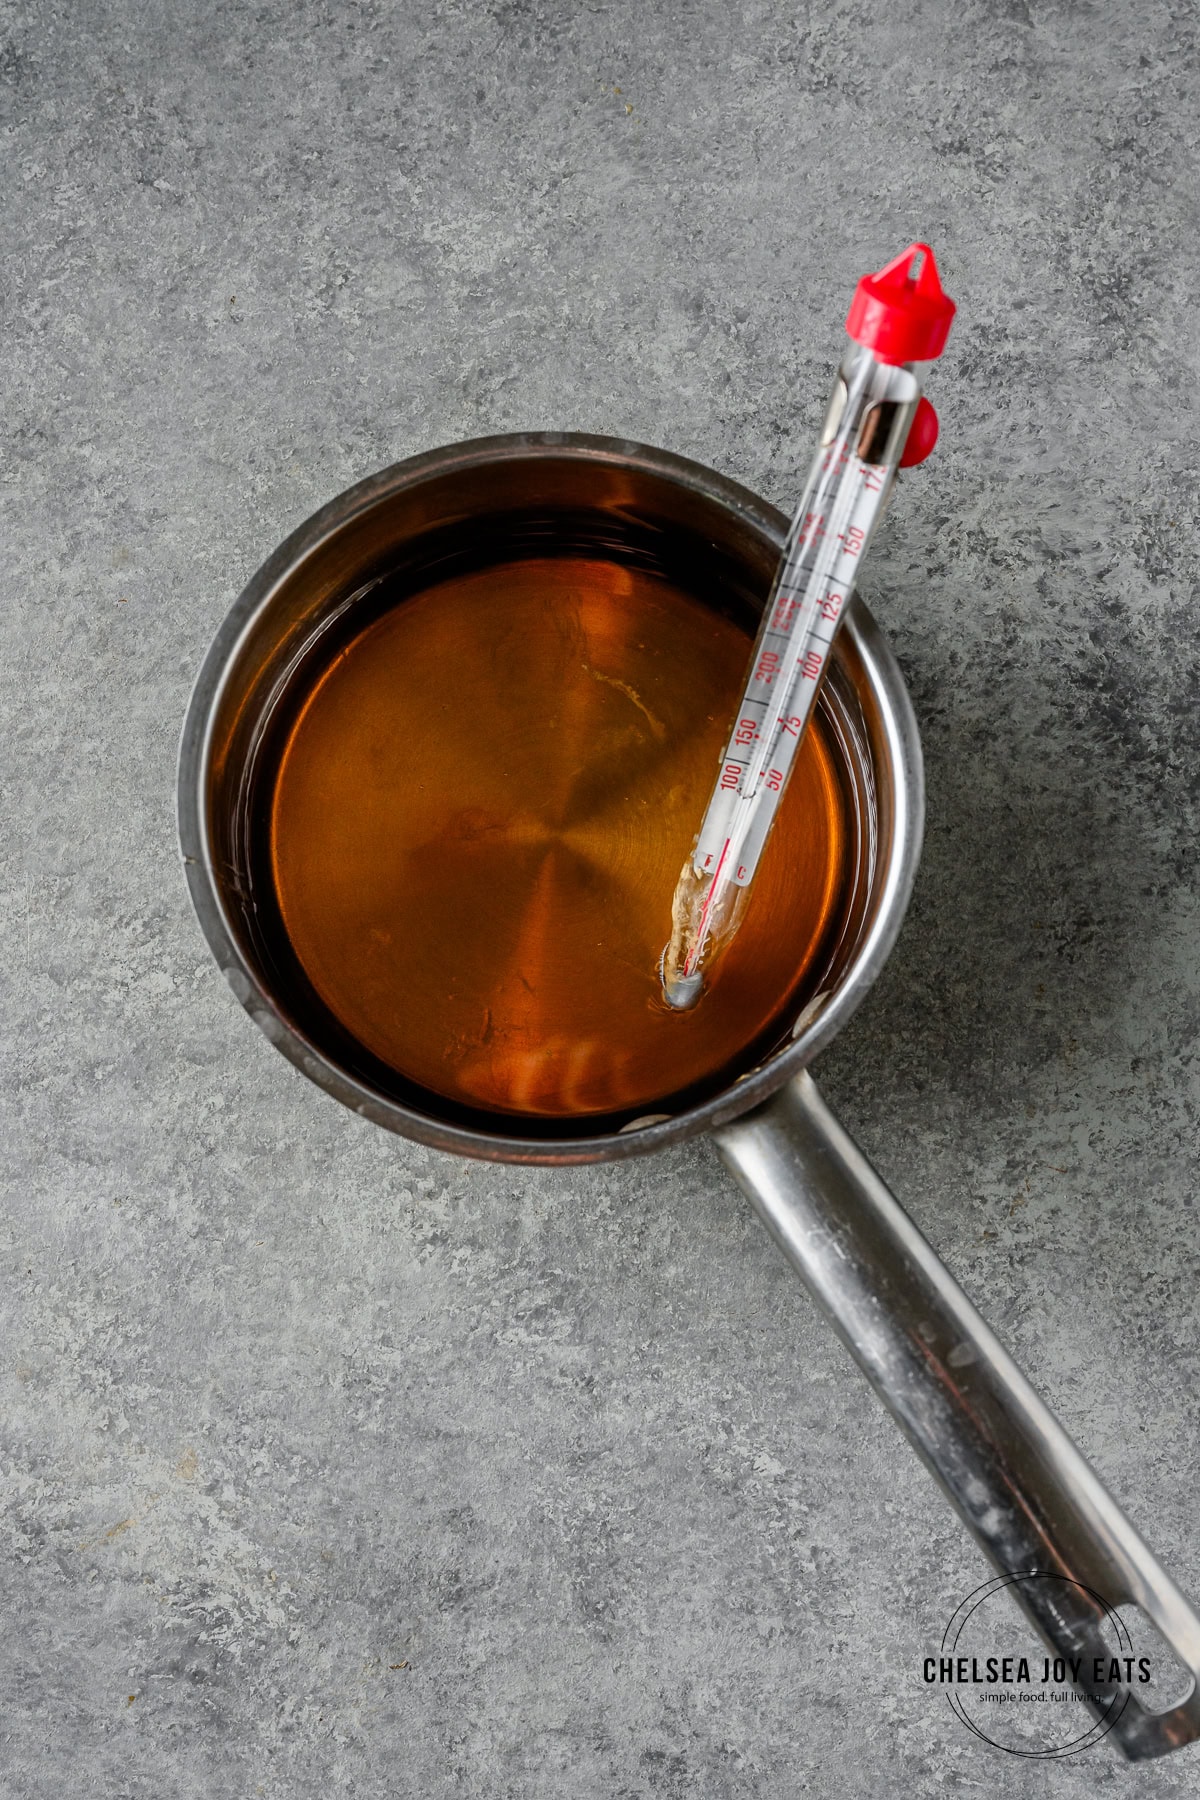
Step 3: Add the remaining ¼ cup water, honey, and maple syrup to a saucepan or deep pot. Attach a candy theremometer to the side of the pot, positioning the tip in the syrup but not touching the bottom of the pot. Bring the mixture to a boil over medium-high heat and let it continue to bubble until it reaches 230-235 degrees F on the thermometer (7-10 minutes). Immediately remove from heat.
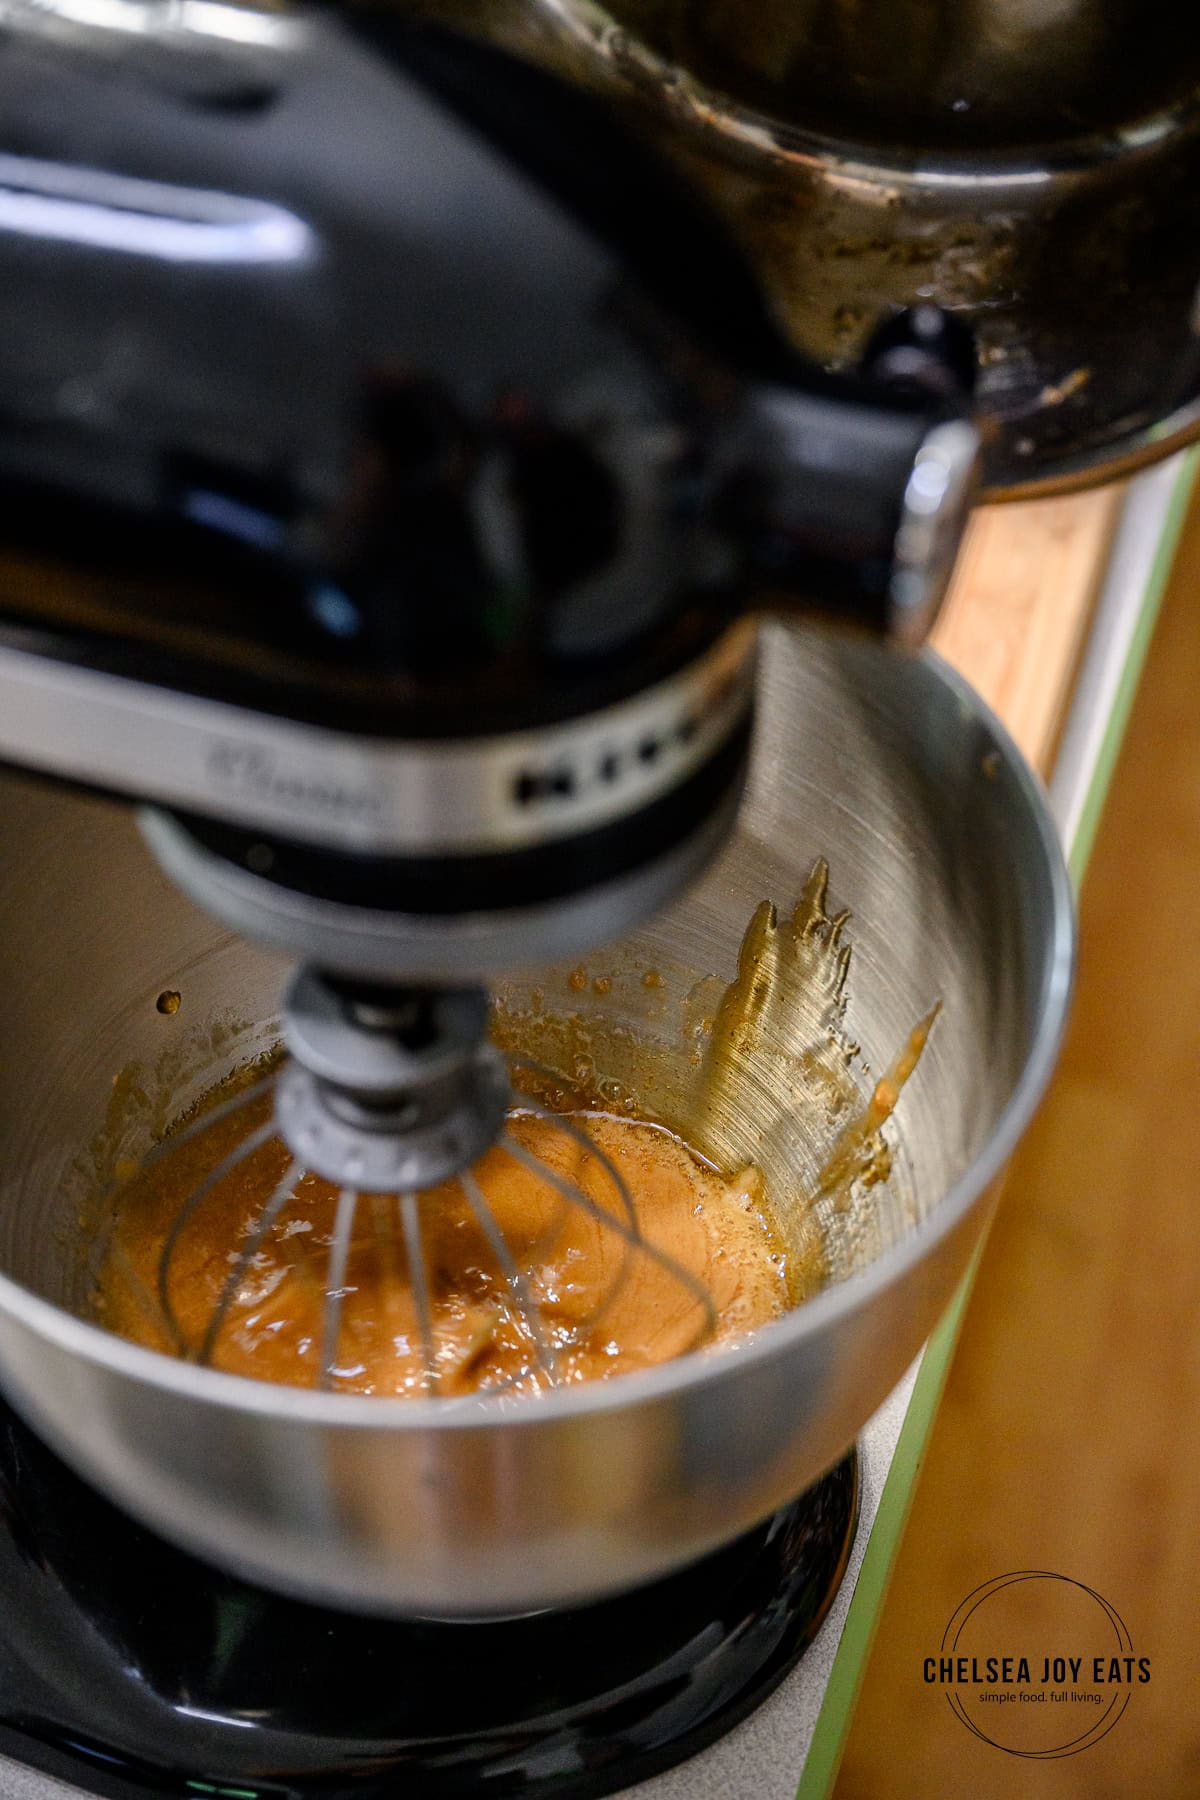
Step 4: Working quickly, turn the stand mixer on low and carefully pour the hot syrup into the gelatin mixture.
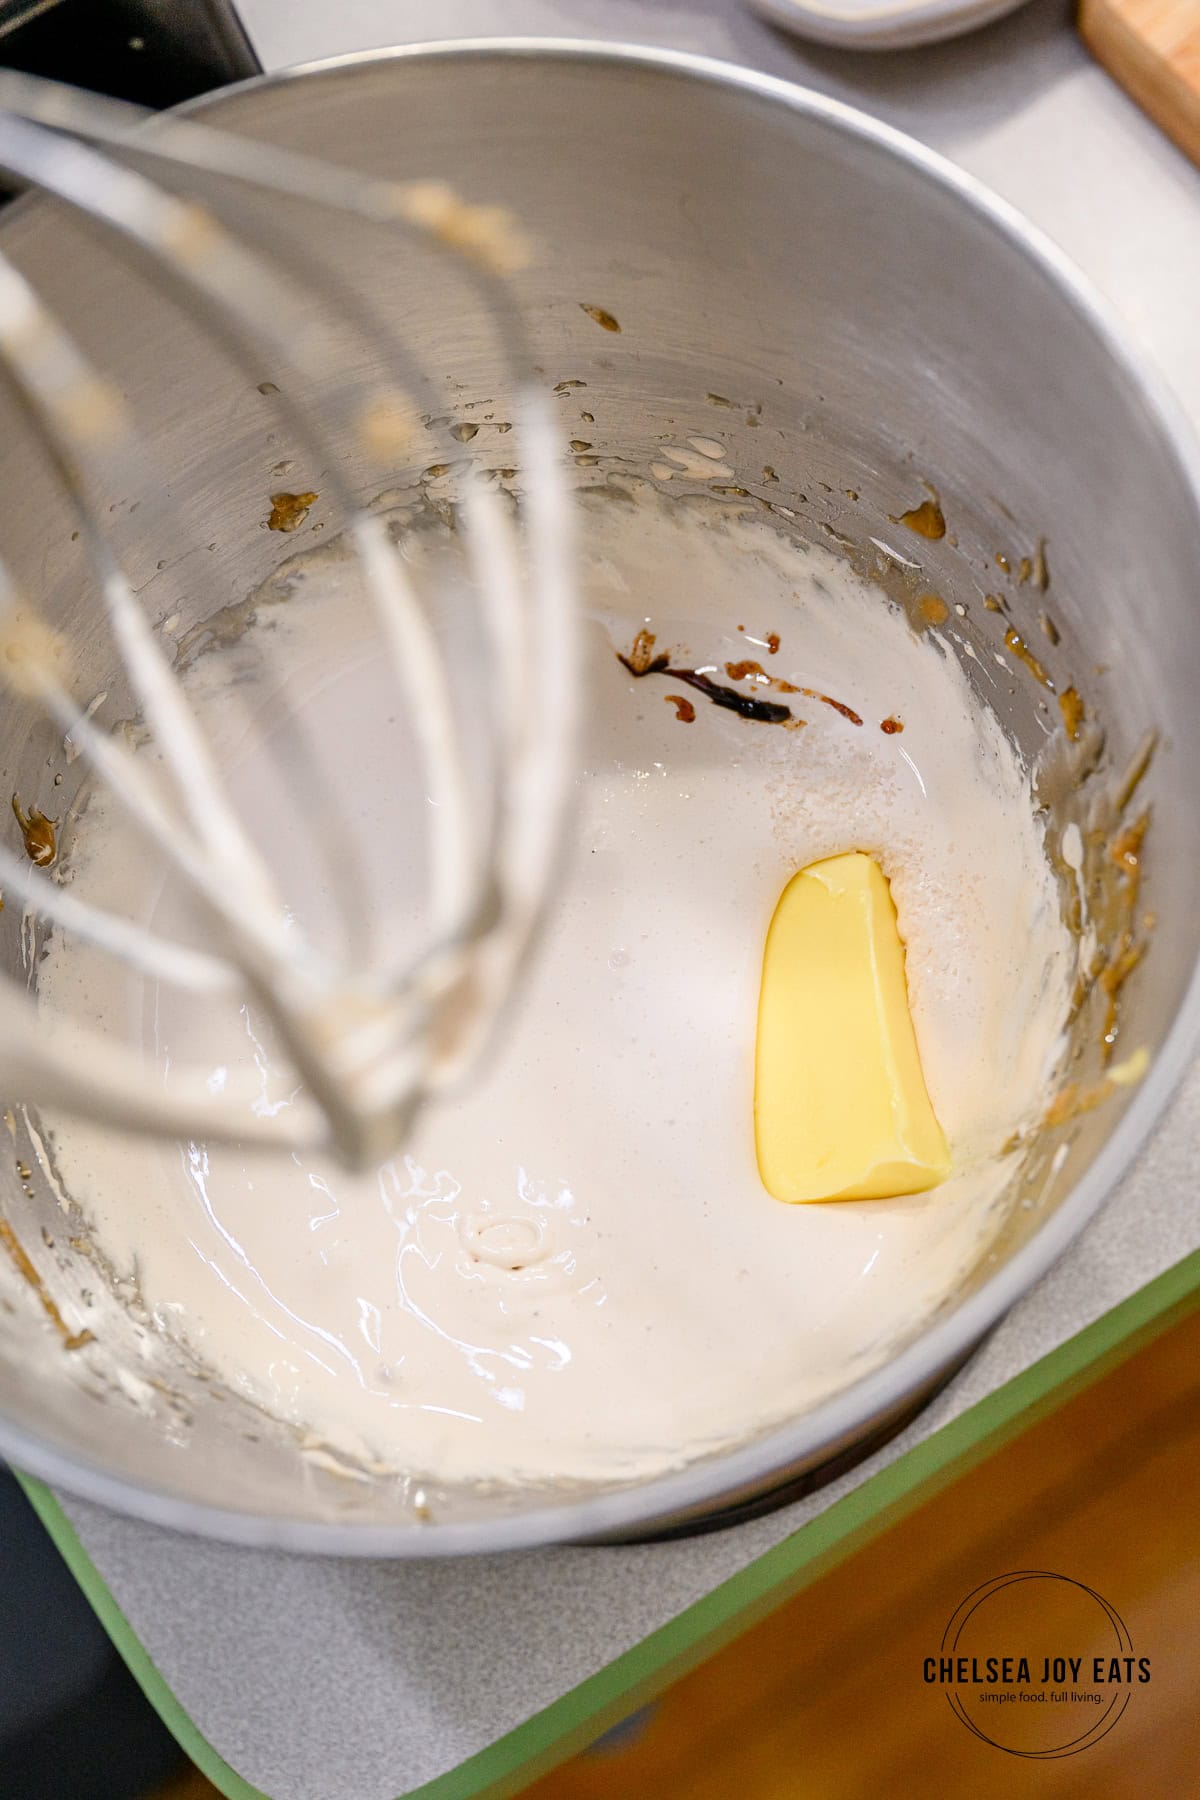
Step 5: Add the butter, salt, and vanilla extract and increase the speed to high for about 5 minutes, until the syrup has lightened in color and grown in size.
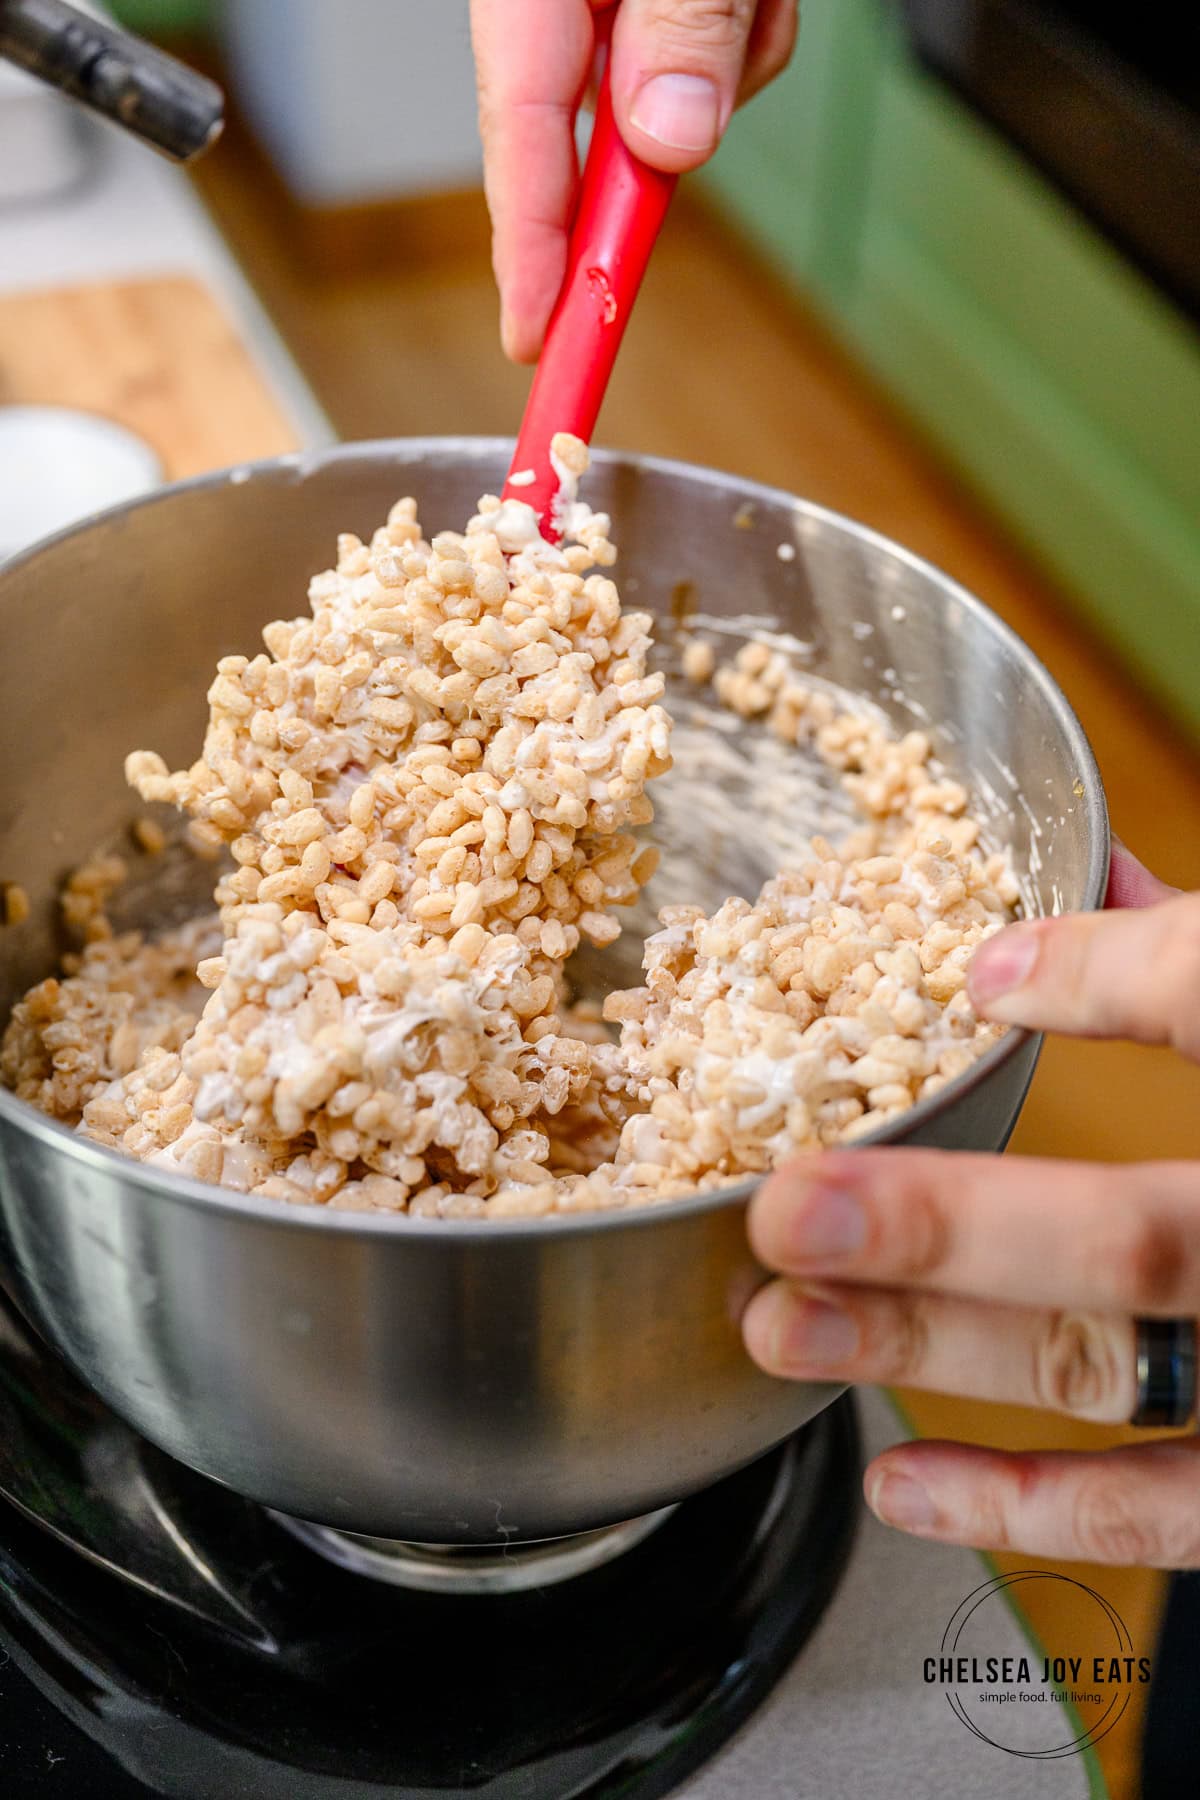
Step 6: Turn off the mixer and fold in the crispy rice cereal with a spatula until all the cereal is covered.
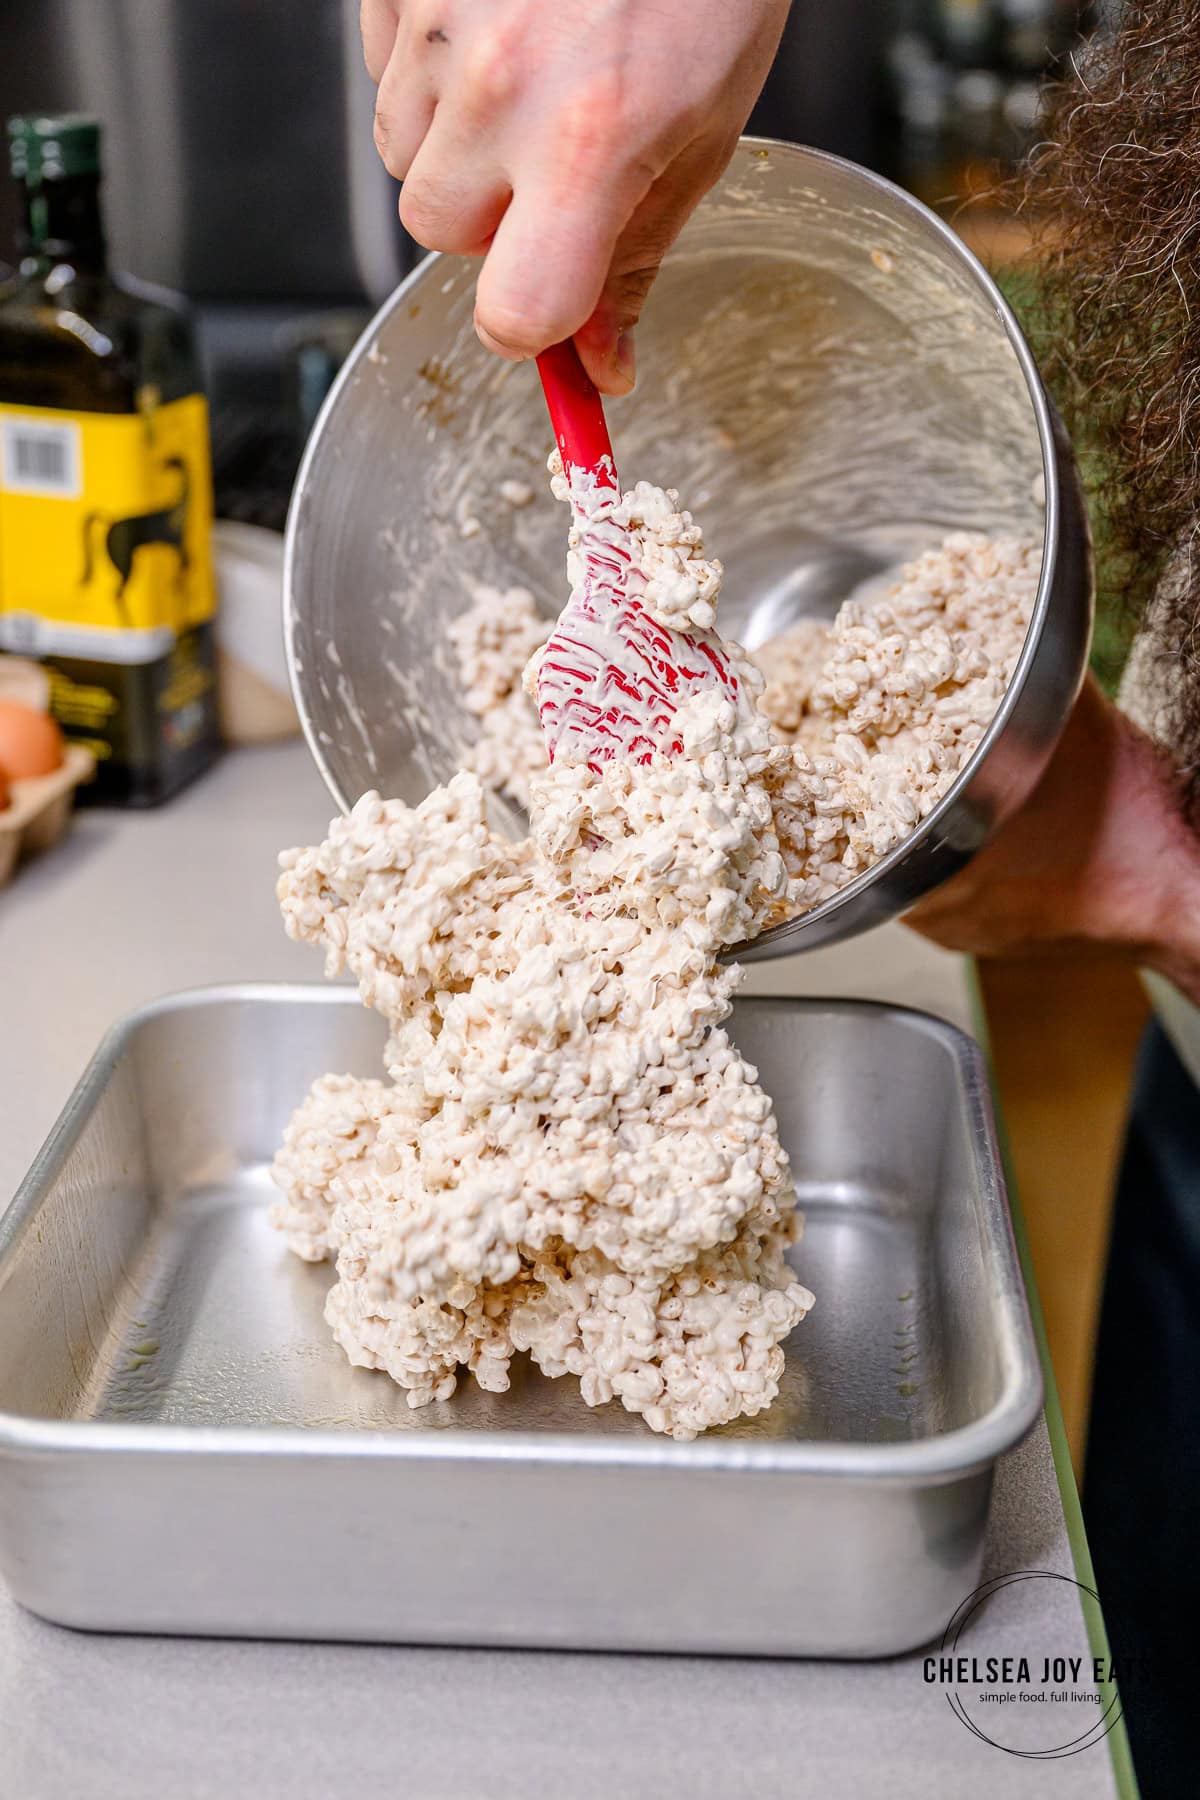
Step 7: Transfer to a greased 8x8 pan.
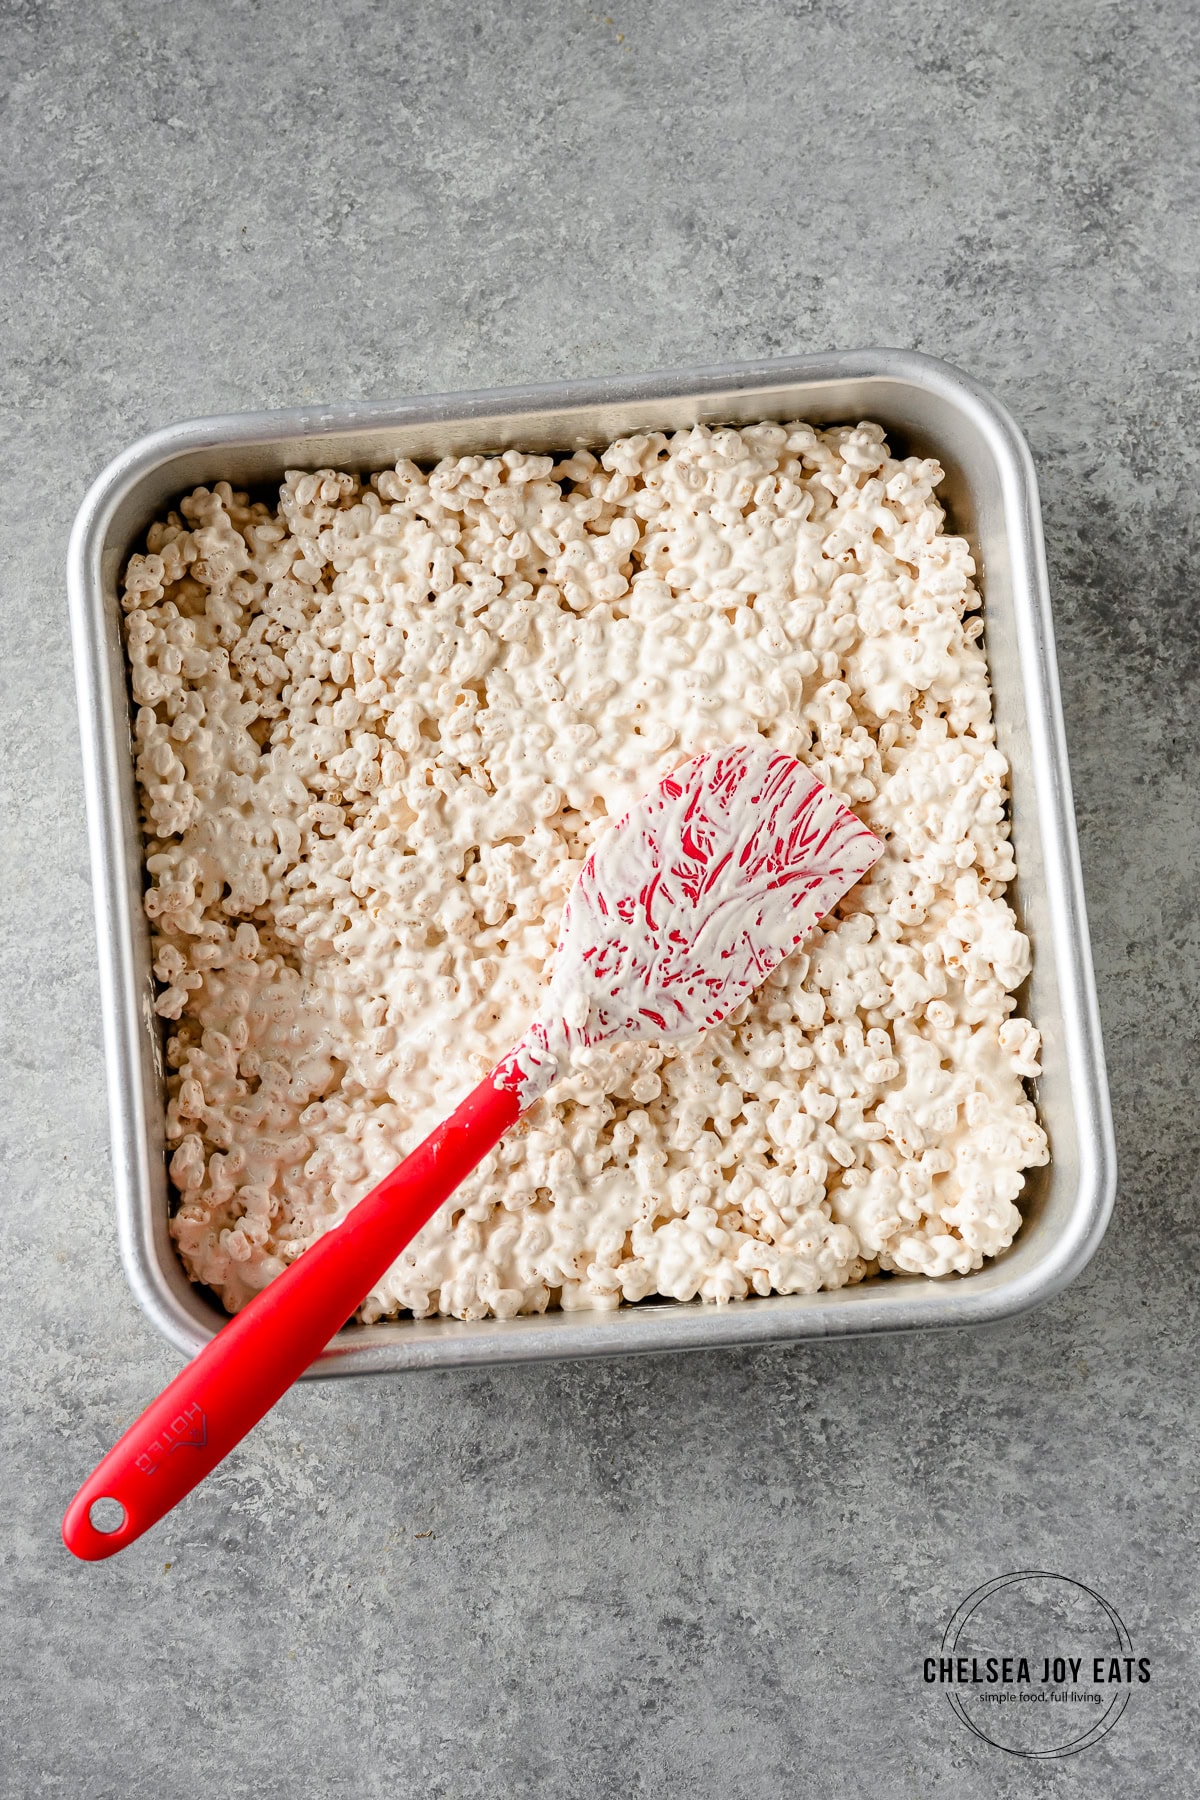
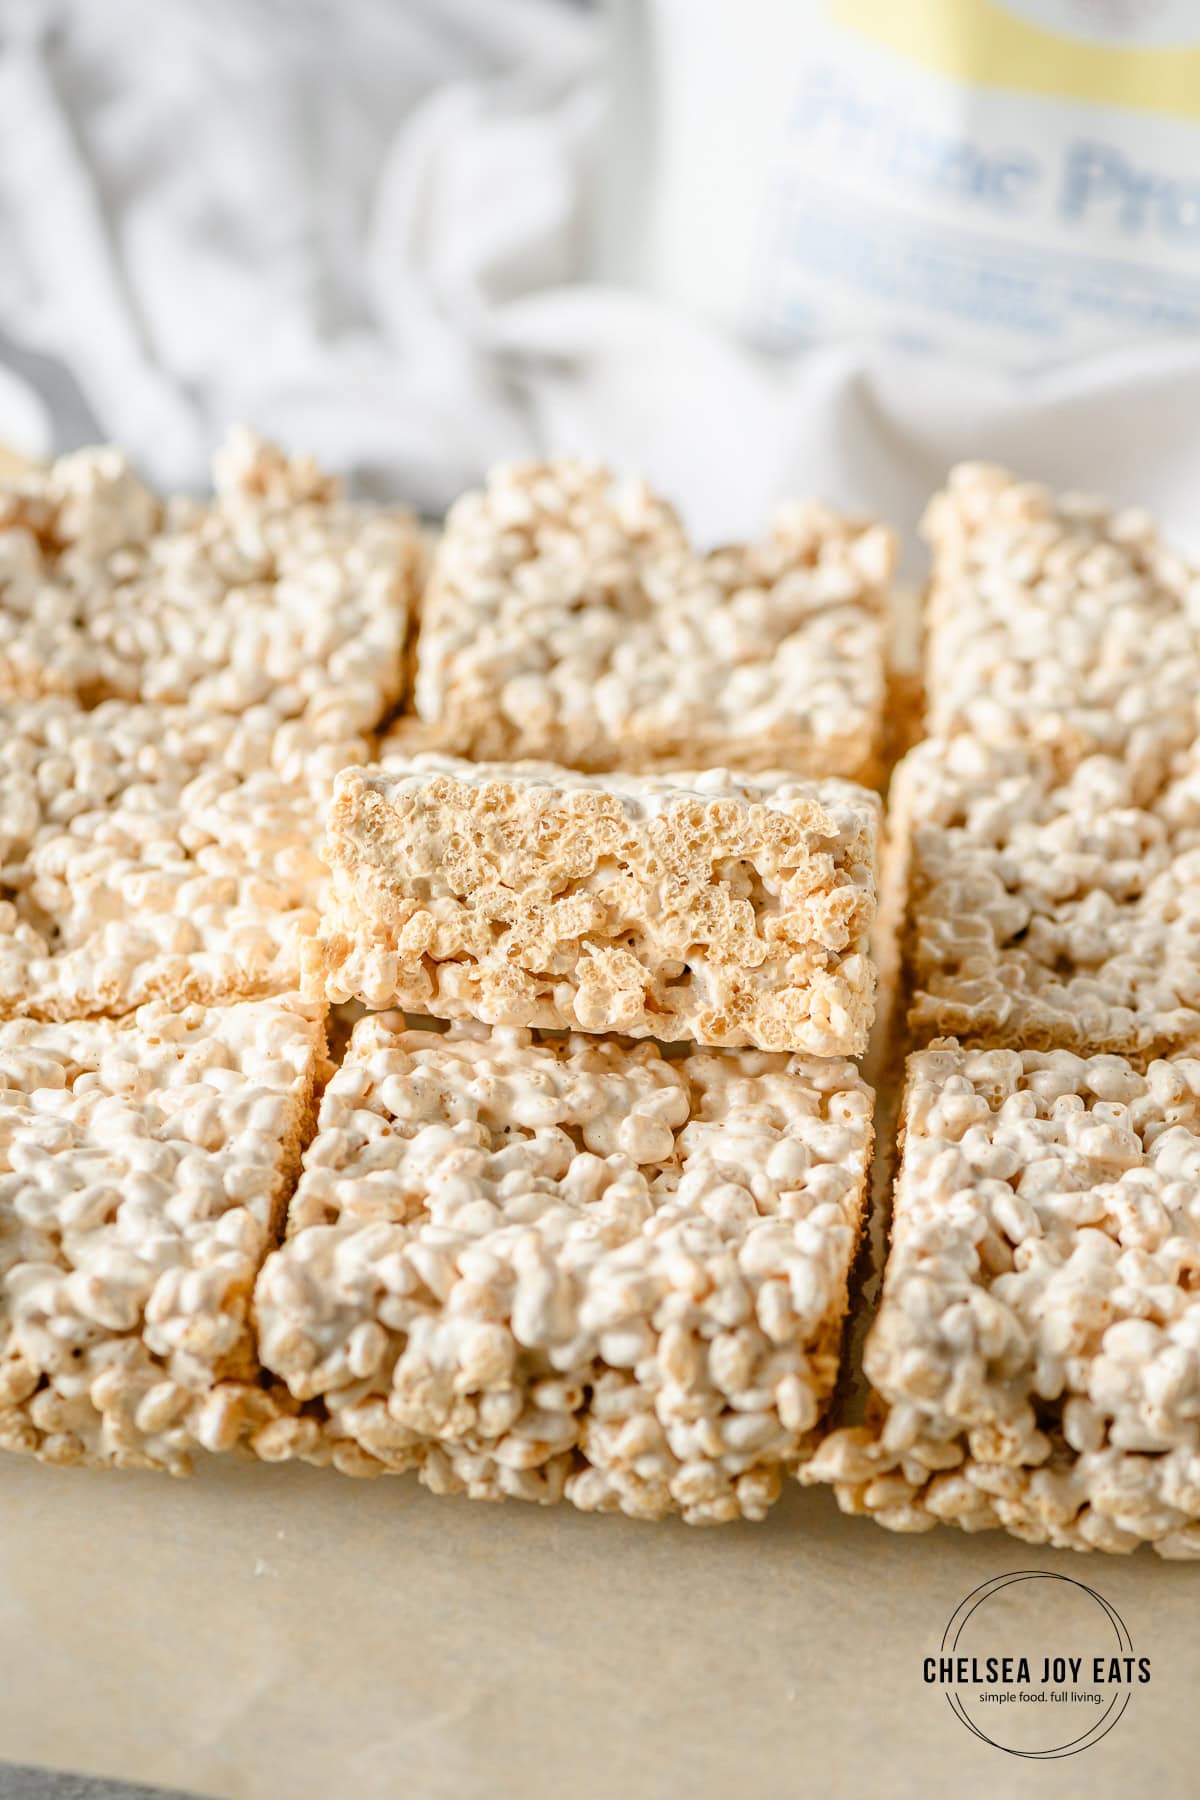
Step 8: Gently even out the mixture without pressing down too much. Cover and let set for 2-3 hours before slicing into 9 squares.
Top Tips from Chelsea
Use a candy thermometer - While I made my first few batches of marshmallows without a candy thermometer, using one takes the guesswork out of the process. It ensures you pull the syrup at the correct time, avoiding syrup that's not hot enough to set or ends up too hard.
Work quickly - The syrup will start to harden as it cools, and obviously we want as much as possible in the stand mixer! Once you take the syrup off of heat, be prepared to start the mixer and pour the syrup in. It goes fast!
Watch the mixer - You can easily overmix and end up with tough marshmallow. Plus, it's fun to watch the brown syrup expand, lighten up, and get fluffy. Keep an eye on the mixer and don't walk away!
Avoid hard bars - When spreading the rice krispies mixture out in the pan, avoid pressing the mixture down. That'll simply pack it in more, resulting in condensed, hard bars. Spread the mixture to the edges and that's it!
Homemade Rice Krispie Treats FAQs
You can store these for up to 3 days covered at room temperature or up to a week in the fridge. The marshmallow can get a little melty depending on the temperature of the room, though. These rice krispies bars are best eaten within the first 3 days!
Yes, but the crispy rice cereal won't retain as much of their crunch once thawed. I recommend wrapping each square individually and freezing in a freezer-safe container.
I've tested this both with my preferred Equip Prime Protein and whey protein, and both turned out - but the Equip version held together a little better and was slightly easier to work with!


Did you try this Protein Rice Krispie Treats recipe? I'd love to hear what you think! Please leave a comment and rating or tag me on Instagram - I appreciate your feedback.
Print📖 Recipe
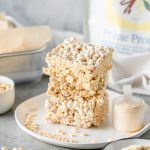
Protein Rice Krispie Treats
- Prep Time: 10 Minutes
- Set Time: 3 Hours
- Cook Time: 10 Minutes
- Total Time: 3 hours 20 minutes
- Yield: 9 Squares 1x
- Category: Dessert
- Method: Boiling
- Cuisine: American
- Diet: Gluten Free
Description
From scratch rice krispies treats, kicked up a notch with protein powder for a protein boost! Each bar has 7g of protein, depending on the protein powder you use. They make a great post-workout treat!
Ingredients
- ½ cup water, divided
- 2 scoops Equip Foods Prime Protein
- 1 tablespoon plain powdered gelatin
- 3 tablespoons honey
- 6 tablespoons pure maple syrup
- ¼ teaspoon sea salt
- 1 teaspoons vanilla extract
- 2 tablespoons butter, room temperature
- 5 cups crispy rice cereal
Instructions
- Prepare pan. Prep a 9x9 square baking pan by lining it with parchment paper. Coat with non-stick cooking spray and set aside. Don't skip this - the marshmallow will stick to parchment paper on its own and won't release uniformly unless it's greased.
- Bloom gelatin. Pour ¼ cup of water into the bowl of a stand mixer. Whisk in the protein powder until dissolved and relatively smooth; if it's very thick, add up to 2 tablespoons more water. Sprinkle the gelatin overtop and set aside to allow the gelatin to bloom.
- Cook syrup. In a medium pot or saucepan, combine the remaining ¼ cup water, honey, maple syrup, and sea salt. Attach a candy thermometer to the pot with the tip of the thermometer immersed in the liquid but not touching the bottom of the pot. Bring the mixture to a boil over medium-high heat. Continue to boil until the temperature on the candy thermometer reaches 230-235 degrees F. This takes about 10 minutes. Keep a watchful eye on the pot, as the syrup tends to foam and bubble up.
- Add syrup to gelatin. As soon as the thermometer reads 235 degrees F, remove the pot from heat. Turn the stand mixer on low and carefully pour the syrup into the bowl. Avoid pouring directly onto the beaters, as that will cause splatters. Once you pour the syrup in, turn the mixer up to high speed. Beat for 5-7 minutes as the mixture increases in volume and lightens in color. You'll know the marshmallow cream is ready when you stop the mixer, lift up the beaters, and the marshmallow slowly drips from the beaters and gradually melts back into the marshmallow in the bowl. Add the butter and vanilla extract, scrape down the sides of the bowl, and beat again on high until butter has melted.
- Fold in cereal. Turn off the stand mixer and remove the mixing bowl. Pour crispy rice cereal into the bowl and use a rubber spatula to stir until all the cereal is coated with marshmallow, being sure to fold from the bottom up to incorporate all the marshmallow.
- Transfer and set. Transfer the marshmallow mixture to the prepared baking pan and gently press so the surface is uniform (avoid packing the mixture down, as that will make hard bars). Cover the pan with a lid or plastic wrap and let set at room temperature for at least 3 hours or overnight. Cut into 9 squares and enjoy!
Notes
- Make sure you grease the baking pan or parchment paper! The marshmallow tends to stick, so you'll need a quick spritz of cooking oil spray to ensure you can remove the finished bars.
- For best results, use a candy thermometer so you know exactly when the syrup is ready. Boiled too little and it won't whip up with the gelatin mixture; too long and it'll make tough marshmallow.
- Make sure the gelatin has bloomed before adding the syrup. You can't just dump the gelatin in the water and stir or it may clump up, leading to inconsistent results and hard lumps in the rice krispies bar. Sprinkle the gelatin over the water/protein mixture, ensuring all the gelatin gets wet (you may need to check on it while the syrup is boiling and swirl it around).
Leave a Reply