
Crisp autumn air means warm, comforting flavors, and these Gluten Free Pumpkin Scones deliver!
Made with all-purpose gluten free flour, pumpkin puree, and sour cream, these scones are tender and full of warm fall flavors.
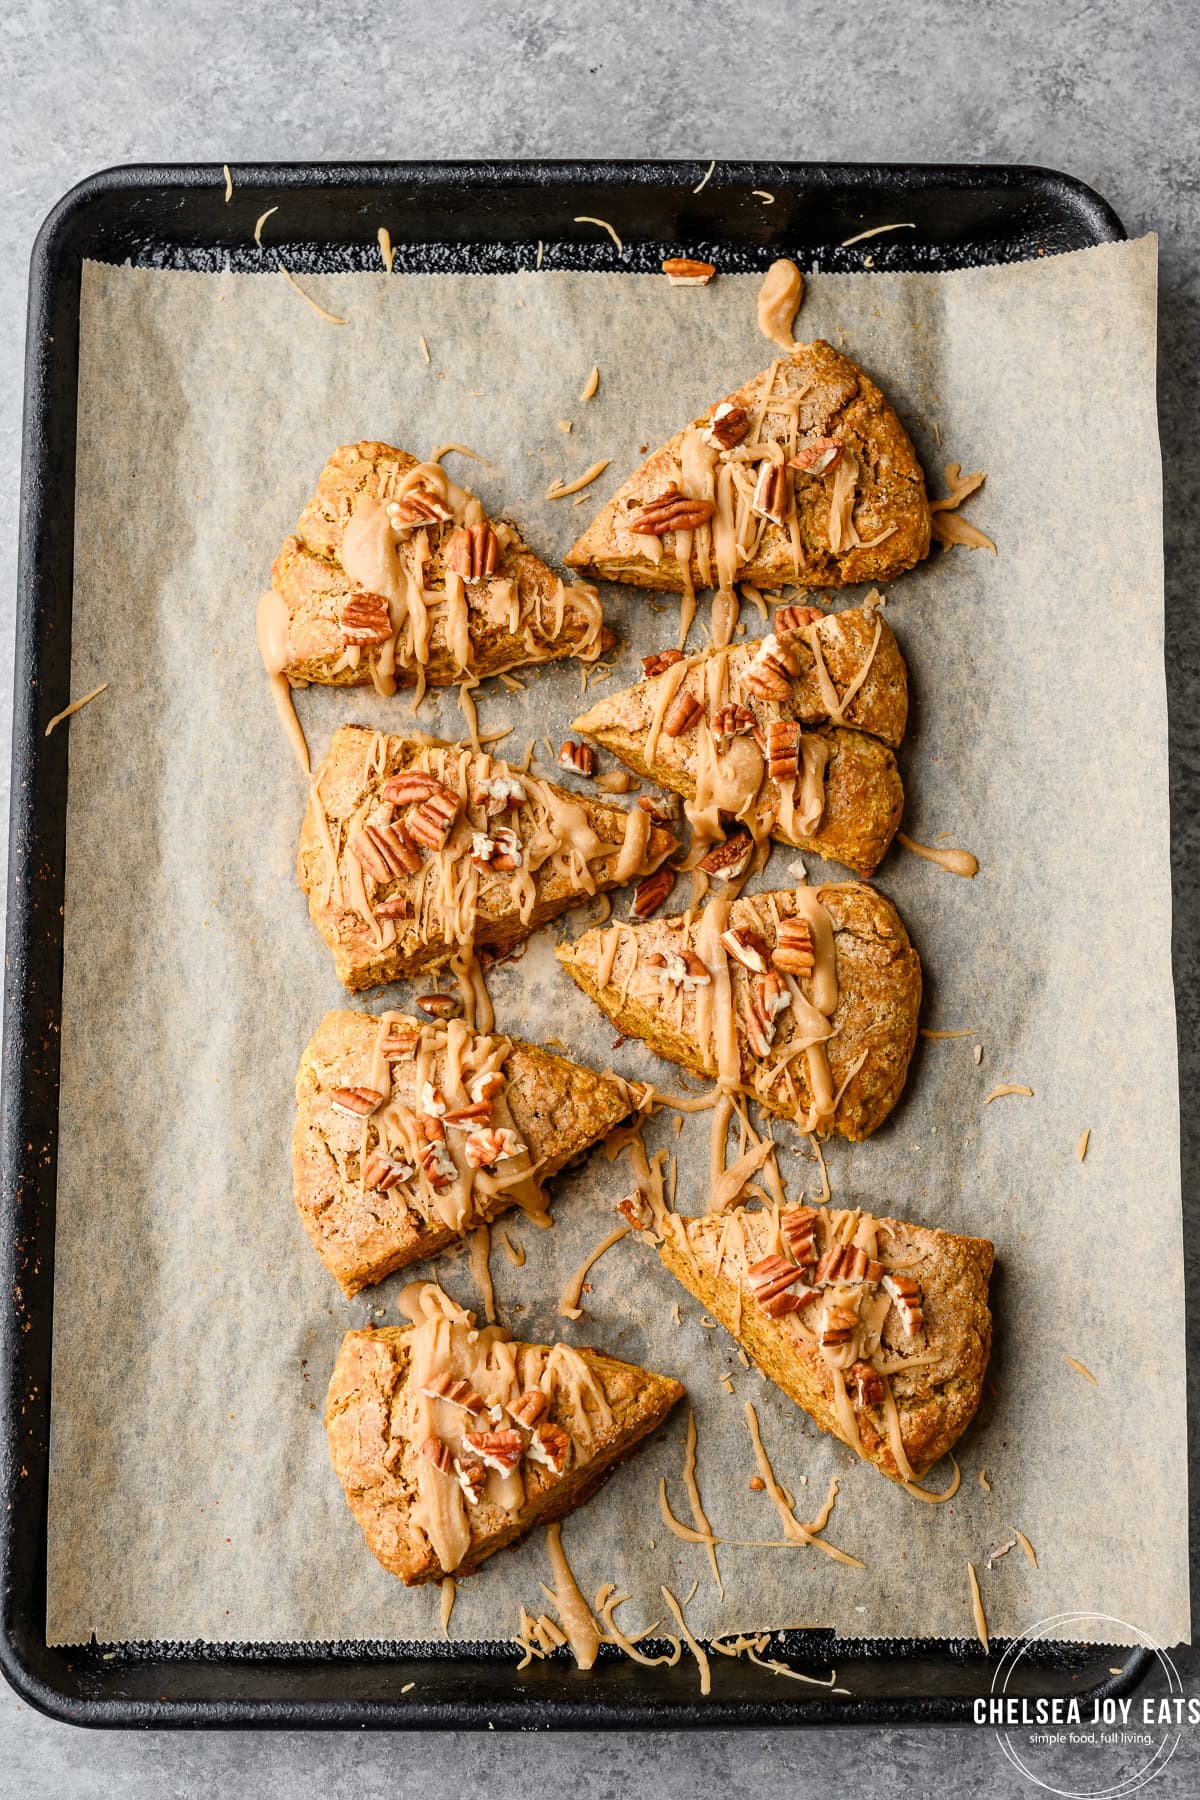
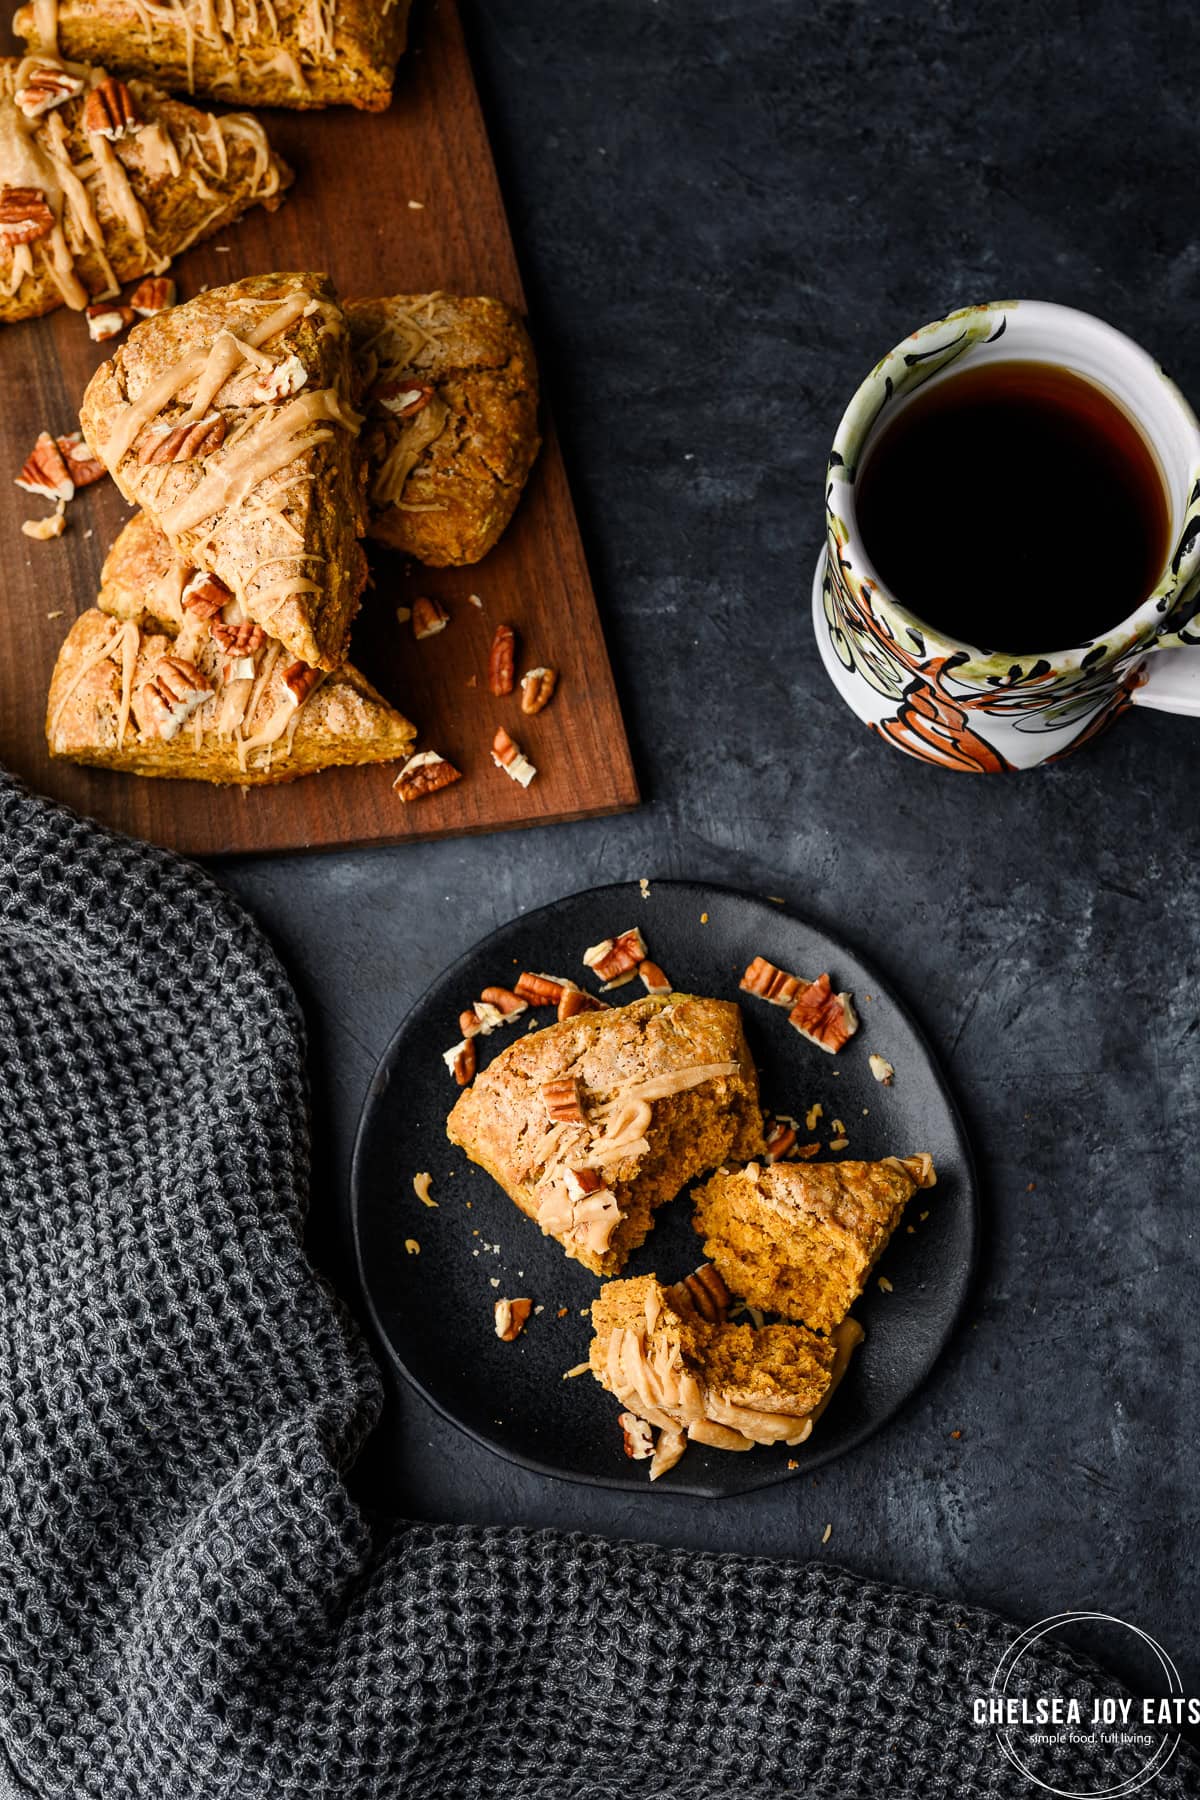
Few things make me happier than diving into a baked good with a hot cup of coffee in hand.
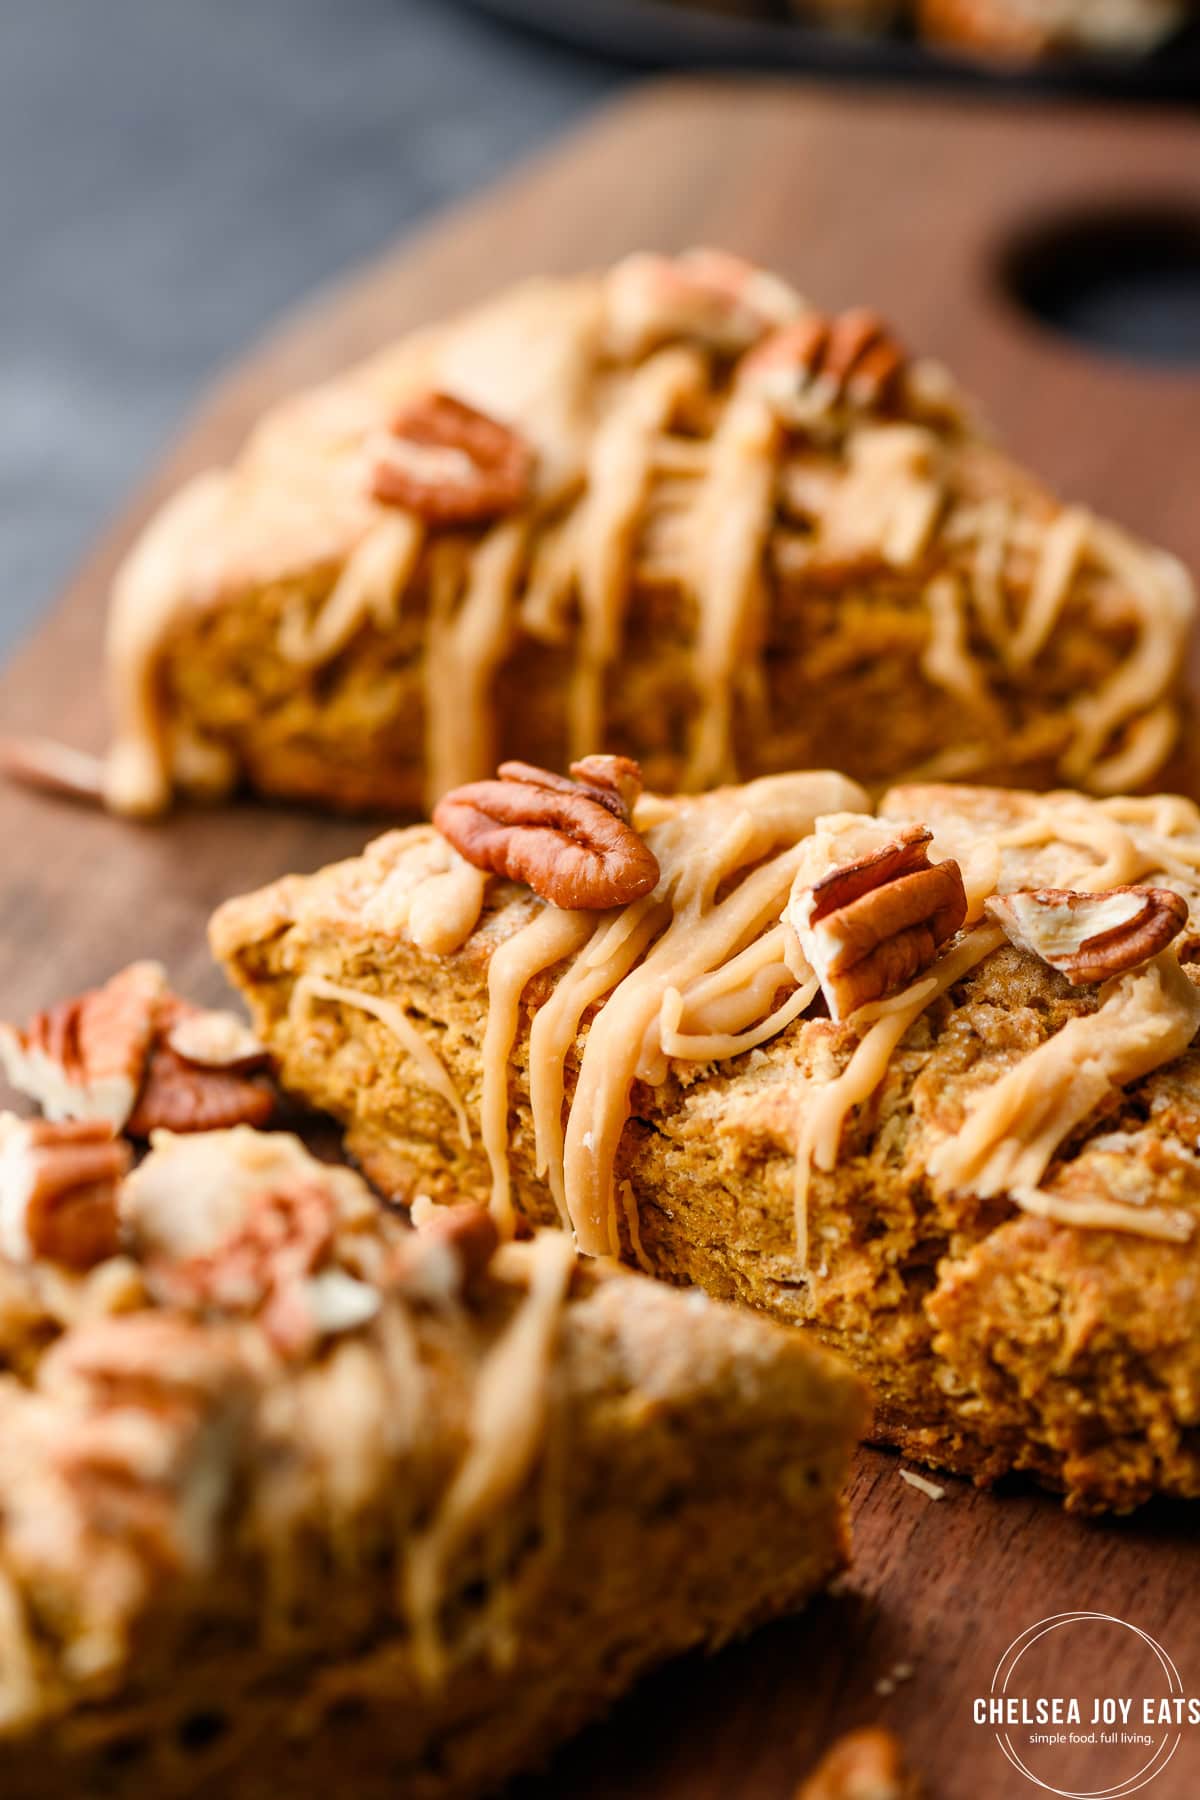
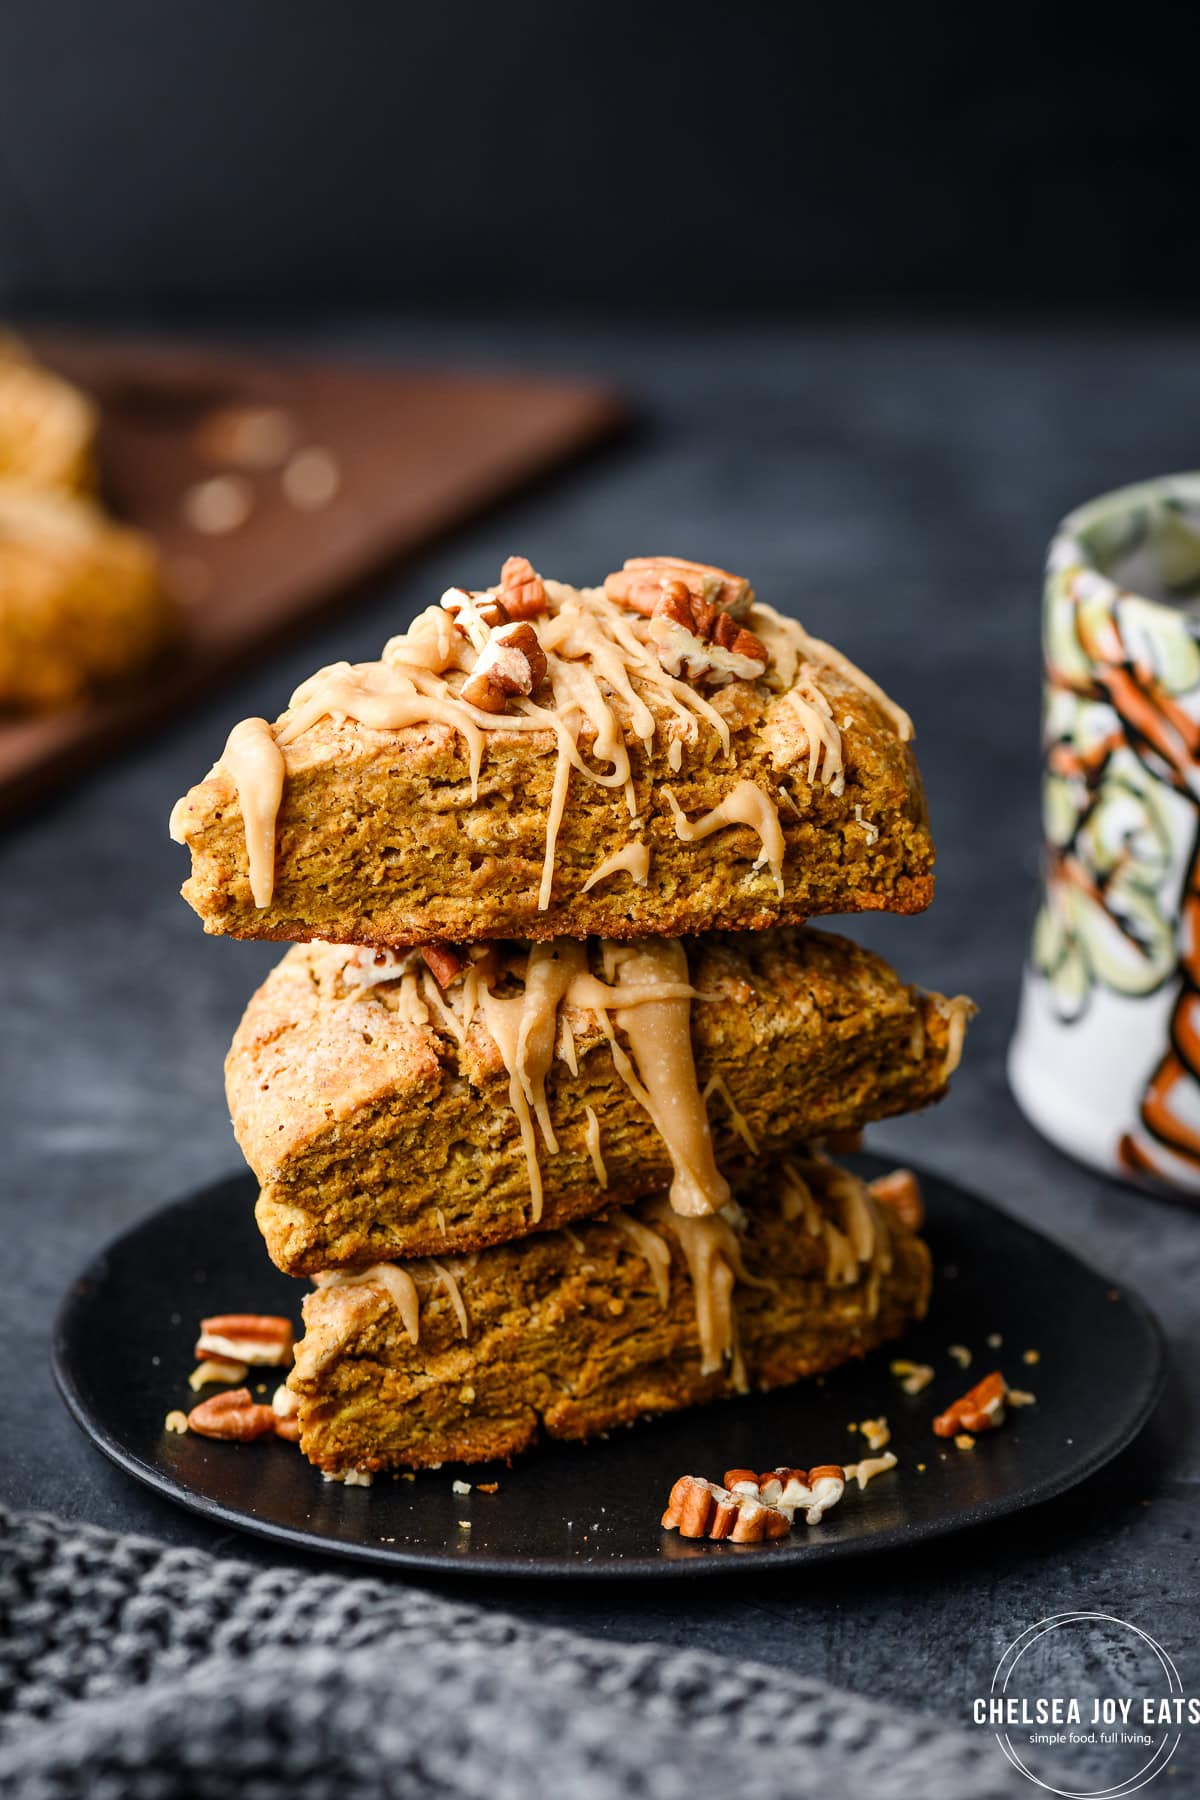
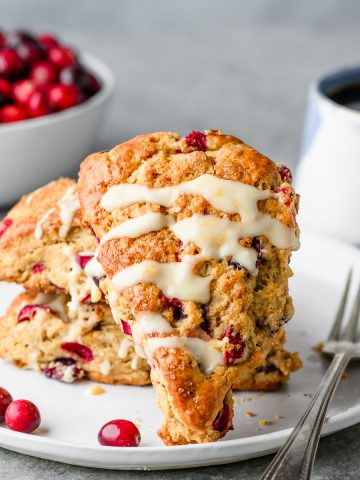
Enter gluten free pumpkin scones, full of warm flavor with each tender bite. While these scones are not super sweet on their own, the maple icing adds a touch of sweetness while drawing out the pumpkin and clove flavors of the scone.
Paired with a cup of coffee, and this is one perfect treat for a chill fall morning!
Ingredients needed for gluten free pumpkin scones
If you've made scones before, these ingredients will look familiar.
Gluten free flour - my go-to blend is Bob's Red Mill 1-to-1 Baking Flour! I can't speak to how well other gluten free flour blends will work with this recipe, but feel free to tell me in the comment how it goes if you use another.
Pumpkin puree - make sure you're using pumpkin puree, not pumpkin pie mix, which has added ingredients.
Sour cream - I picked up this tip from another blogger, and I think sour cream may be my go-to for all scone recipes now! Using sour cream instead of milk or cream creates a tenderness that I really enjoyed, whereas the batch I made with milk were a touch too dry.
Butter - To keep these scones as flaky as possible, use cold butter. I like to partially freeze a stick before cutting into cubes, then refrigerating JUST until I'm ready to add it to the dough.
Dark brown sugar - For a deeper flavor and all-around autumn vibes, I used brown sugar instead of cane sugar for this recipe. I prefer dark brown sugar almost always, but you can use light brown sugar in a pinch, too!
Tips and tricks for baking gluten free scones
Gluten free baking can be finicky! Here are a few tips and tricks to help:
Use the "spoon and level" method
Instead of scooping the flour out of the container with the measuring cup, spoon the flour into the measuring cup and use the back of a table knife to level off the top.
Why? Gluten free flours especially tend to be pretty heavy overall. If you scoop the flour from the container, it tends to pack more flour into the measuring cup, which may lead to overly dry baked goods.
When testing recipes, I always spoon and level. You do you, but if your scones don't turn out quite right, you may know why!
Always use cold butter
If you've made scones, pie crusts, or any flaky pastry before, you know this! Cold butter in the dough prevents the butter from melting too quickly while baking and helps create those flaky layers we all love.
Smash the butter instead of using a pastry cutter
For scones, you never want to fully incorporate the butter into the dough. The goal is to create pea-sized crumbs that will then become little pockets of layered goodness when baking (those are technical terms, trust me).
Oftentimes, recipes will call for using a pastry cutter or fork to achieve those pea-sized crumbs.
This tip may just be personal preference, but I have the best luck when I use my hands. I'll smash each cube of butter between my thumb and forefinger in the flour, essentially creating little discs of butter.
When I use a pastry cutter, I tend to always overmix!
Don't overmix the dough
Related to above - overmixing the dough usually leads to breaking down the butter more before baking, and that's NOT what you want for scones.
So when adding the liquid, stir just enough to bring everything together into a dough.
Let the dough rest in the fridge before baking
It's good practice in gluten free baking to ALWAYS let the dough rest before baking - gluten free flours just need a little more time to meld with liquid ingredients since there's no gluten nabbing it up.
For this gluten free pumpkin scone recipe, though, it's doubly important! Resting the dough in the fridge for 30 minutes keeps the butter nice and firm, so it won't melt into the dry ingredients.
Double up your baking sheets
Instead of using 1 baking sheet, use 2, stacked on top of one another. This creates a slightly insulated layer that prevents the scones from browning too quickly on the bottom!
Don't skip the wash (and use plenty of sugar)
Scones that sport a browned, almost crackly top are divine! Even though you'll be drizzling these scones with icing, definitely don't skip the wash of milk or cream and sprinkling of sugar before baking.
I recommend using Turbinado sugar instead of cane sugar if you can, but either will work in a pinch!
Substitutions and swaps
- Half and half (or milk) instead of sour cream. While I prefer the overall texture of these scones with sour cream, I did test them with half and half and they turned out fine!
- Use Greek yogurt instead of sour cream. If you make this swap, I'd advise using full-fat yogurt!
- Use a different GF flour blend. Personally, I like Bob's Red Mill 1 to 1 Baking Flour, and I test most of my recipes with that blend specifically to try and keep things consistent!
However, you are free to try a different flour blend. Let me know how it goes in the comments, and I will update the post with what works!
Just remember to add ¼ teaspoon xanthan gum if your blend does not already contain it.
More gluten free baked goods to check out
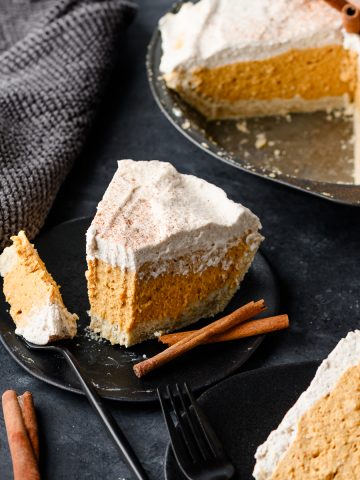
- No Bake Pumpkin Chai Pie
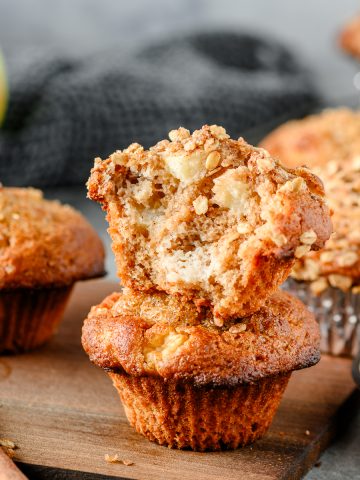
- Gluten Free Apple Muffins with Applesauce
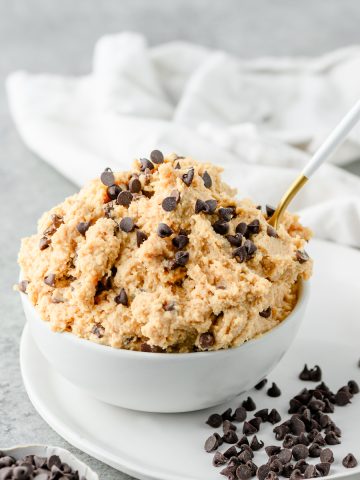
- Cottage Cheese Cookie Dough without Almond Flour
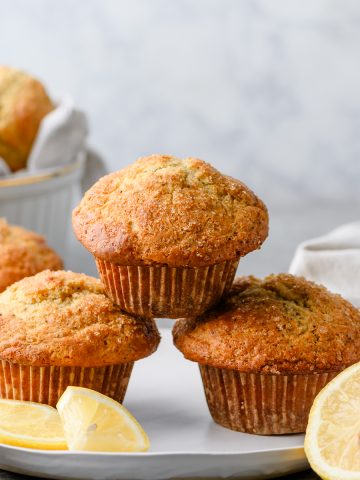
- Gluten Free Lemon Poppyseed Muffins
Did you try this recipe? I'd love to hear what you think! Comment below or tag me on Instagram.
Print📖 Recipe

Gluten Free Pumpkin Scones with Maple Icing
- Prep Time: 10 minutes
- Cook Time: 15 minutes
- Total Time: 25 minutes
- Yield: 8 scones 1x
- Category: Baked Goods
- Method: Baked
- Diet: Gluten Free
Description
Buttery, tender, and full of fall flavor, these gluten free pumpkin scones are best enjoyed right after you've drizzled the maple icing on them. And please, take your experience to the max by pairing with a cup of hot coffee or tea!
Ingredients
For the scones:
- 2 ¼ cup Bob's Red Mill Gluten Free 1:1 Baking Flour, spooned and leveled
- 2 ¼ teaspoons baking powder
- 1 teaspoon ground cinnamon
- ¾ teaspoon ground ginger
- ¼ teaspoon nutmeg
- ¼ teaspoon ground cloves
- ½ teaspoon salt
- ½ cup (8 tablespoons) butter, frozen
- ⅓ cup full fat sour cream
- 1 large egg
- ½ cup pumpkin puree
- ½ cup light brown sugar
- 1 teaspoon pure vanilla extract
- ¼ cup milk or cream
- Turbinado sugar or cane sugar, for dusting
For the Glaze:
- 2 tablespoons butter
- ⅓ cup pure maple syrup
- 1 cup confectioner's sugar
- Pinch of salt, to taste
- Toasted pecans, for topping (optional)
Instructions
- Preheat oven to 425 degrees F. Adjust one of the baking racks to the middle-low position. Plate one large baking sheet inside another (this helps prevents the bottoms from browning too quickly) line with parchment paper or a silicon baking mat.
- Whisk the gluten free flour, baking powder, cinnamon, pumpkin pie spice, and salt together in a large bowl. Cut the frozen butter into cubes (I typically cut ½" slabs, then stack those and cut once vertically and once horizontally to make the cubes). Add the butter cubes to the flour mixture and, incorporate using a pastry cutter, fork, or your fingers (smashing each cube between your fingers in the flour) until the mixture comes together with pea-sized crumbs.
- Whisk sour cream, egg, pumpkin puree, brown sugar, and vanilla together in a small bowl. Slowly pour it into the flour mixture. Stir until just combined, being careful not to overmix. Turn the dough out onto a lightly floured countertop or cutting board.
- Dust your hands with a little gluten free flour to prevent sticking and work the dough into a ball. If it's too dry, add more milk/almond milk 1 tablespoon at a time until it's a workable consistency without becoming too sticky. Press down to form a disc shape, roughly 6 inches in diameter and 2 inches thick. Wrap the dough in plastic wrap and refrigerate for at least 30 minutes or overnight. When ready to bake, cut the disc into 8 triangle wedges.
- Transfer the wedges to the prepared baking sheet, spacing at least 2 inches apart. Using a pastry brush, brush the scones with the milk or cream and sprinkle generously with Turbinado sugar.
- Bake the scones for 15-20 minutes or until lightly browned. Remove from the oven and allow to cool while you prepare the icing.
- In a small saucepan over low heat, melt the butter and maple syrup together, whisking frequently. Once the butter has melted, remove from heat and immediately whisk in the confectioners' sugar and salt. Drizzle over cooled scones - it will harden as it cools, so use immediately. Sprinkle chopped toasted pecans over warm icing, so they adhere to the icing.
- Enjoy immediately to have them at their best! Store leftover scones at room temperature or in the refrigerator for up to 3 days.


Leave a Reply